You really shouldn’t be surprised by what I’m about to tell you.
After all, I have a long, illustrious history as a picky eater. I know it’s mind-boggling that a person could hate fruit and all fruit-flavored things, donuts, fried stuff in general, tea, the flavor of honey and maple syrup, but it’s all true. Plus, the real reason I became a vegetarian (you know…aside from hoping to become healthier) is just that I don’t like meat.
So you really shouldn’t be surprised:
I have never liked Rice Krispie treats.
When I went off to college and discovered that not all Rice Krispie treats were Scotch Krispies, I simply avoided them in the dessert line. While all my friends would stampede toward the sweets on a day that Rice Krispie treats were available, I would meander around and grab an extra bagel (please and thank you, freshman 15…).
It should also not surprise you, then, to learn that I have never made Rice Krispie treats before.
But last week my husband drove off with our grocery cart and came back with two bags of marshmallows, a box of Rice Krispies, and a glint in his eye.
And do you know what? When I was trying to decide how to make peace with the Rice Krispies and marshmallows, I found a recipe that used brown butter and toasted marshmallows (um, nom!). At first I felt a little mean, deviating from the standard. I knew what Dave really wanted.
But these treats are really good! Still classic, with that stretchy, crunchy, almost-too-sweet marshmallow flavor, but also caramel, a rich hint of toasty brown that…might…actually…make me reverse my anti-Krispie stance.
Okay, before you get all worried that these treats are too hard to make, and why aren’t we just making the simple version, take a breath. They are still super easy!
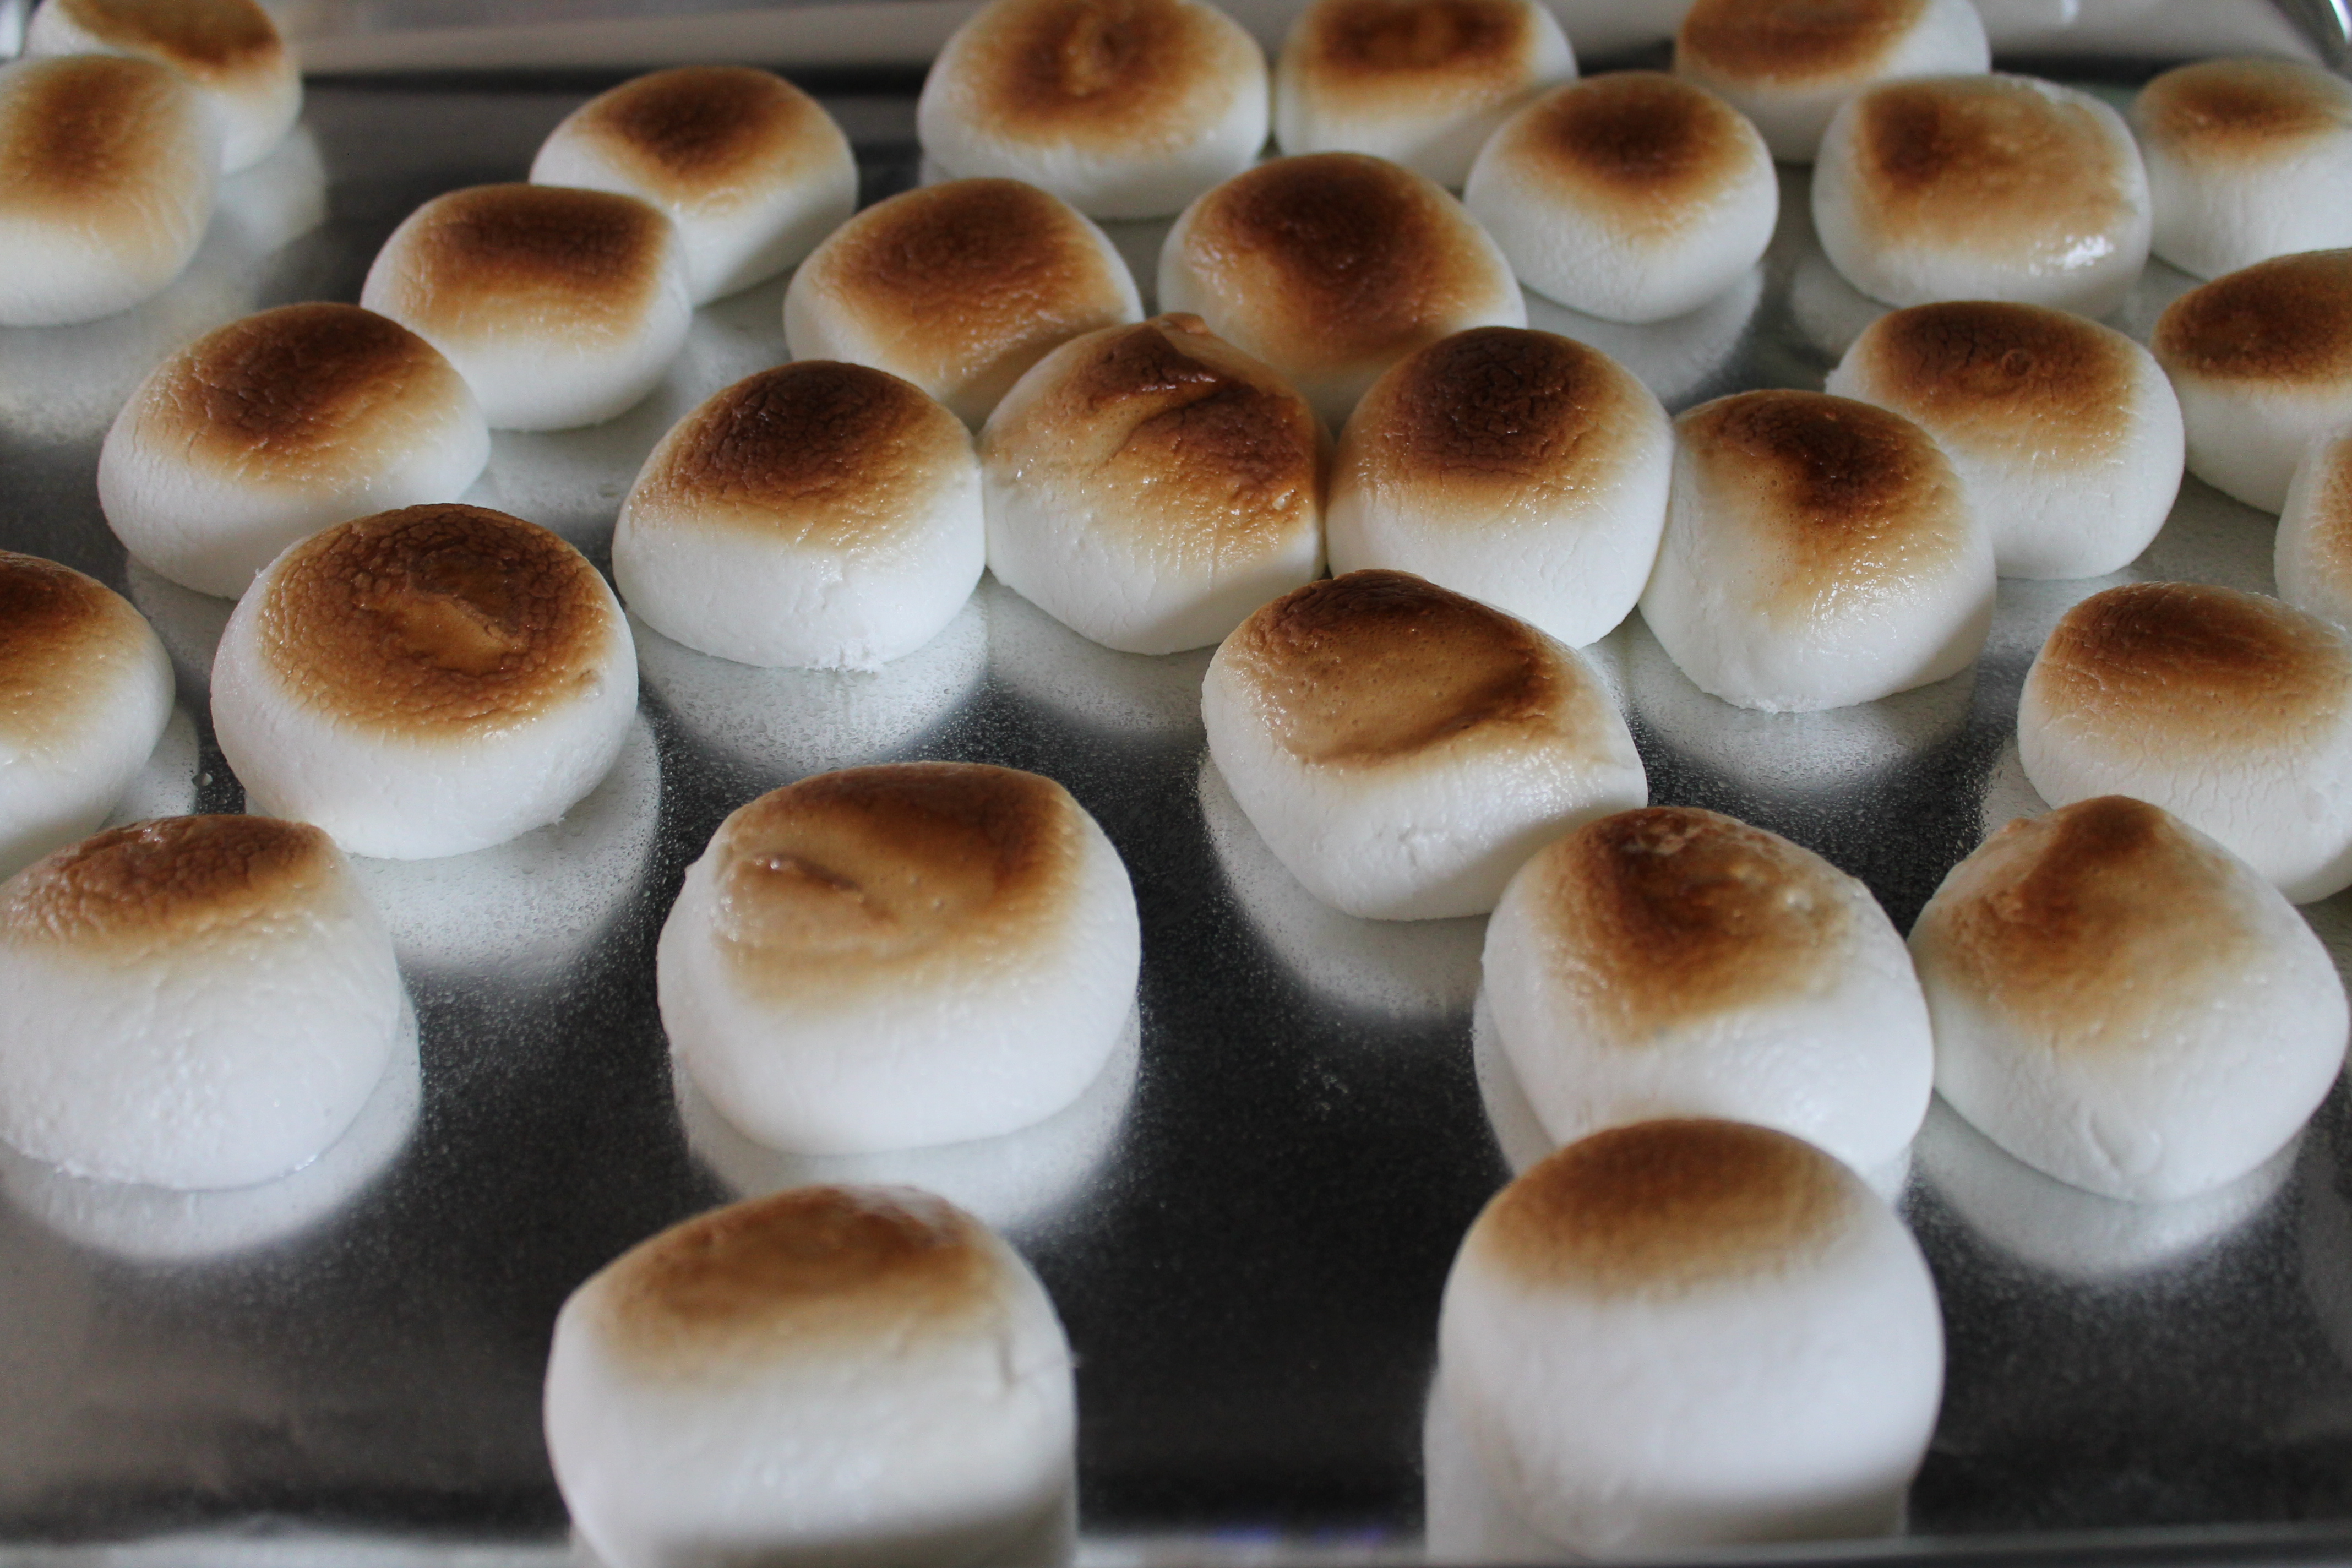 Toast your marshmallows under the broiler. I dumped mine all out onto a lightly greased, foil-lined cookie sheet, half of them clinging together for dear life (no worries!), and stuck them in the oven 6″ below the heating element.
Then I crouched down and watched them. This is actually kind of important, because the marshmallows will be white, white, white, white, beigebrownBLACK if you don’t pay attention. It only really took a minute for my marshmallows to be beautifully brown on top. Don’t blacken them. You could still make toasty Krispie treats with blackened marshmallows, but you will taste the char and it will be bitter and not nearly as delightful as a warm brown marshmallow would have been.
Pull the marshmallows out of the oven and set them aside while you brown the butter!
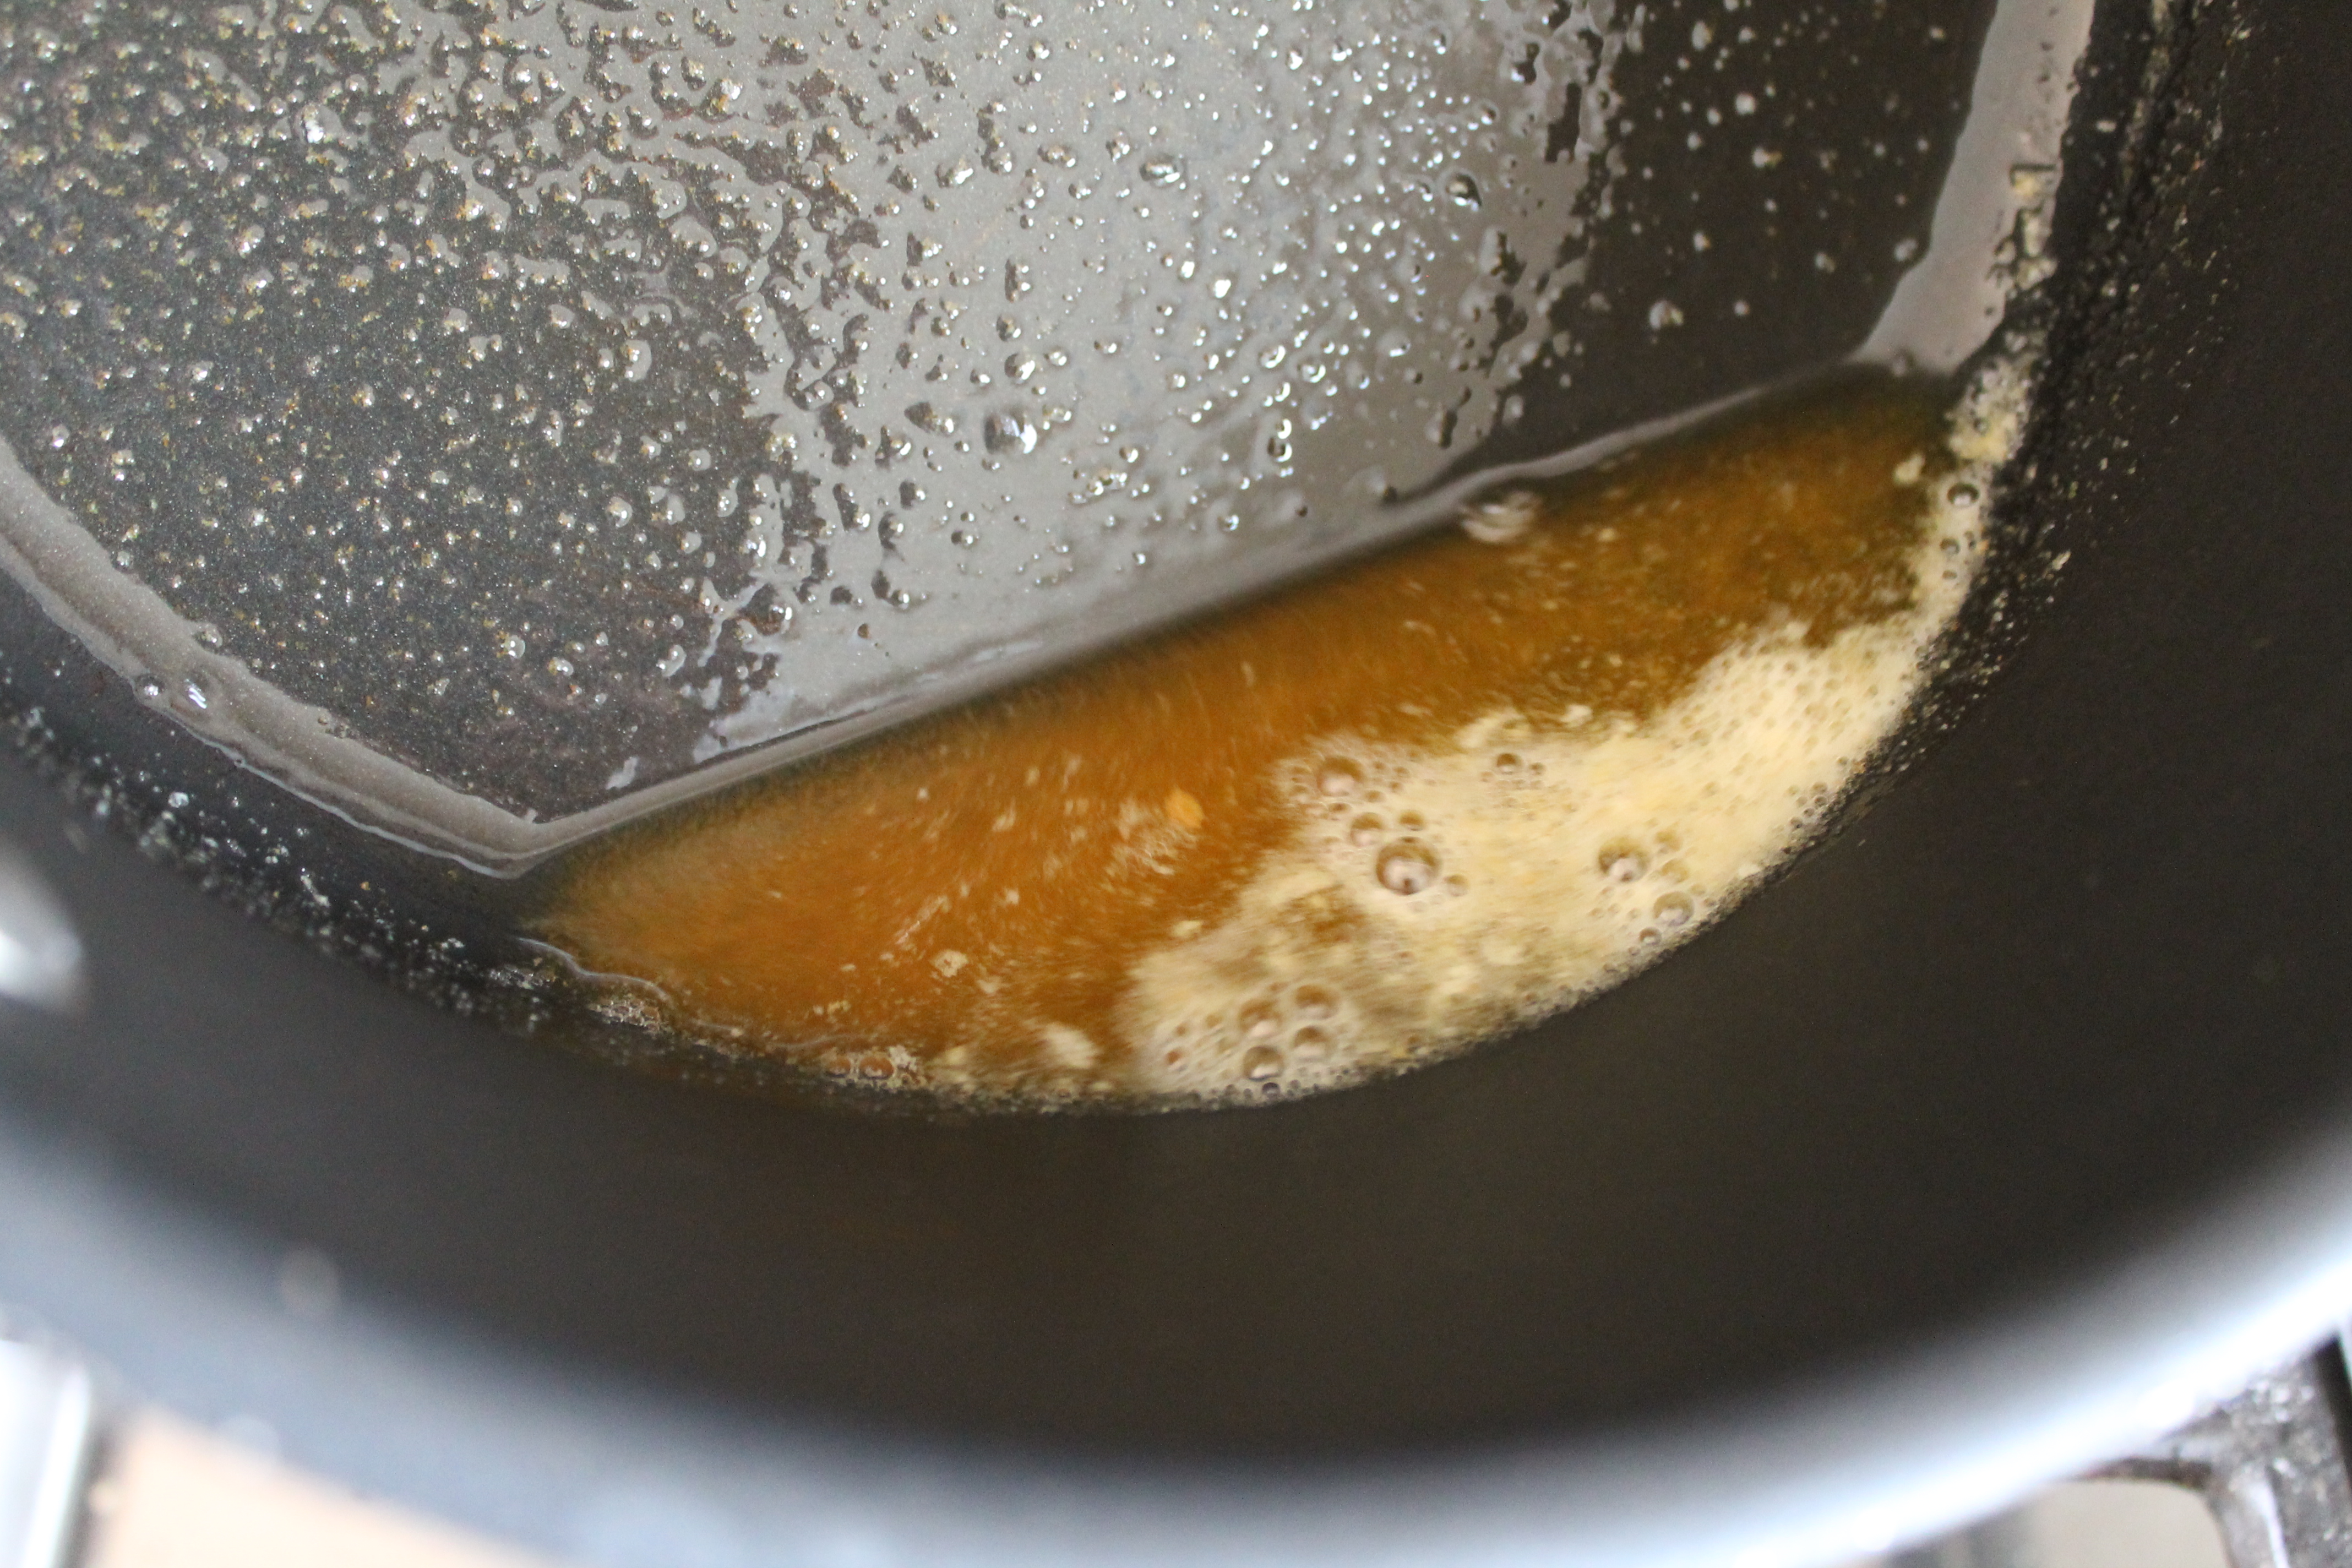 Browning butter is very easy, but again it needs to be watched. Always use unsalted butter and melt over low heat. Swirl the pan regularly and let the milk proteins slowly caramelize and turn brown. It will smell nutty and wonderful.
If you have non-stick pans, like I do, then as you swirl the pan, tilt it to one side so the butter can collect and you can see the color more clearly. I’ve “browned” butter many times that didn’t actually turn out brown because I was fooled by the dark color of the pan. Do yourself a favor and let your butter brown—but don’t let it blacken at all, or again your treats will be bitter and taste of char.
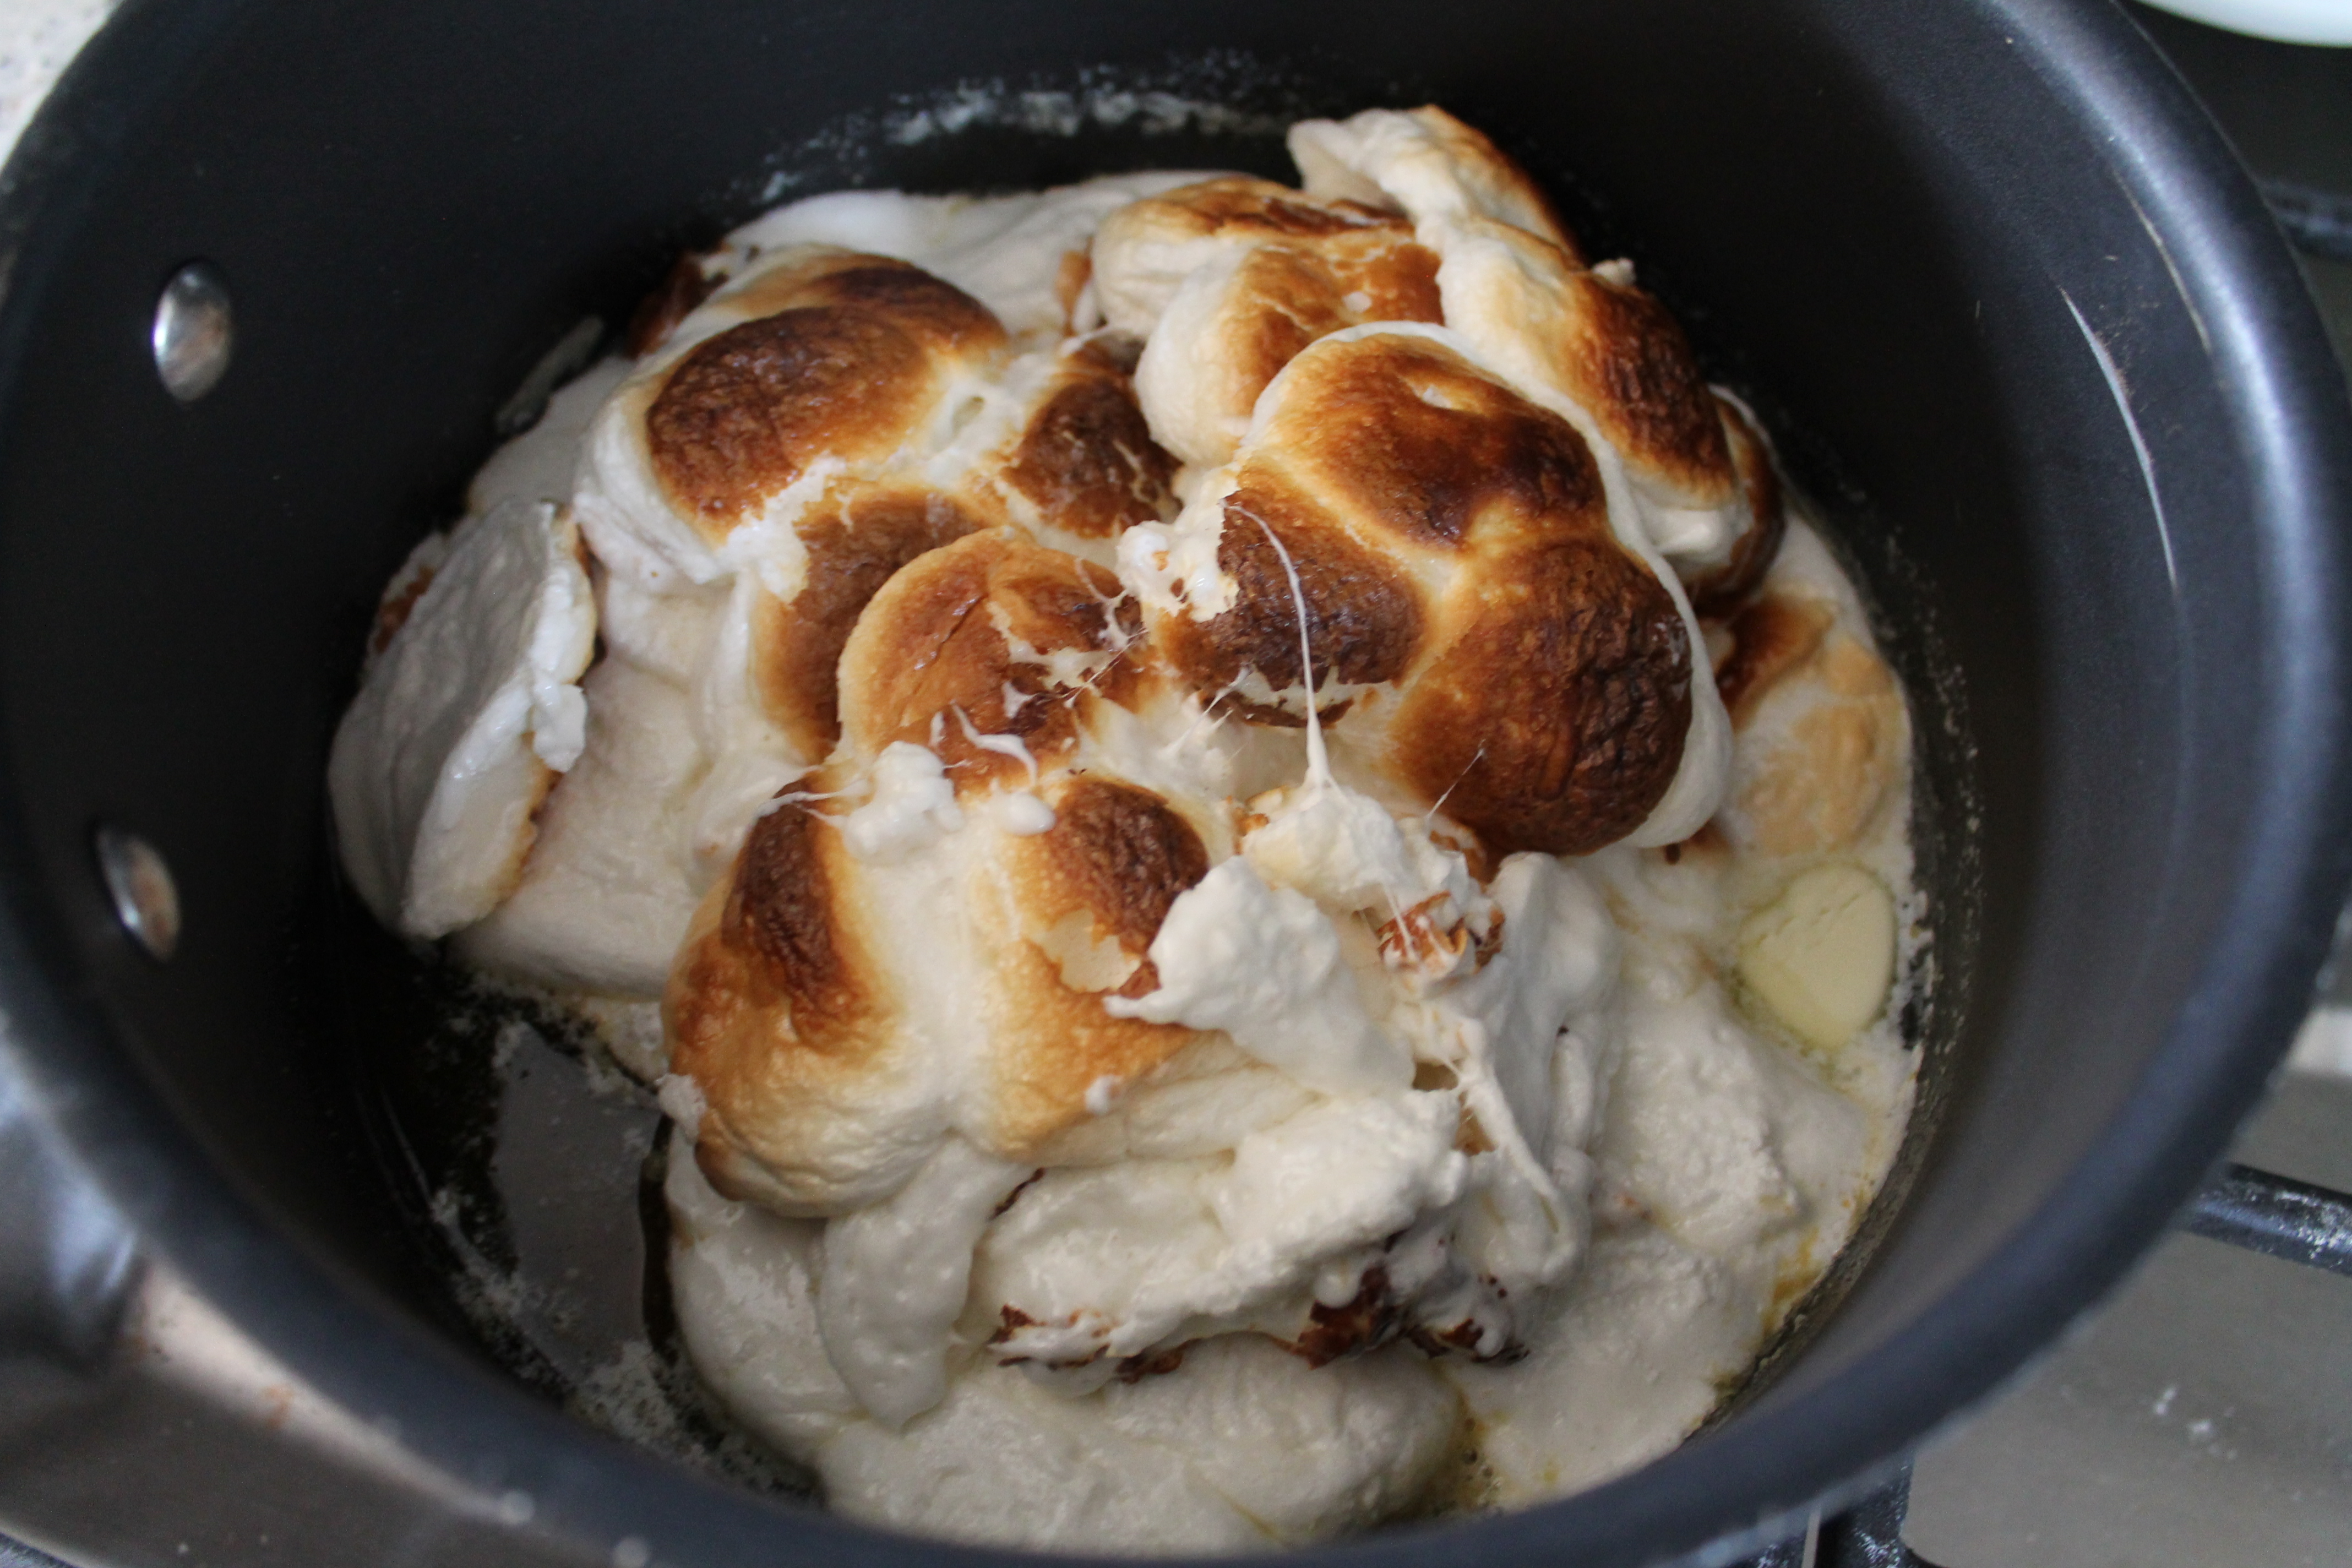 When the butter is brown, turn off the heat and scrape the marshmallows into the pan. Add a tiny dash of salt for balance.
Turn the heat back on and stir until a thick, stretchy marshmallow syrup forms. Thanks to the toasting and browning, it will have a beautiful pale caramel color. See the yum.
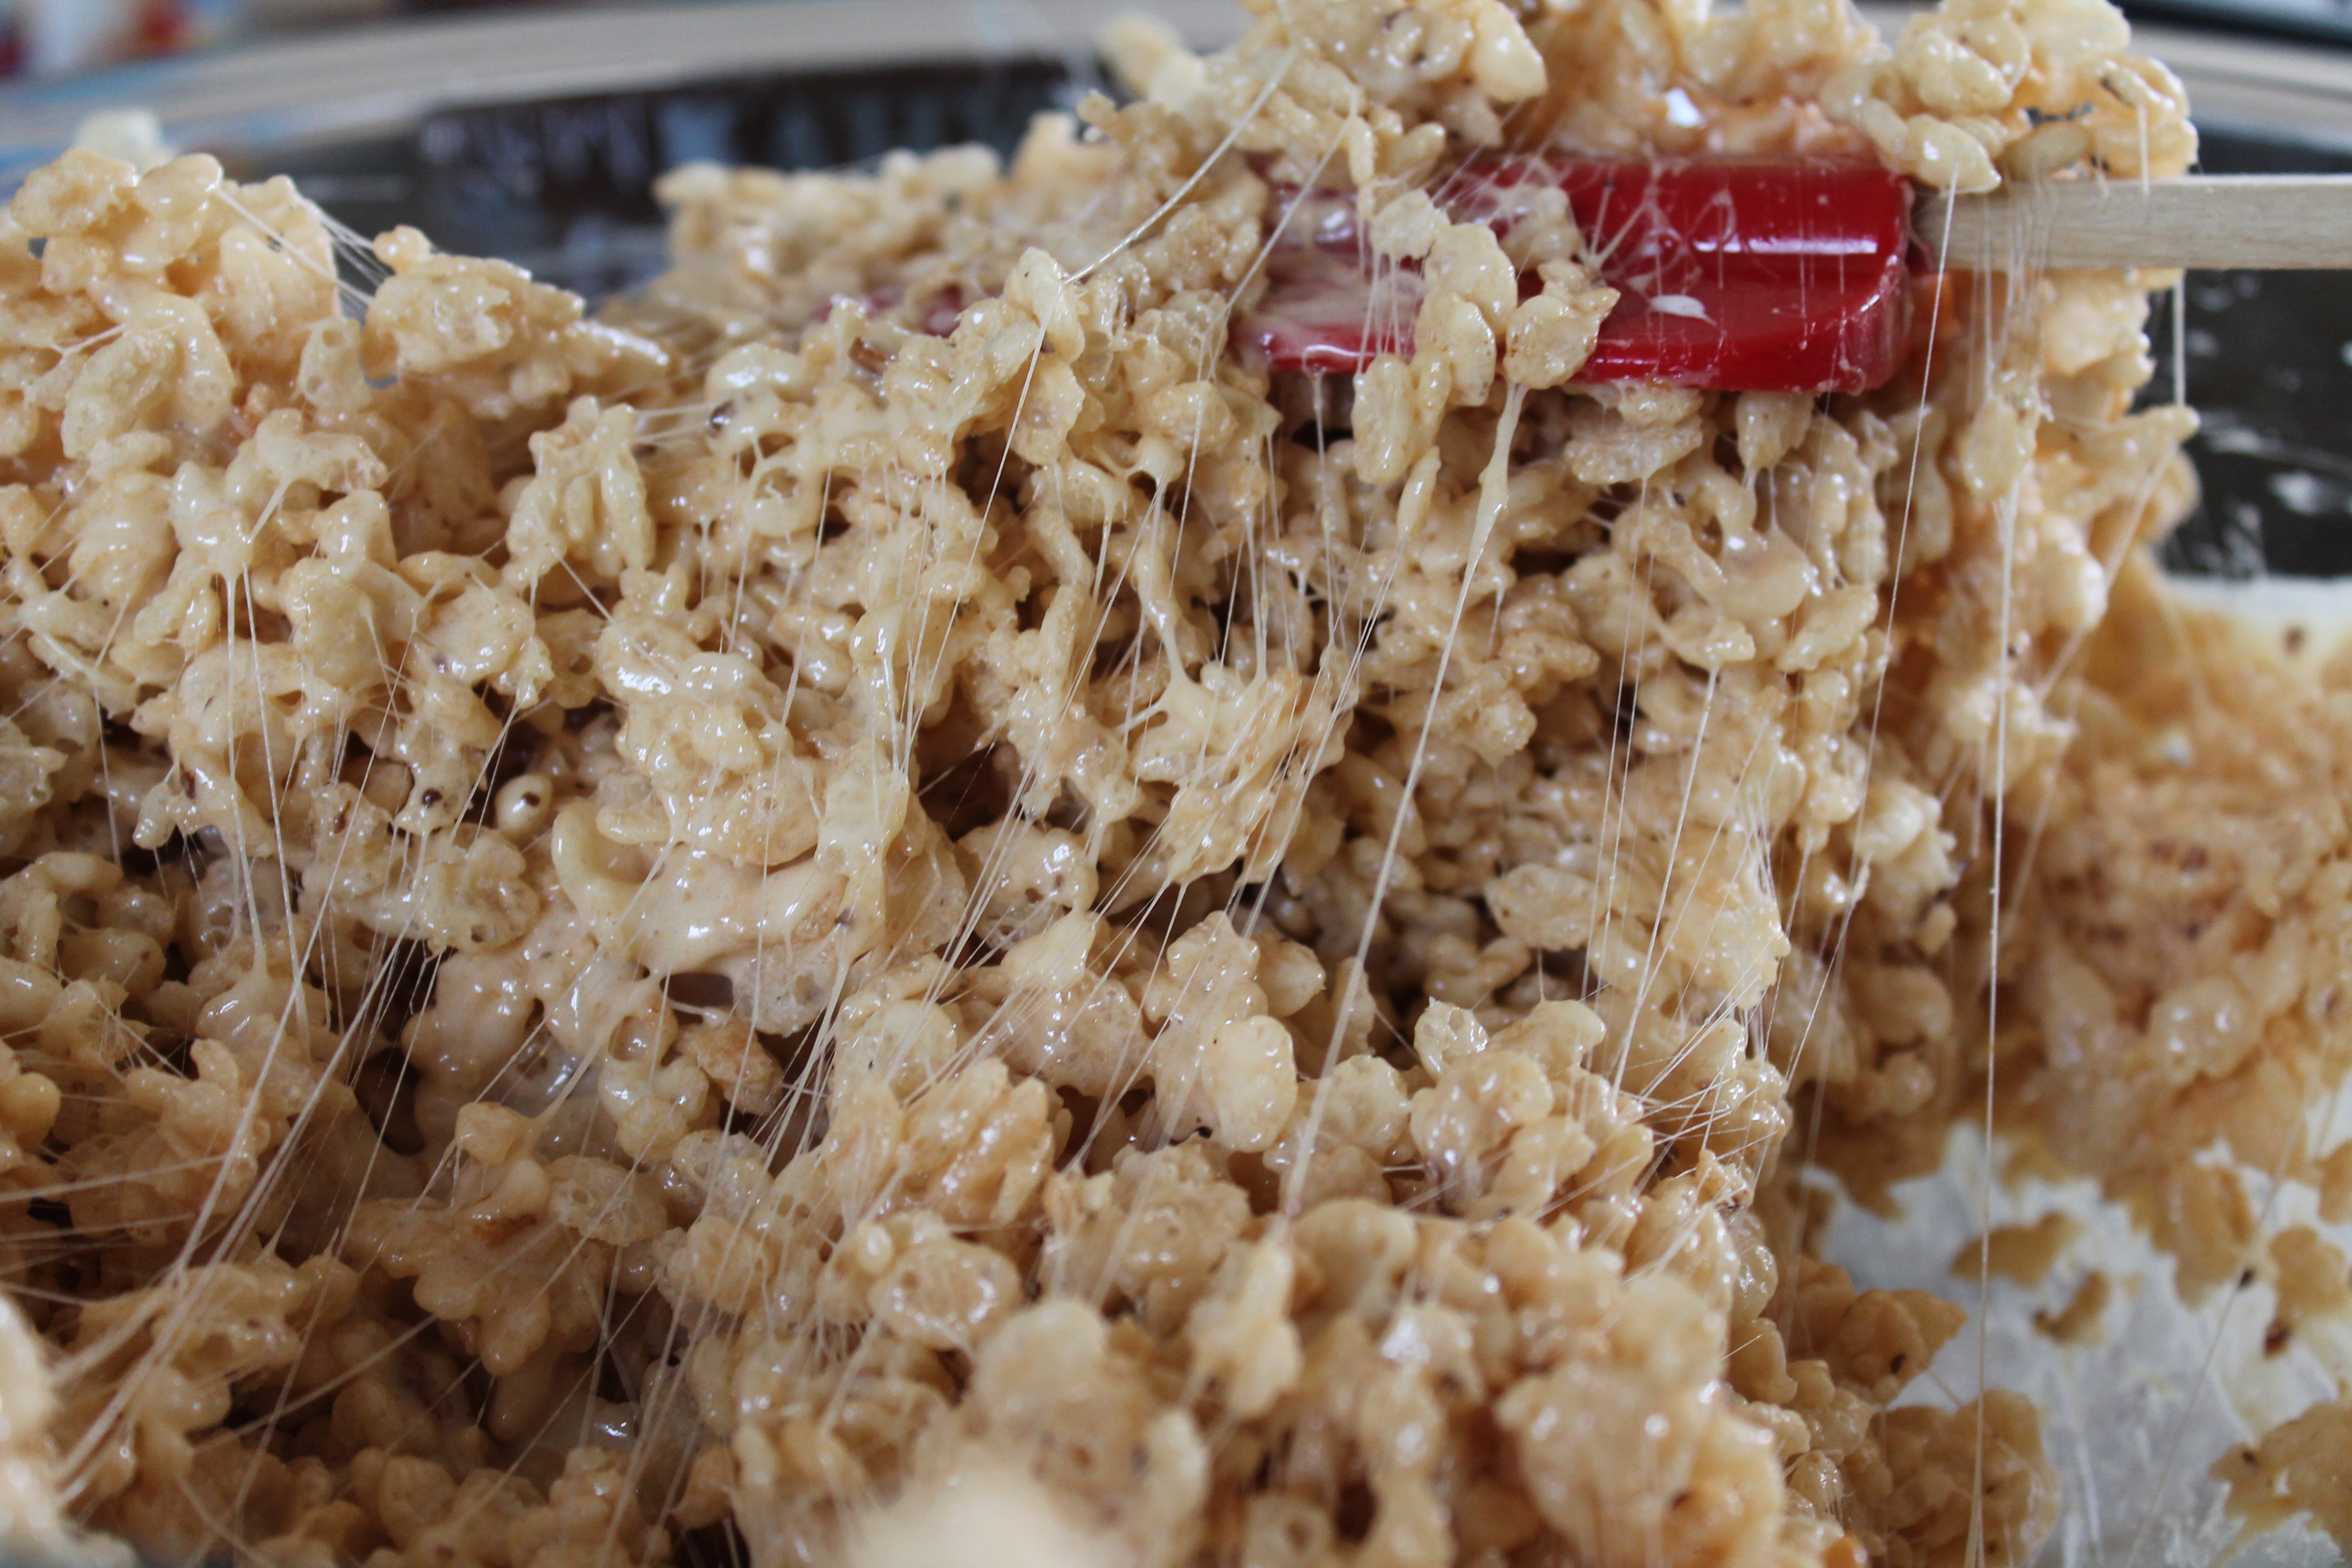 Stir the marshmallow mixture into the cereal. It will become stretchy and sticky.
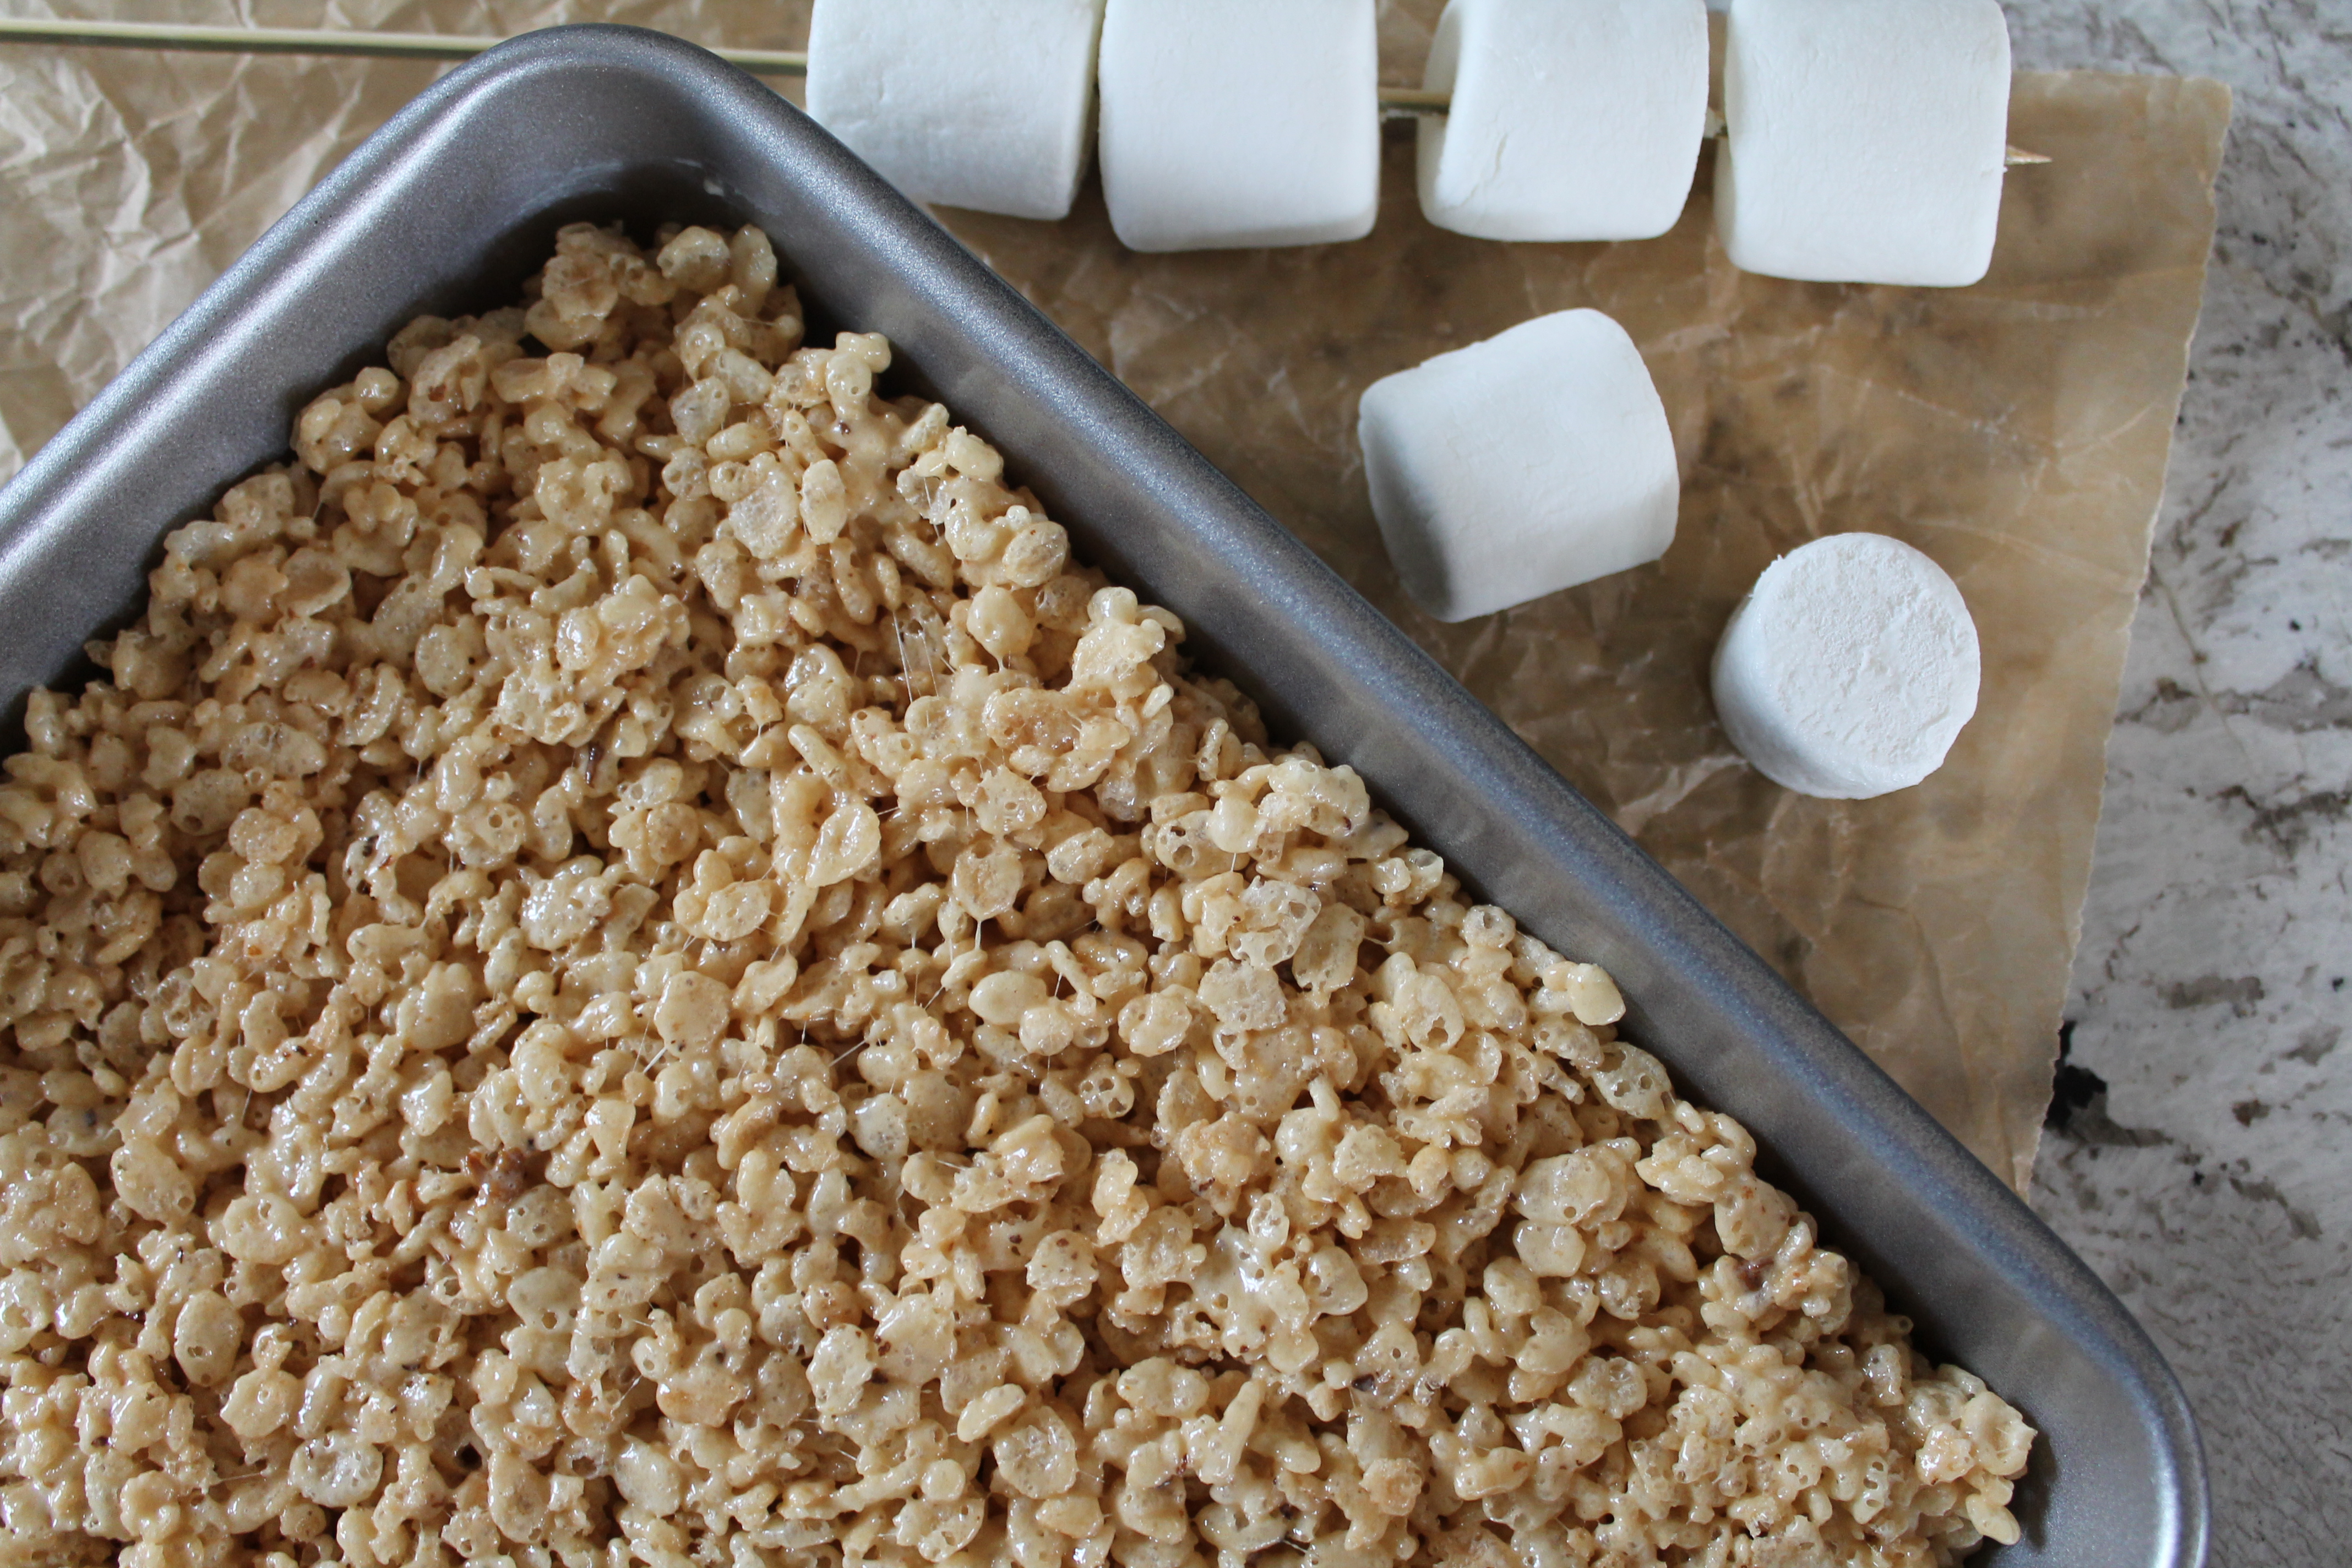 Work quickly, as the marshmallow is more elastic when warm. Scoop the Krispies out into a buttered 9″ square baking dish. Press into a flat layer with your hands. Seriously, press them in. There is nothing so unappealing (to me at least…again, not generally a fan of Krispie treats) as a limp and loosely sagging dessert.
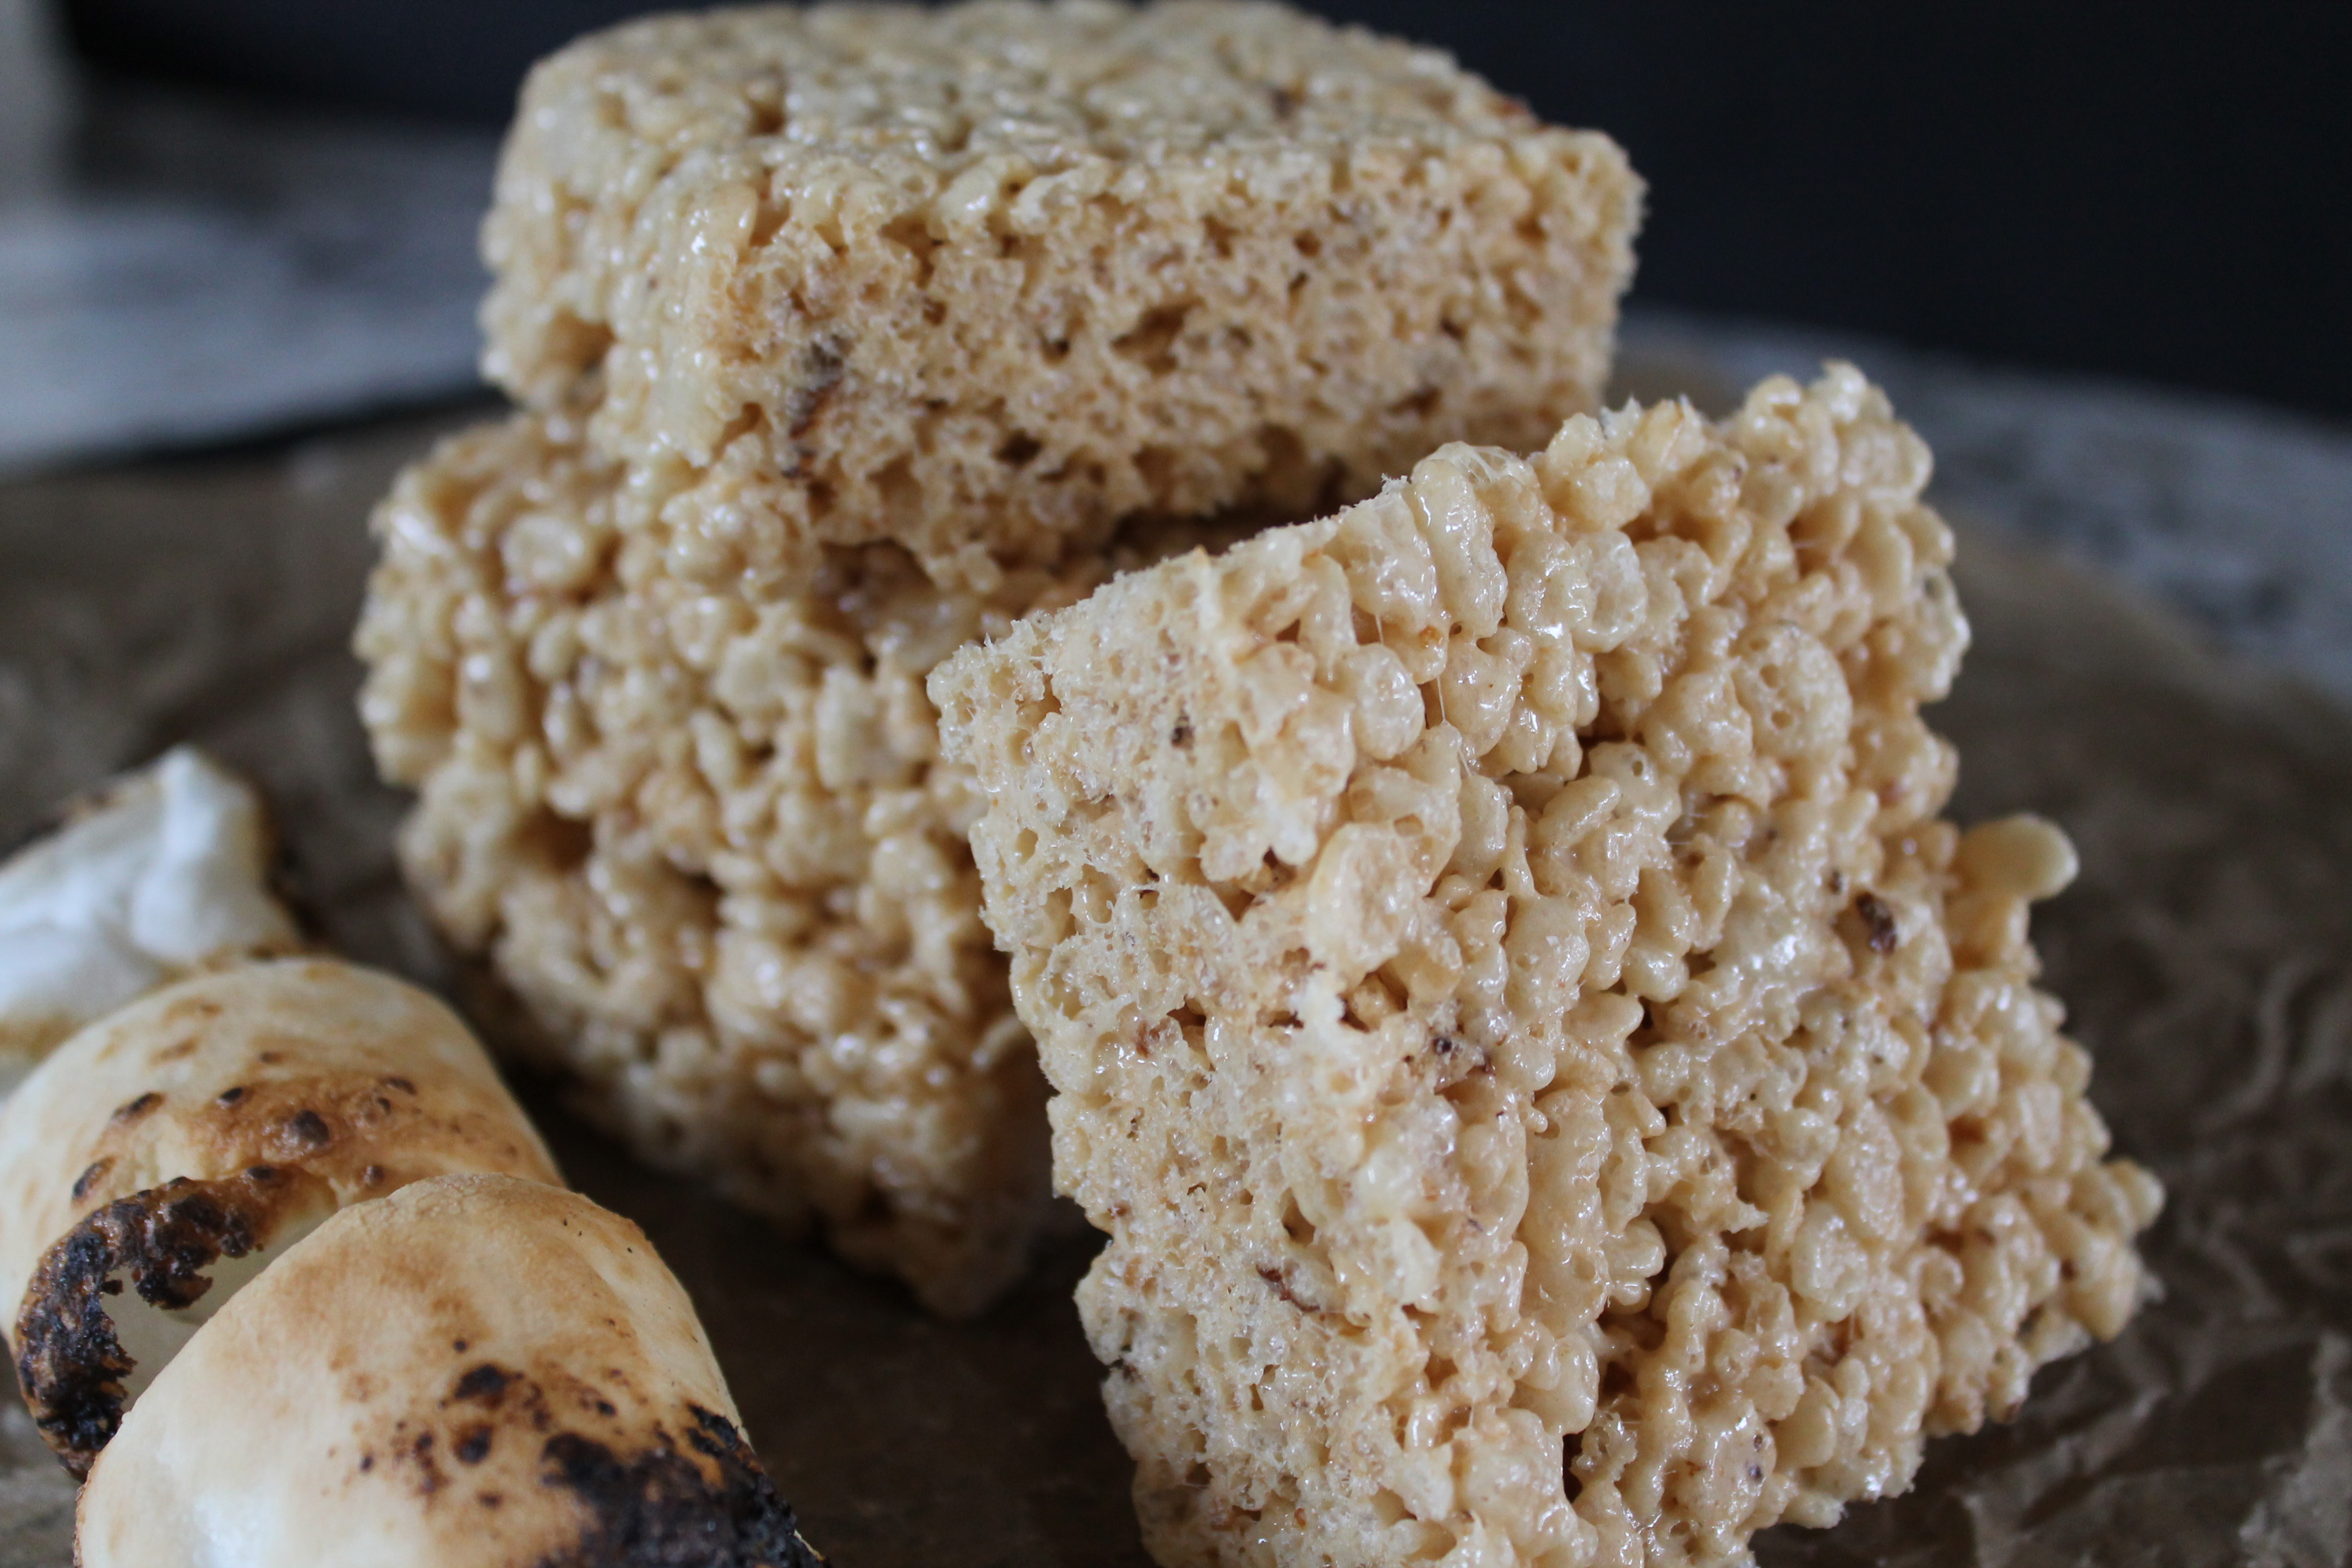
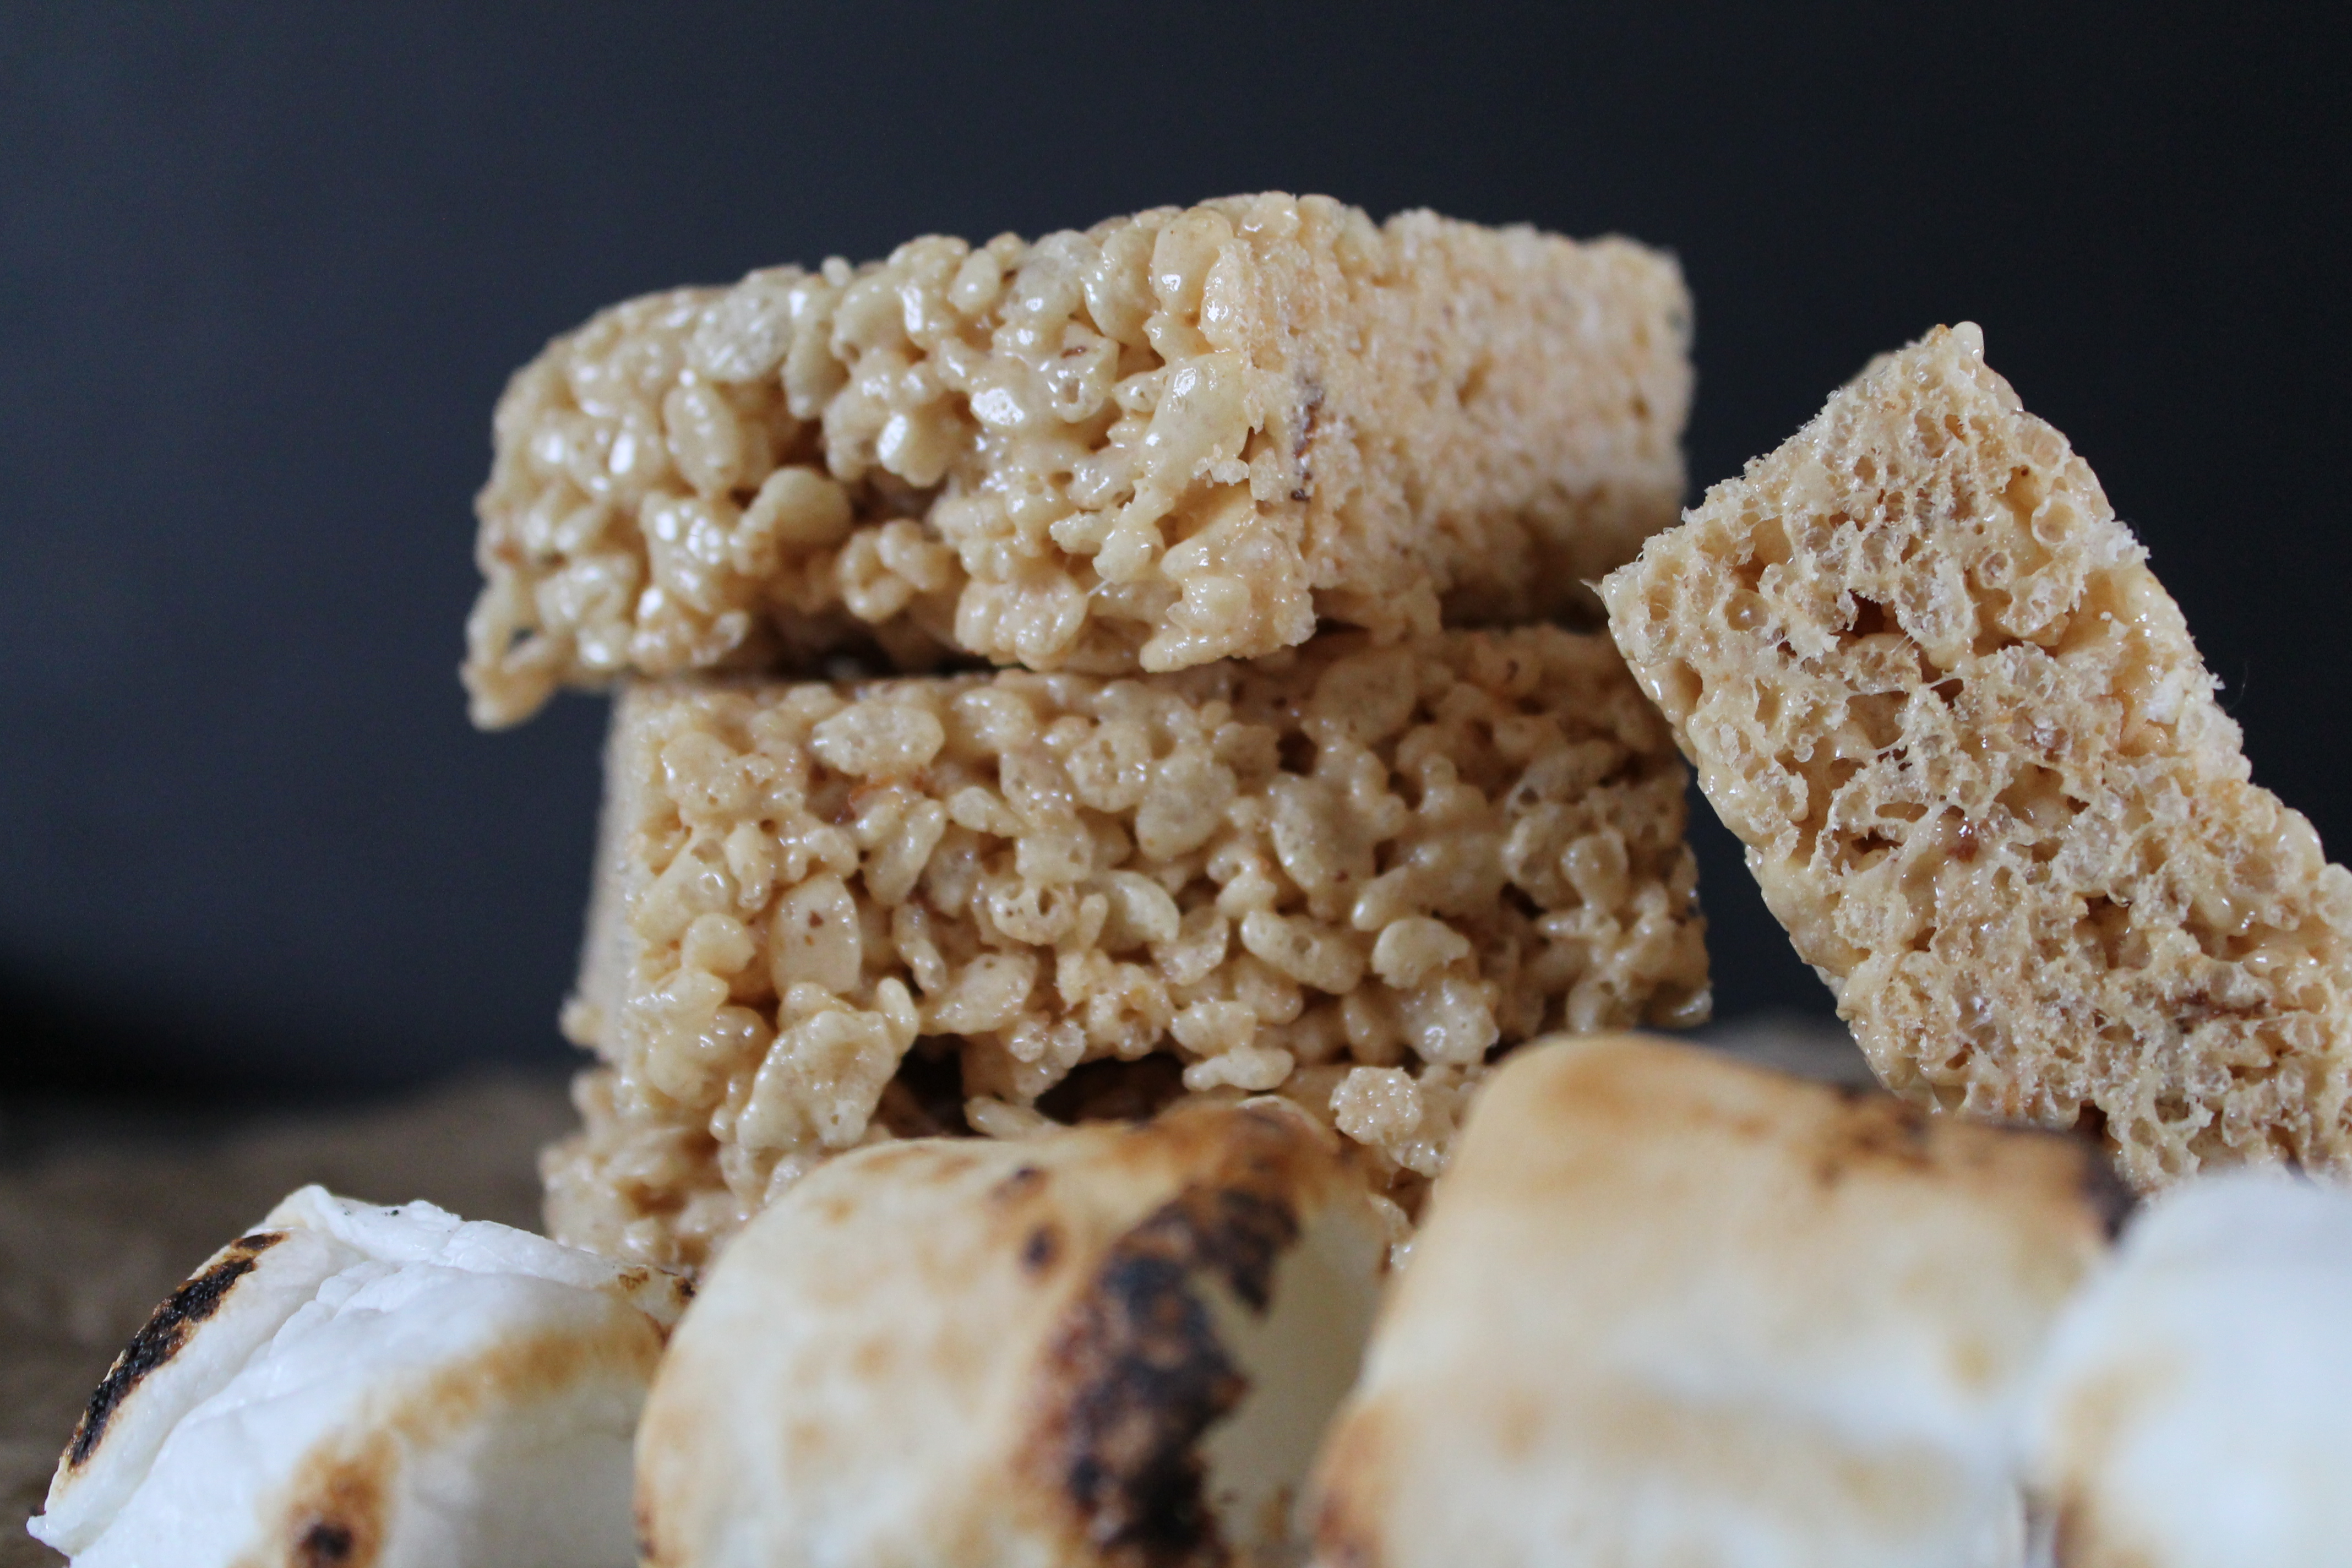 Let the Krispies cool completely, then turn out onto a cutting board and slice into thick chunks. These babies have some heft to them!
Toasted Marshmallow Rice Krispie Treats
from Cookies and Cups
makes 16
Ingredients:
10 oz. marshmallows
¼ cup unsalted butter
pinch of salt
6 cups Rice Krispies cereal
Directions:
Place the marshmallows on a greased, foil-lined cookie sheet. Broil in the oven for 2 minutes, or until browned on top. Keep a close eye on the marshmallows as they can burn quickly. When the marshmallows are puffed and toasted, remove them from the boiler and set aside.
Brown the butter in a saucepan over medium-low heat. Swirl the pan regularly to prevent the butter from burning. When the butter is a beautiful medium brown, remove it from the heat.
Scrape the toasted marshmallows into the pan with the brown butter and a pinch of salt and return to the heat. Stir with a spatula until the marshmallows melt into the butter.
Place the cereal in a very large bowl. Pour the sticky liquid over the Rice Krispies and stir with the spatula until the mixture is evenly combined.
Scrape the Rice Krispies into a foil-lined and greased 9″ square pan. Press into an even layer.
Let the treats cool completely before cutting into large squares.
Enjoy!
- One year ago: Oatmeal Energy Bites
- Two years ago: Pumpkin-Apple Bread Pudding
- Three years ago: Baby Jake
- Four years ago: Pumpkin Snickerdoodles