Summersummersummersummersummersummersummersummersummersummersummersummer, tomAto, tomAto! COOOOOOOORN, COOOOOOORN.
Haha. Maybe that was mean. (If you, like me, *unwillingly* watched and re-watched bizarre internet cartoons back in the early 2000s—but now look back on that time with fondness—and if not, then your current confusion makes me feel old and/or young.)
But I kid.
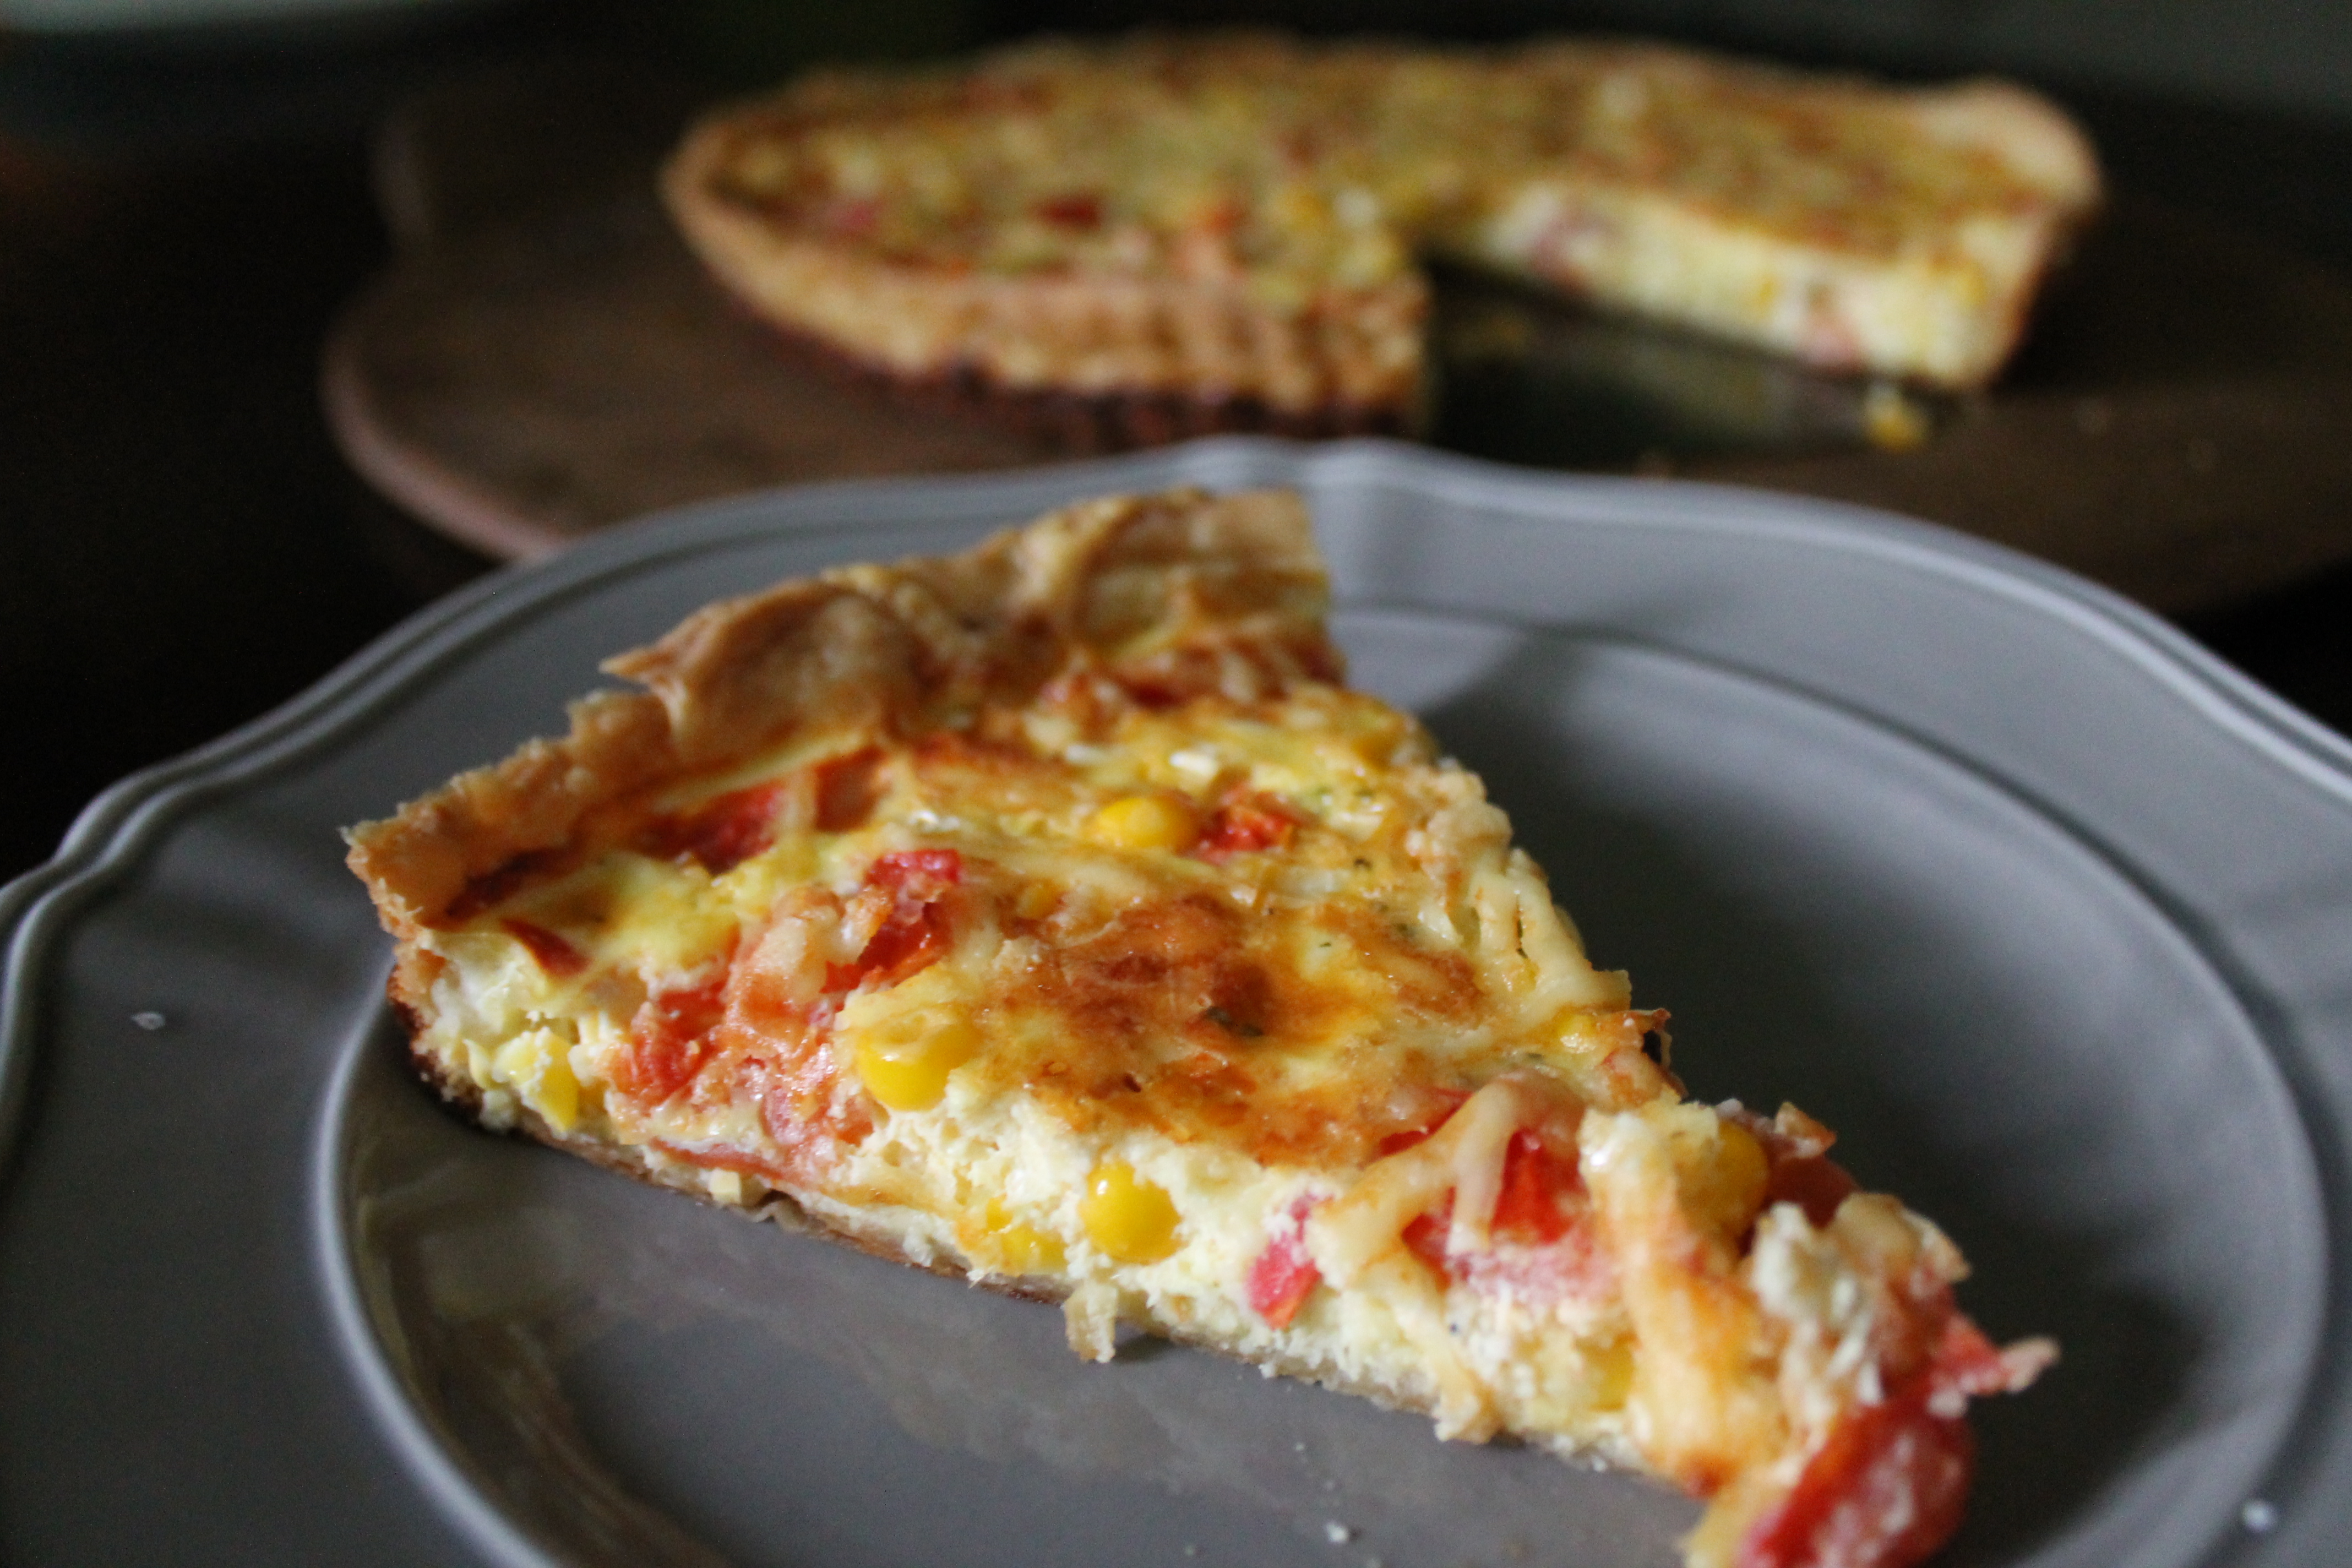
Anyway. Make some quiche! Quiche is great food! If you skip the crust, then this meal comes together super quickly (and is more of a frittata than a quiche…just saying). If you don’t skip the crust, you may find yourself grumbling under your breath because the crust shrank weirdly when you par-baked it, despite your use of pie weights. No? Just me, again?
But it will all turn out lovely and delicious and tasting of summer!
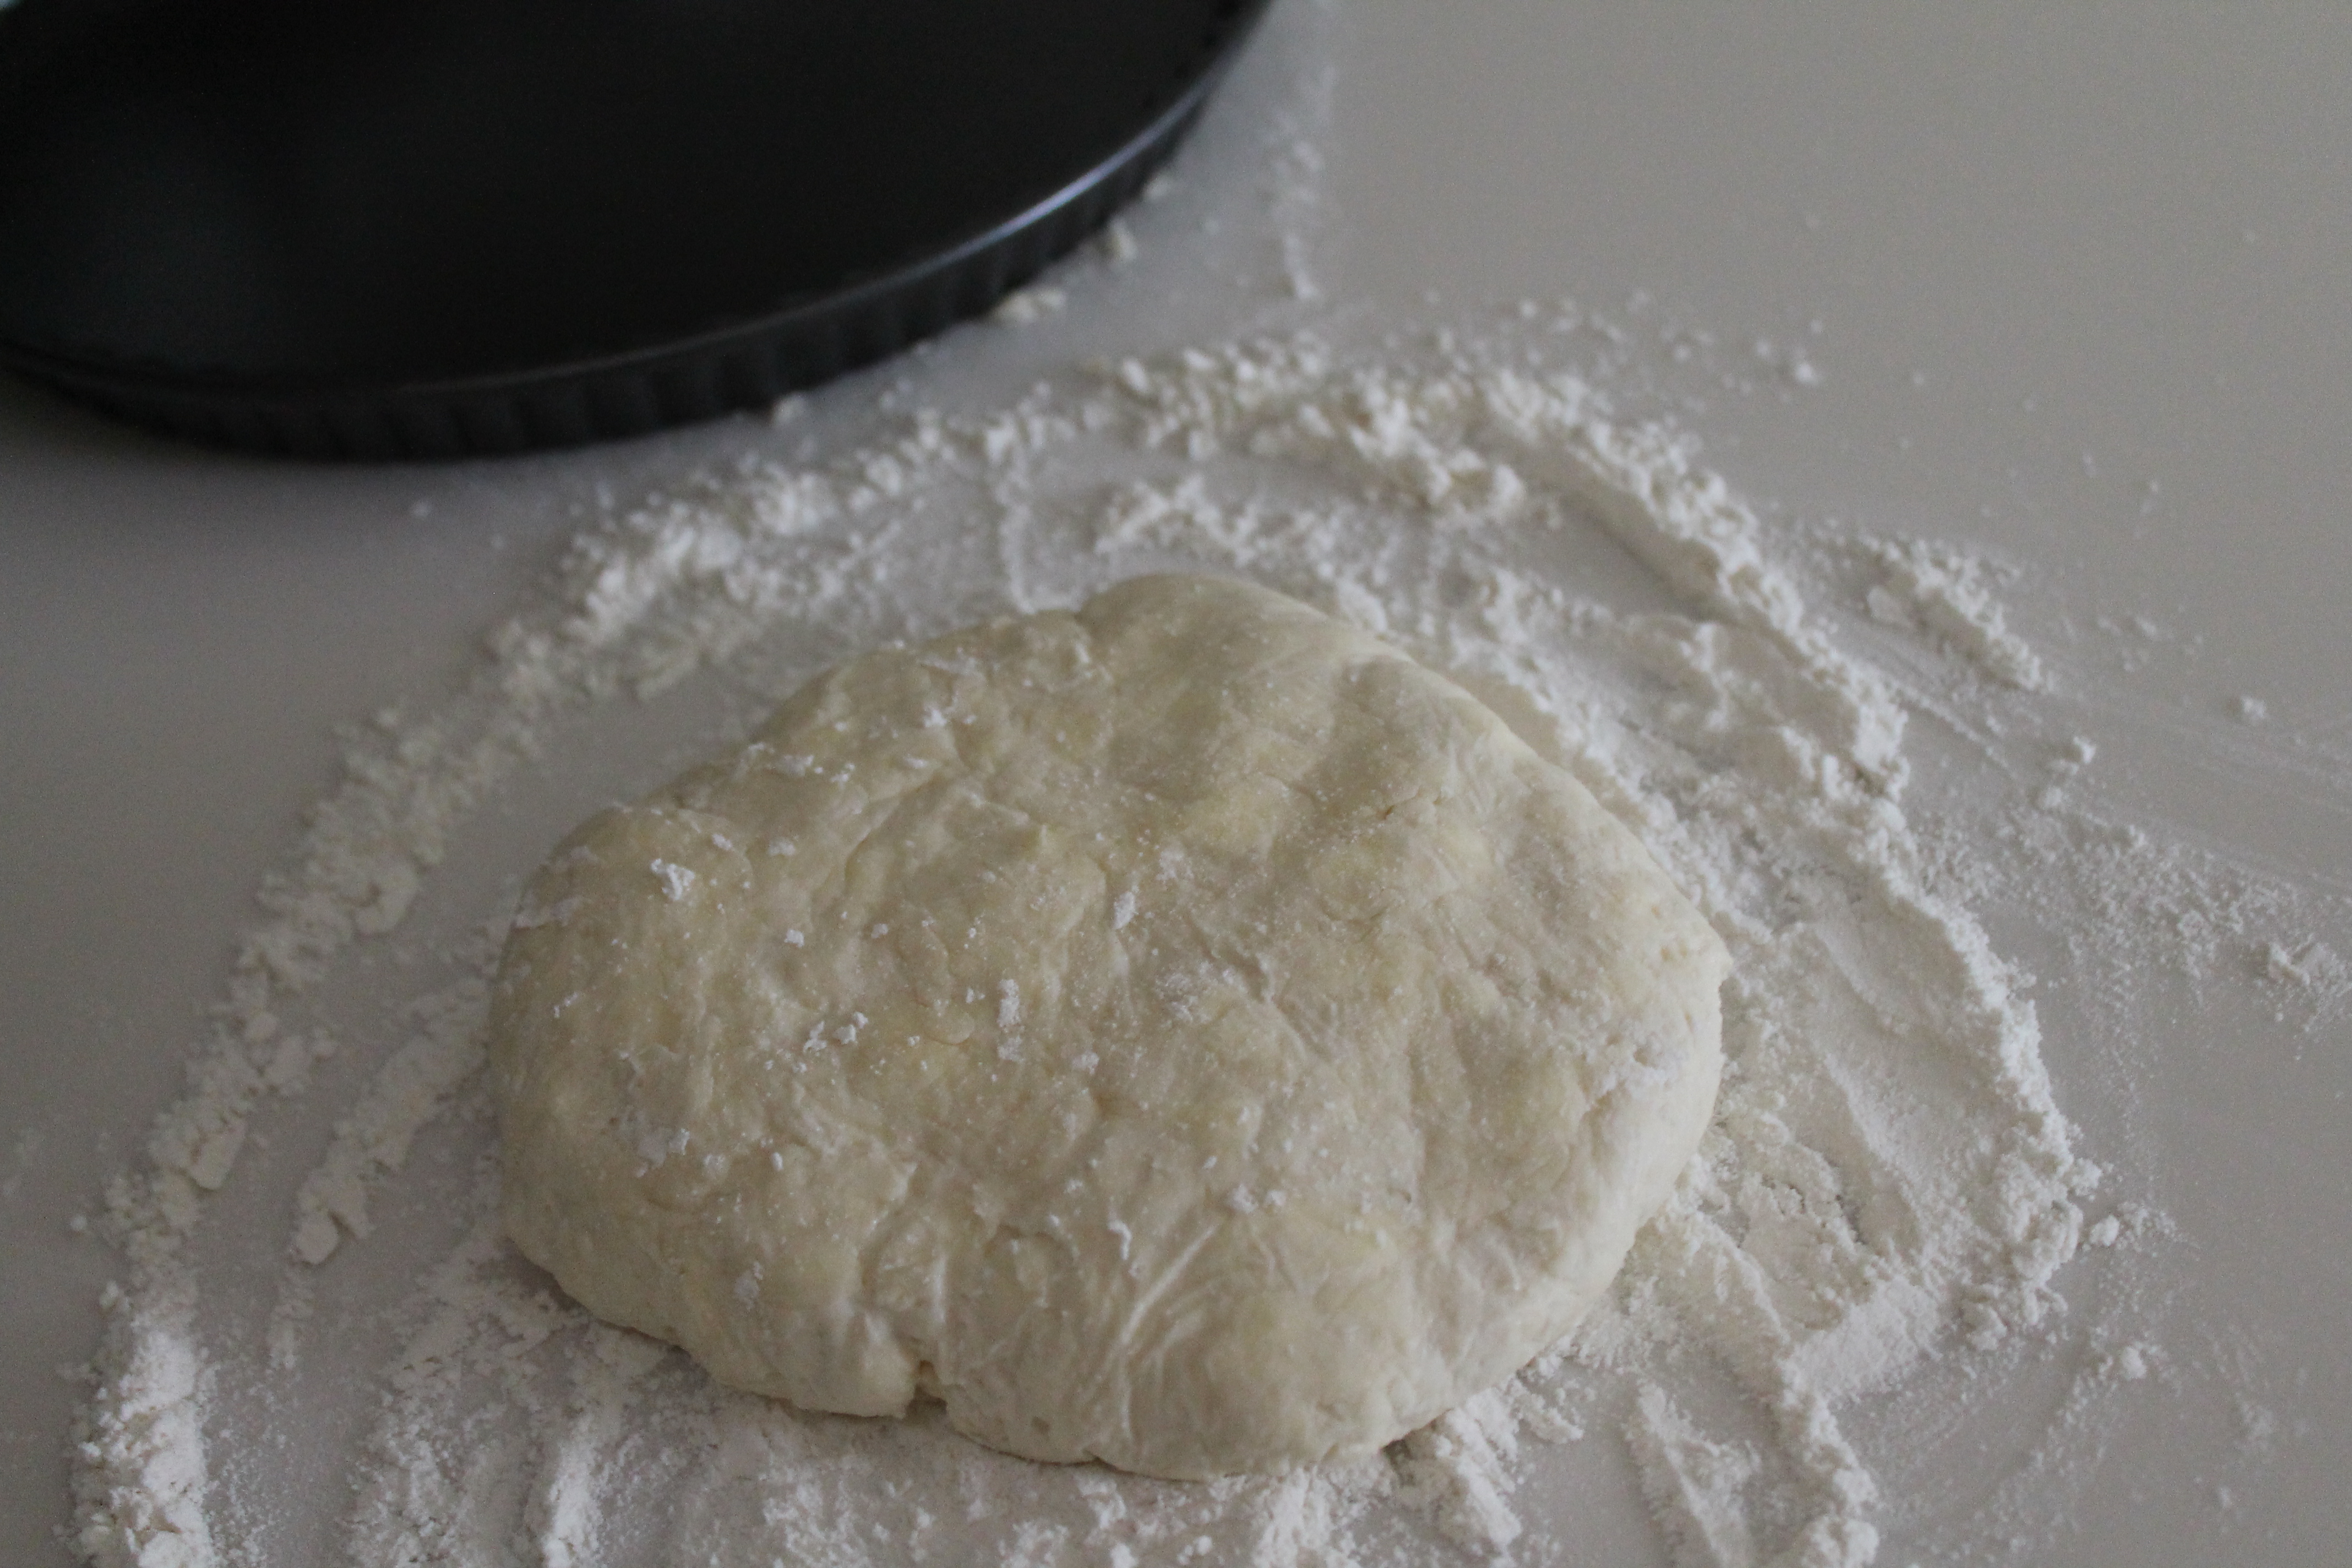 Par-baked crusts and I are having words this week. But I figure I should tell you about the ups and the downs, too, right? So here’s the skitch: I make a lot of pie crusts. I have the recipe memorized. (It’s not hard…4 ingredients can be committed to memory, right?) My recipe makes two crusts, which is a good thing in my book, because then I can have pies or tarts twice, right? Right!
On this particular occasion, however, I decided to make just a single crust. And then, as I absentmindedly tossed the water into the buttery flour, I used almost the whole amount for the double crust. Oops. By the way, when you are par-baking a crust, it’s ideal for the mixture to be dryer than normal, held together by sheer force of butter and as little water as possible, so that it doesn’t puff or shrink as crazily. So…oops again.
But! No matter what your crust does when you are baking it, whether the sides shrink down or the bottom gets holes, you can always patch it with a little extra dough before you fill it. Which is totally what I did this time. And this quiche was still delicious and the crust was still crisp.
So. I am not going to tell you all about baking a crust for this quiche. My crust was awkward.
Let’s just move on to the filling!
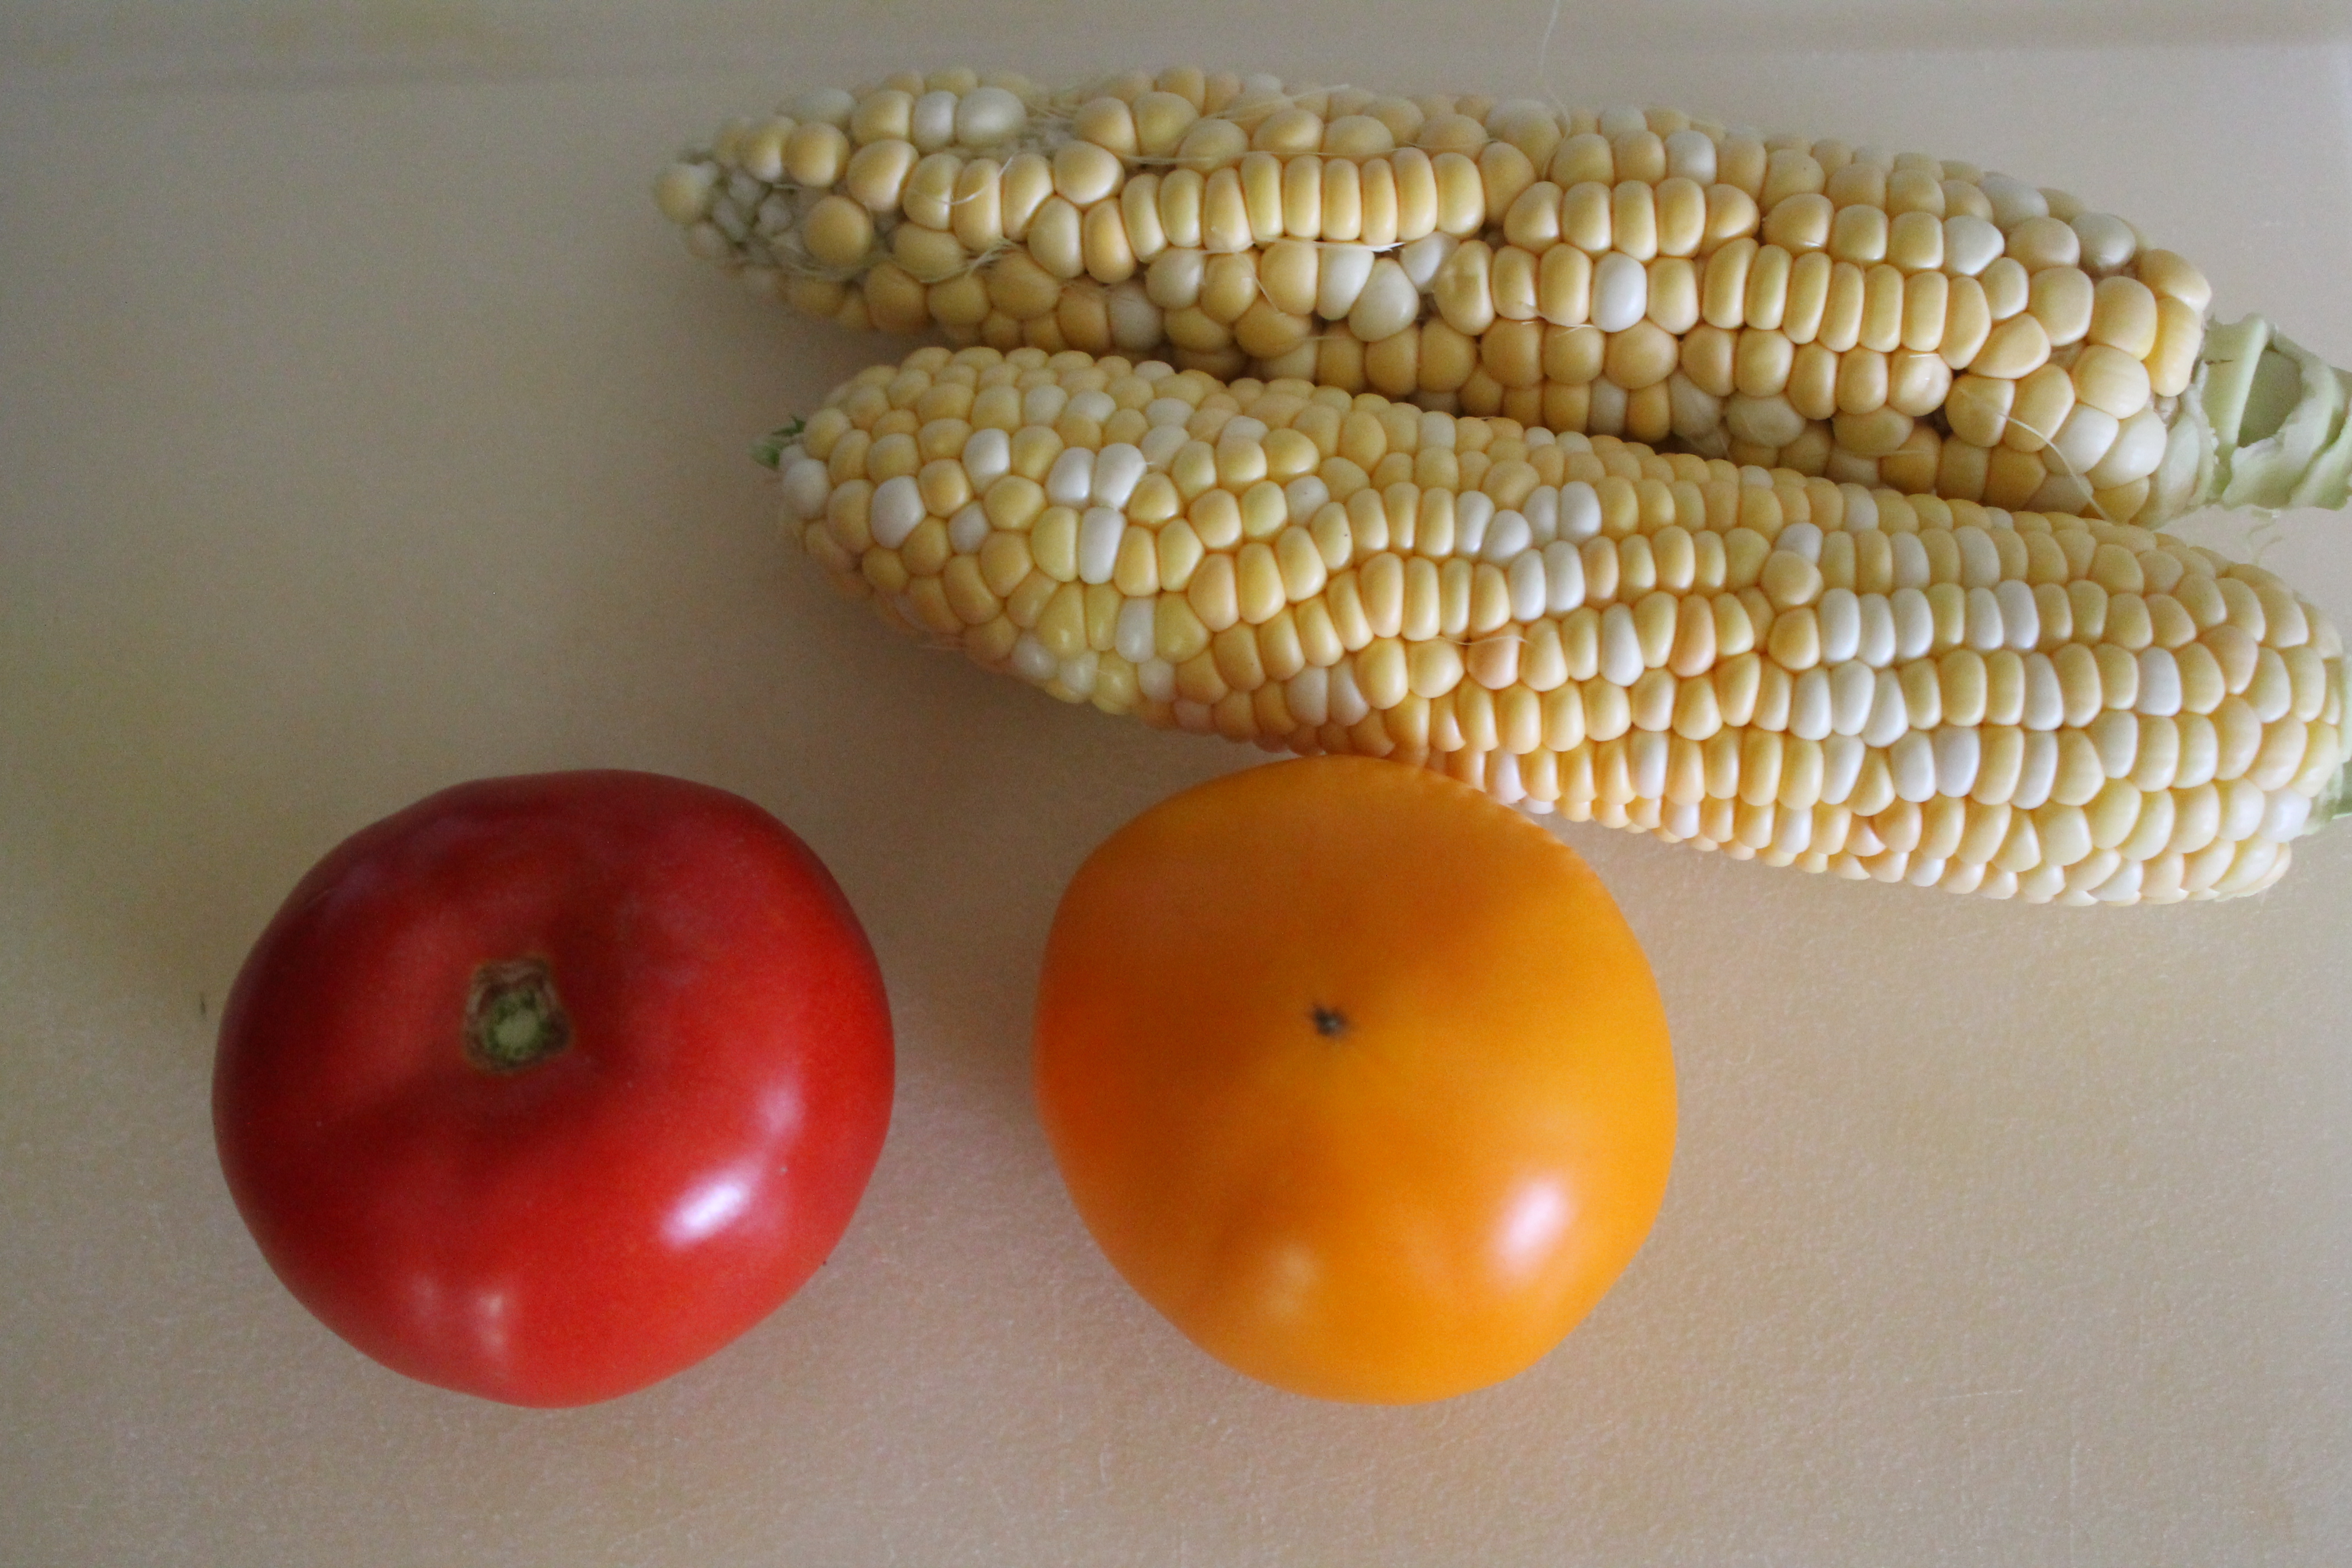 Grab two ears of beautiful, fresh corn. I bought my corn at the farmer’s market, and I loved opening up the ears to discover uneven rows of multicolored kernels! Beautiful. Cut the kernels off the cob.
Also, chop up the ripest tomato you can find. You can use any kind of tomato you like here, even grape tomatoes! Just make sure they smell delicious. Lately, my farmer’s market tomatoes have had a proportionally very small amount of pulp and seeds, so I didn’t worry about scraping that out, and I felt I only needed one tomato. If you are using very seedy tomatoes, you might need 2, and you might want to do away with some of that excess liquid so your quiche doesn’t turn out soupy.
Now whisk together the eggs, milk, sour cream, flour, fresh thyme, and seasonings. Dave really prefers an eggier quiche (that’s right! Real men eat quiche!), and my tart pan holds a smaller volume than a deeper pie dish would, so I decided to reduce the proportion of dairy in this quiche rather than simply making a smaller batch of custard.
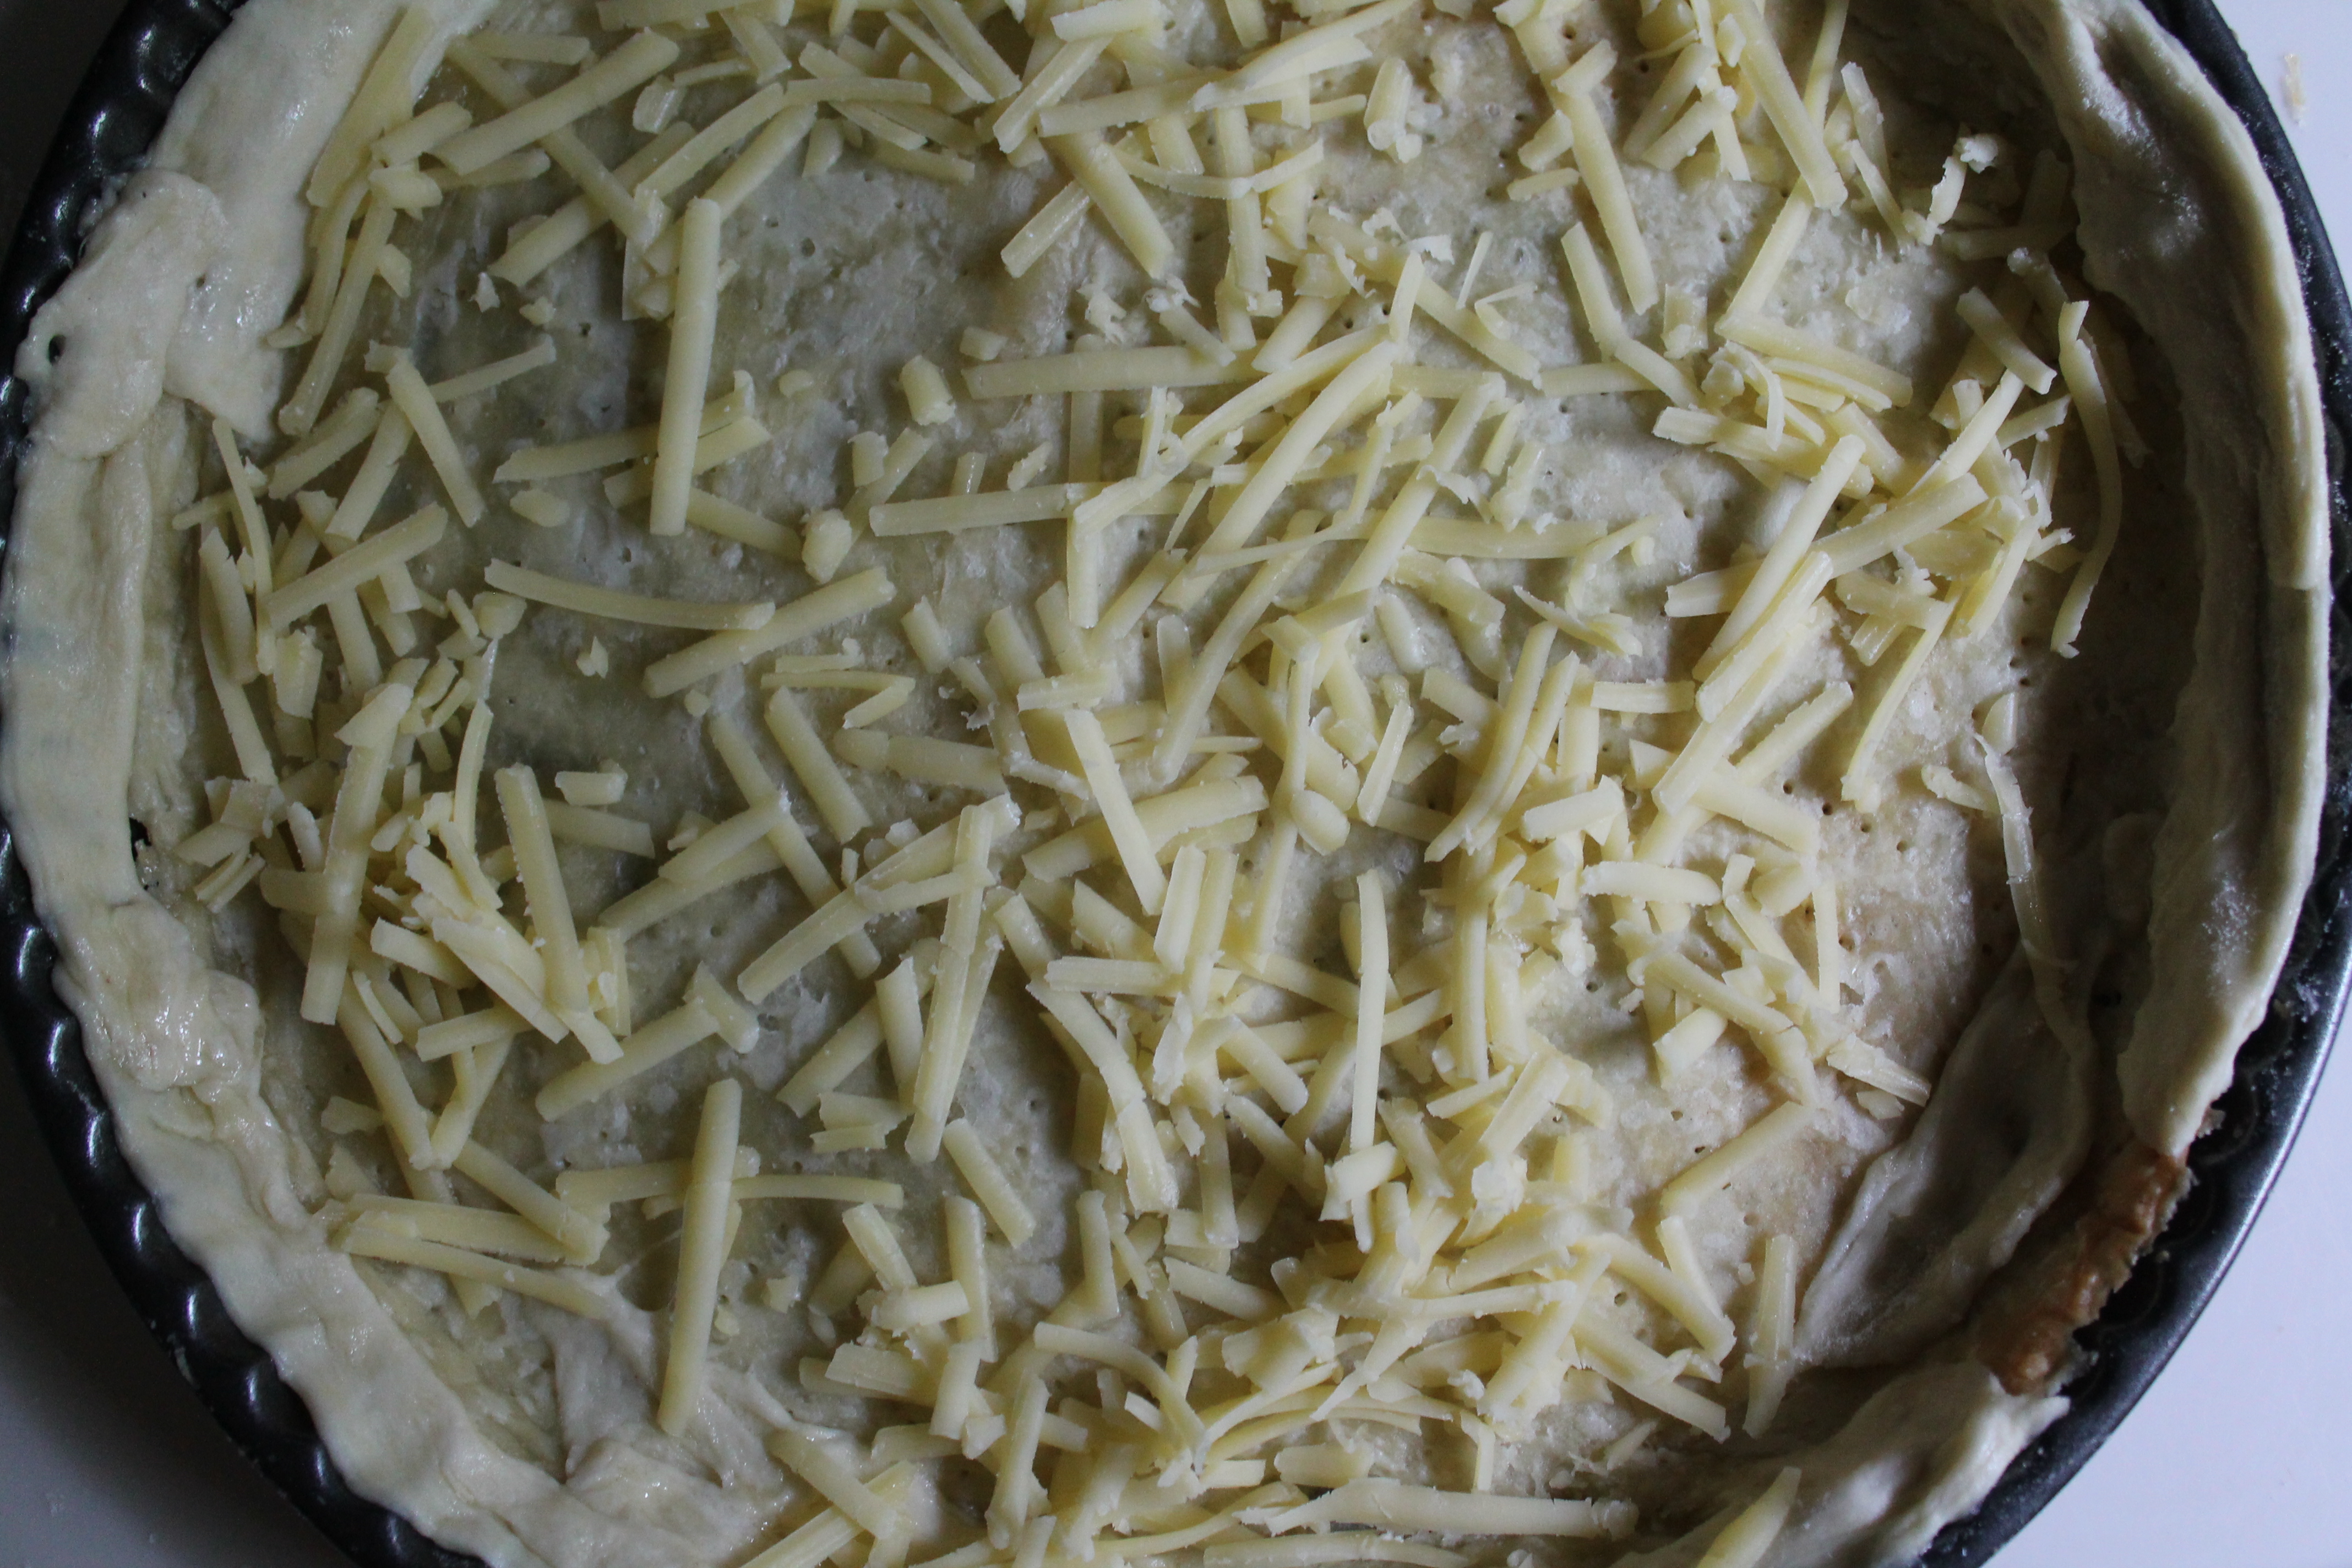 Whenever the crust is baked to your liking (I baked until set, then patched and skipped the extra browning this time; I didn’t want to risk the patches shrinking, and the edges of the tart would brown while the quiche was baking), grate about 2 oz. aged cheddar right into the bottom.
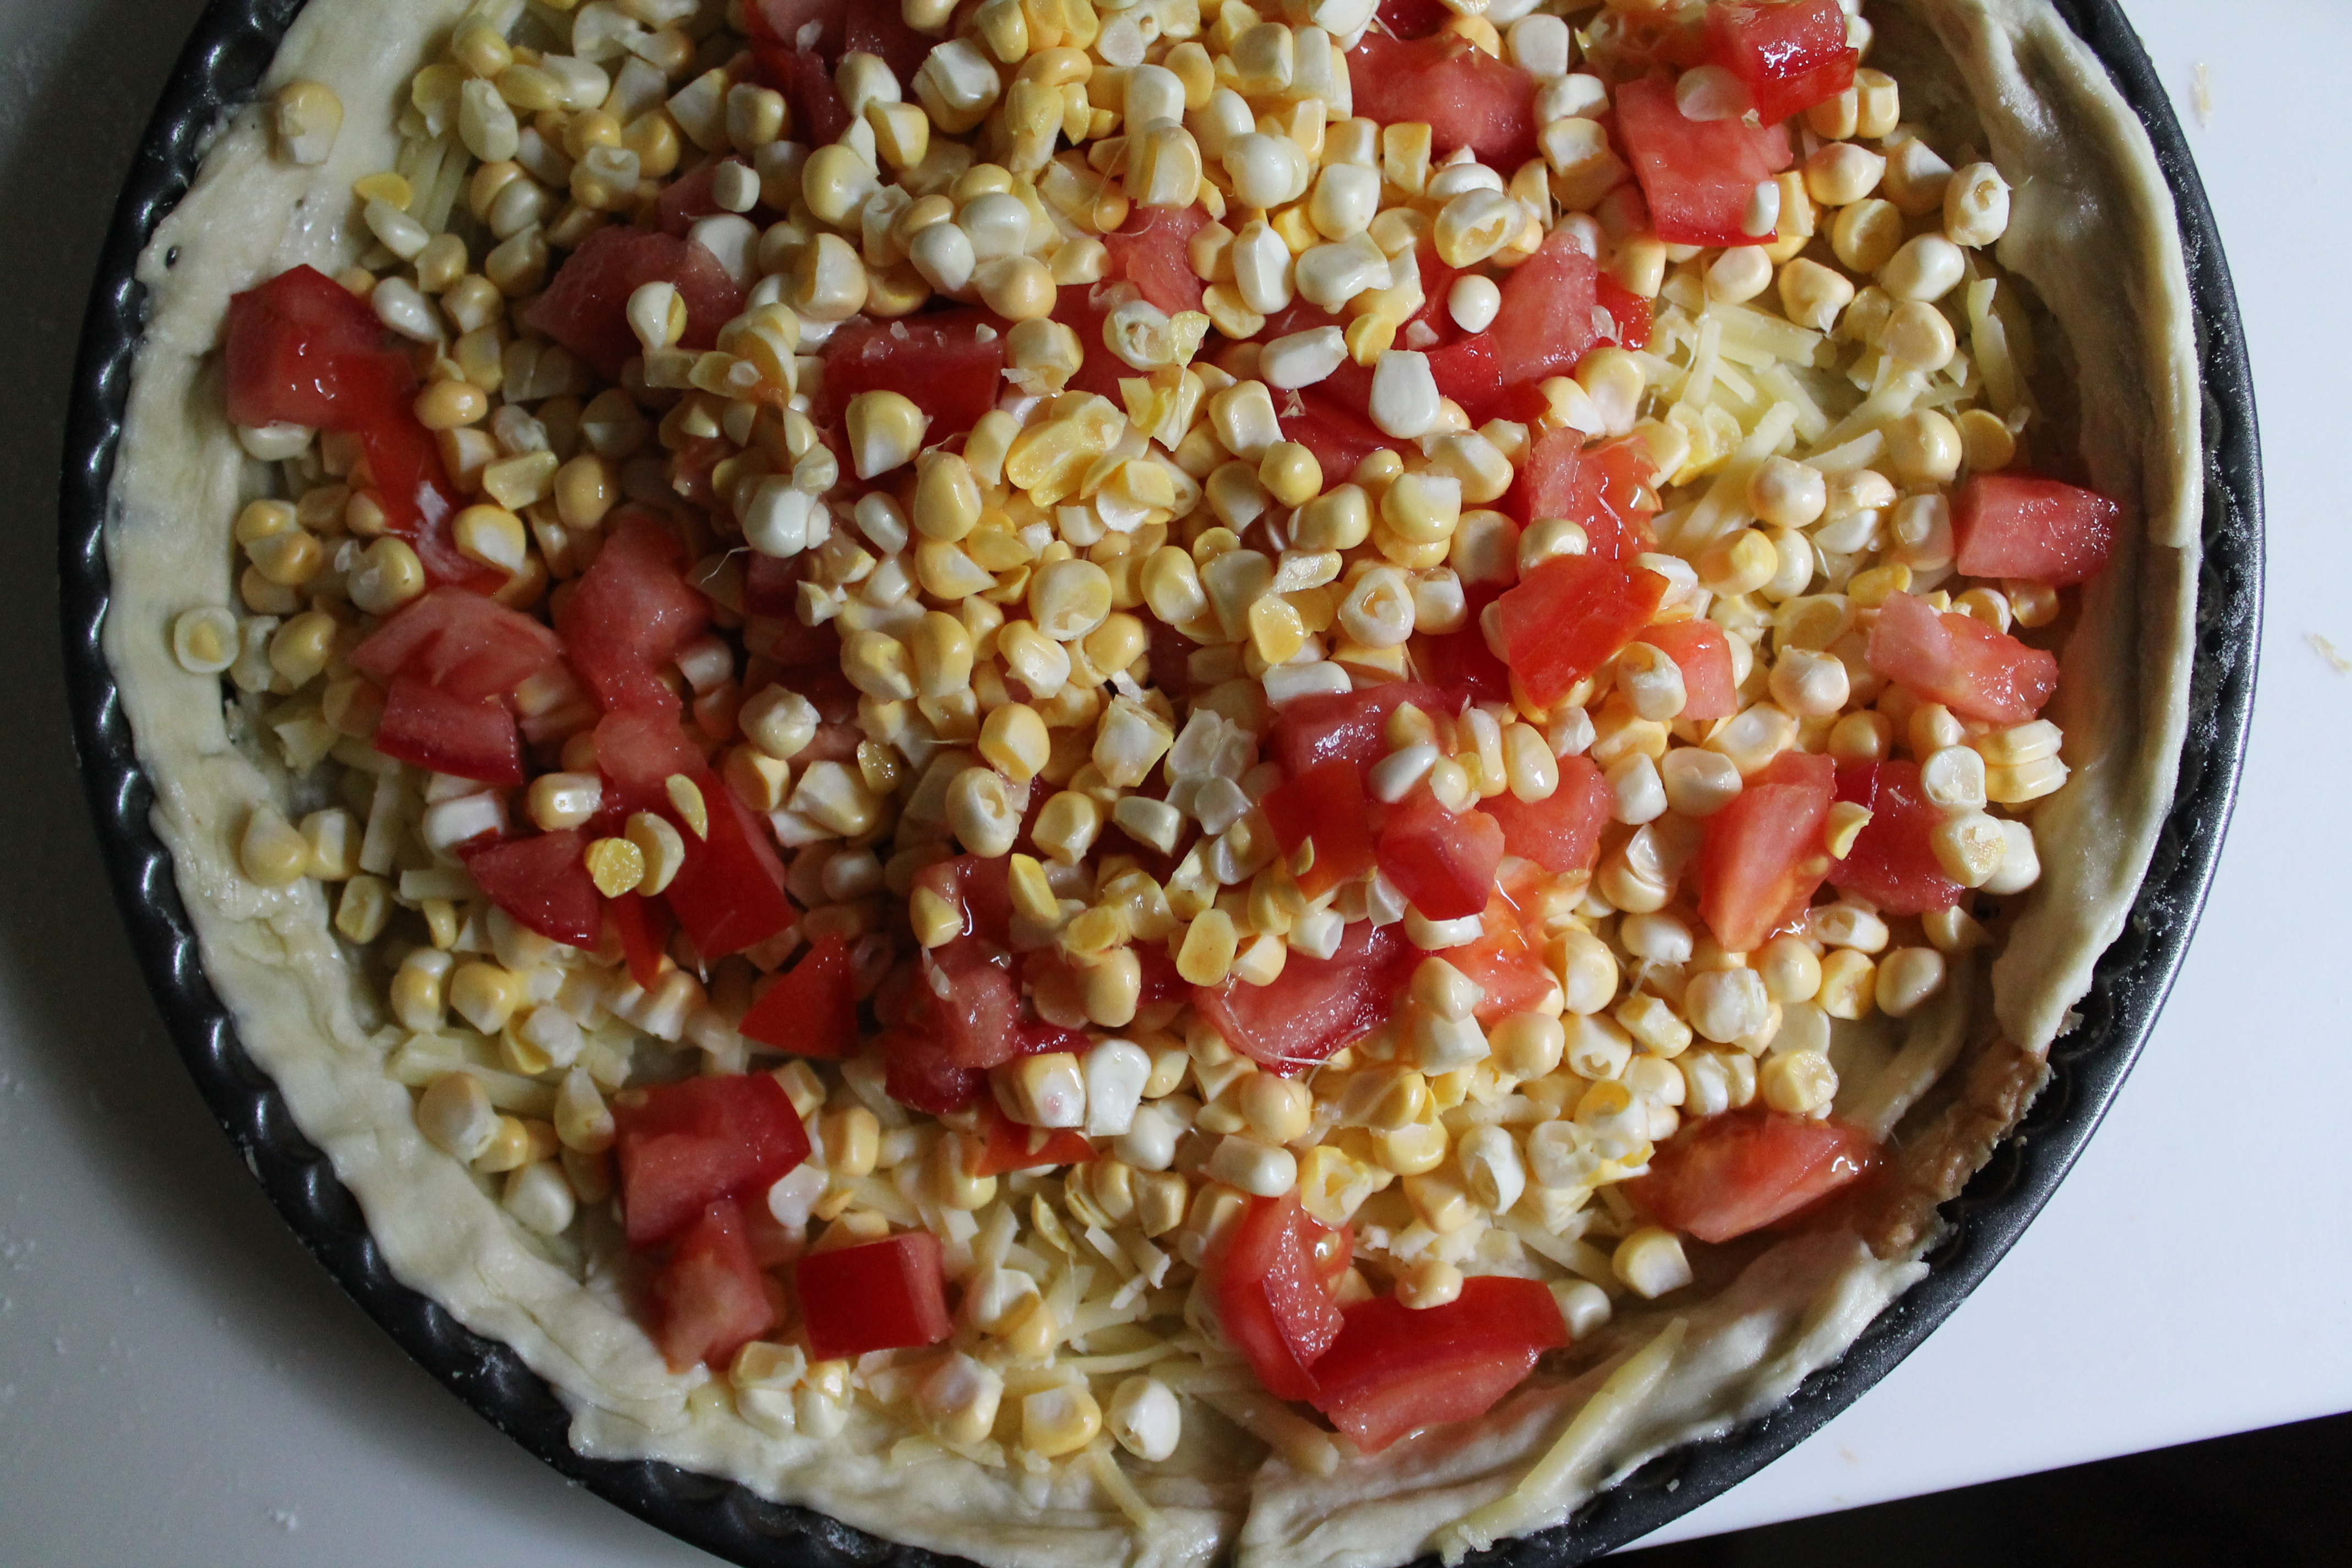 Toss the corn and tomatoes into the shell.
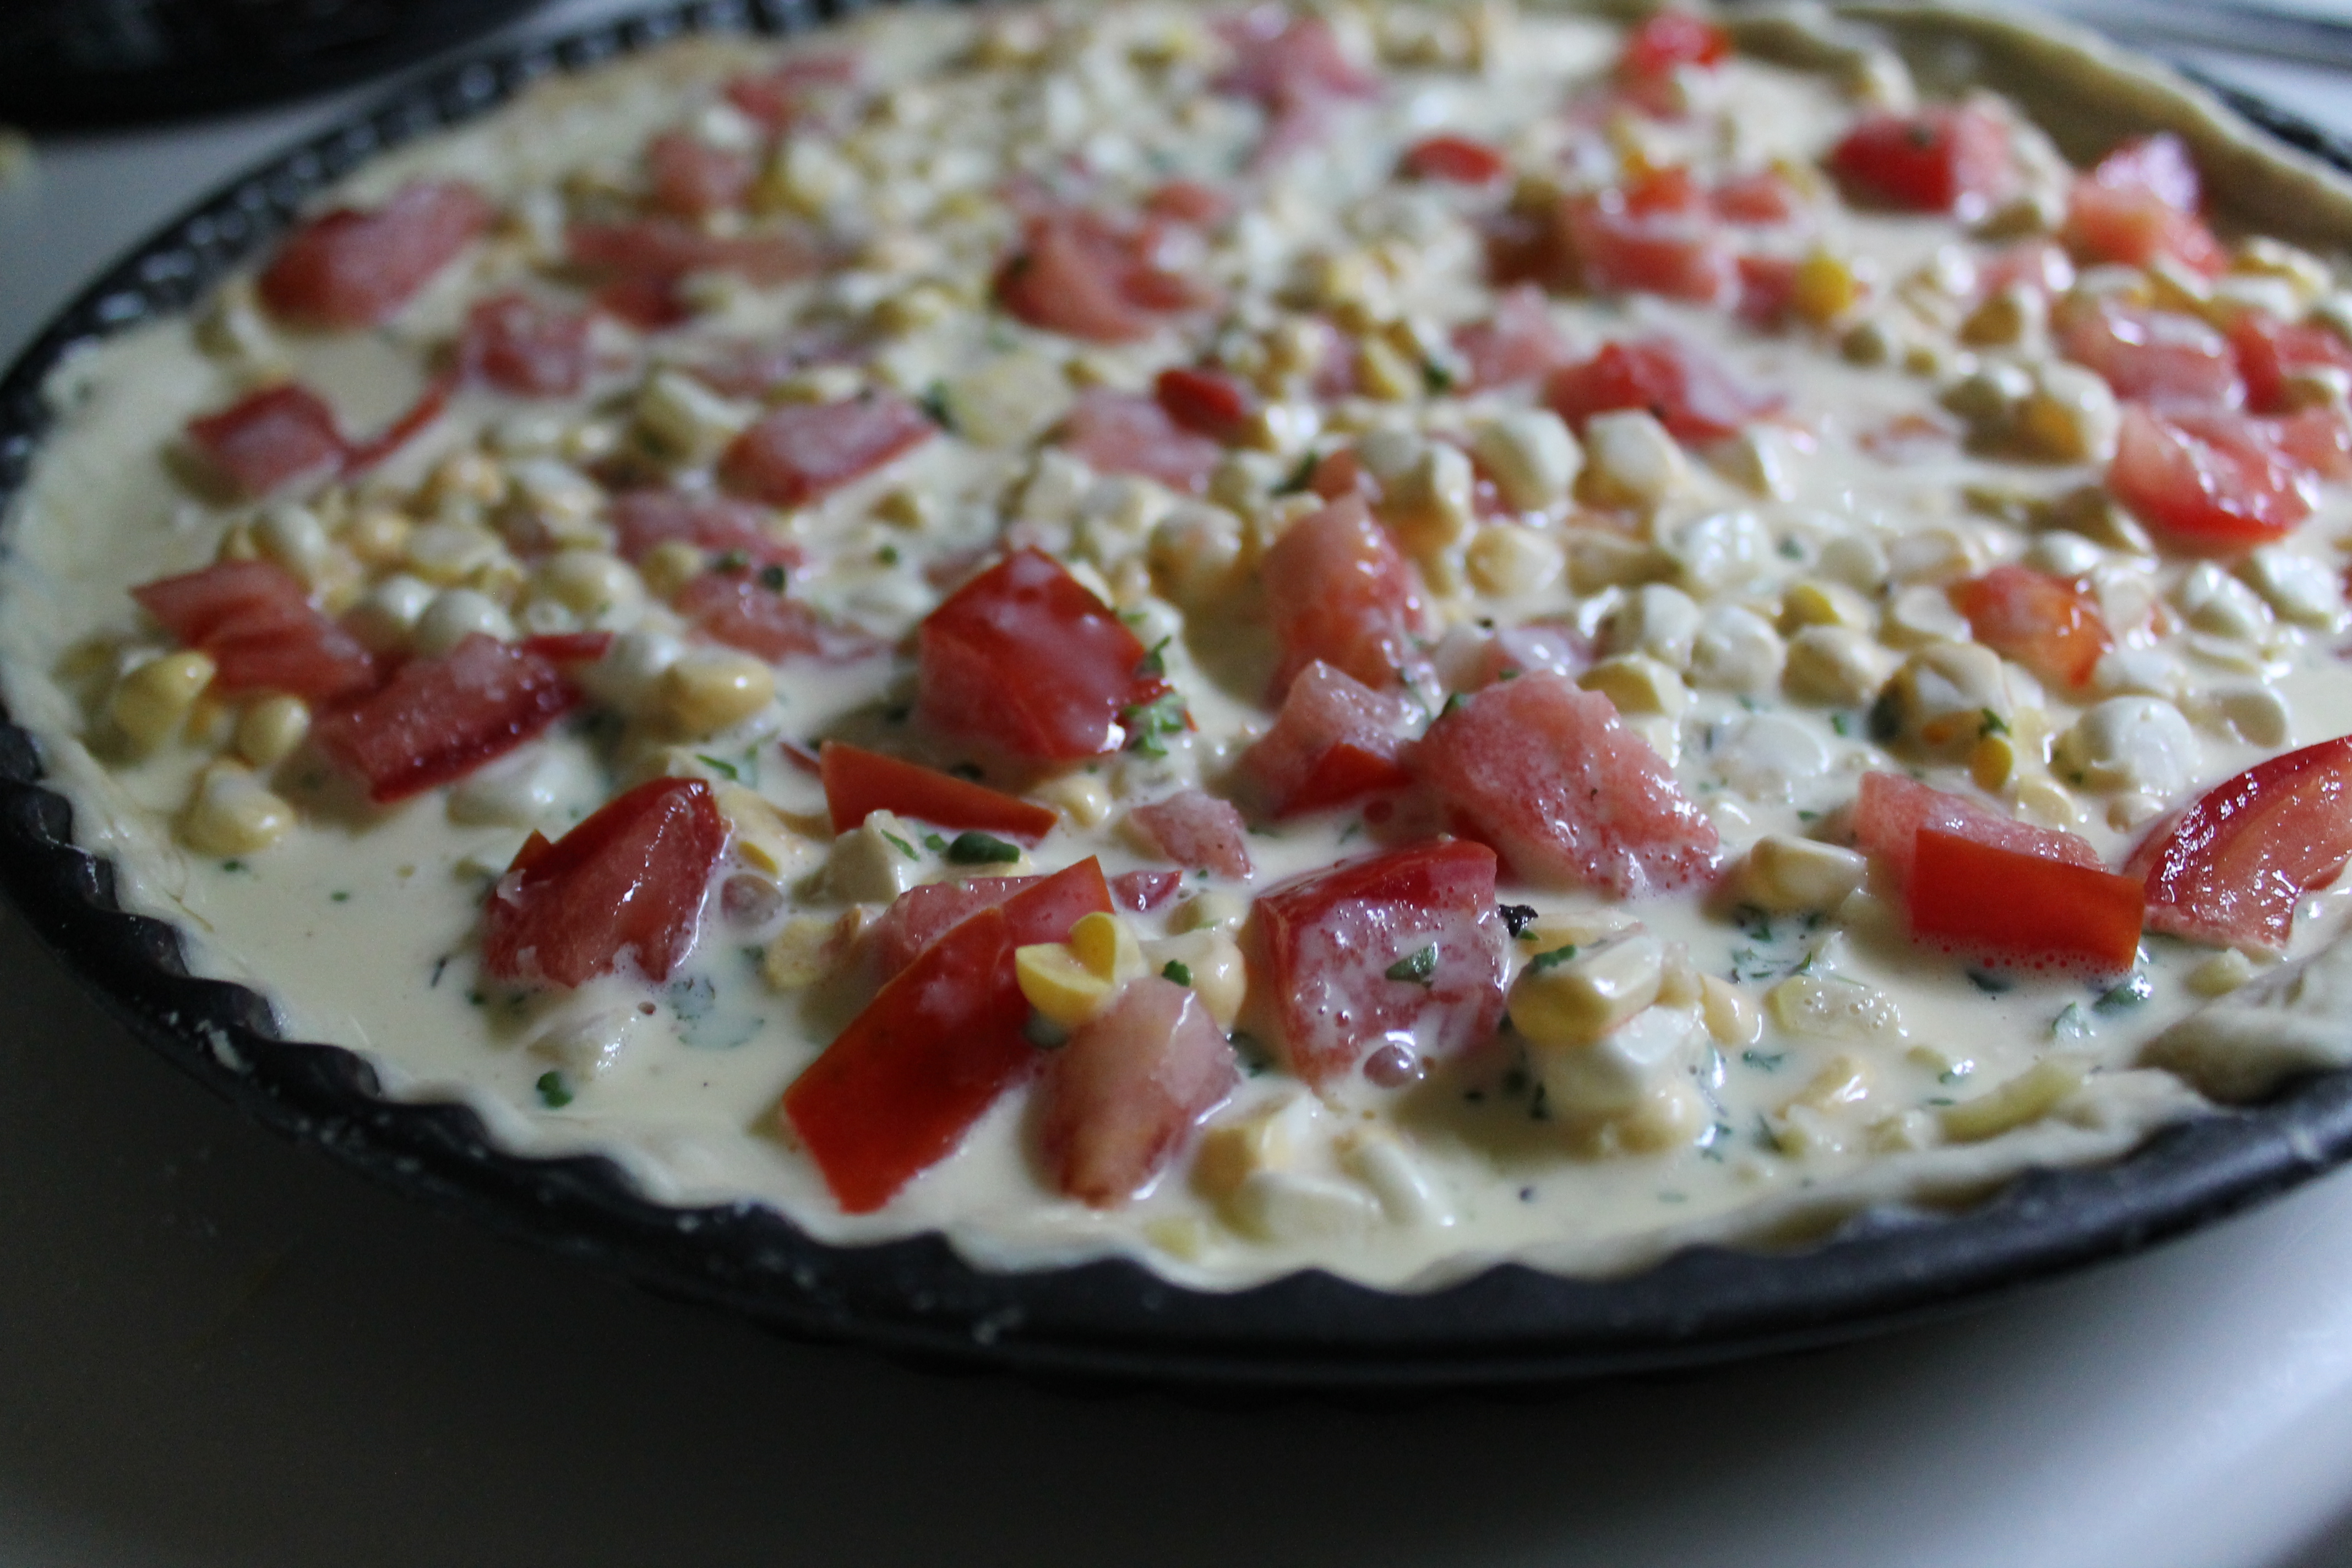 Pour the egg mixture over the veggies and top with another 2 oz. shredded cheese.
Bake for 15 minutes, then reduce the oven temperature and continue baking for another 30–40 minutes, until the top of the quiche is golden and the center is mostly set. A little jiggle is okay, because the eggs will continue cooking a little bit even after you remove them from the oven.
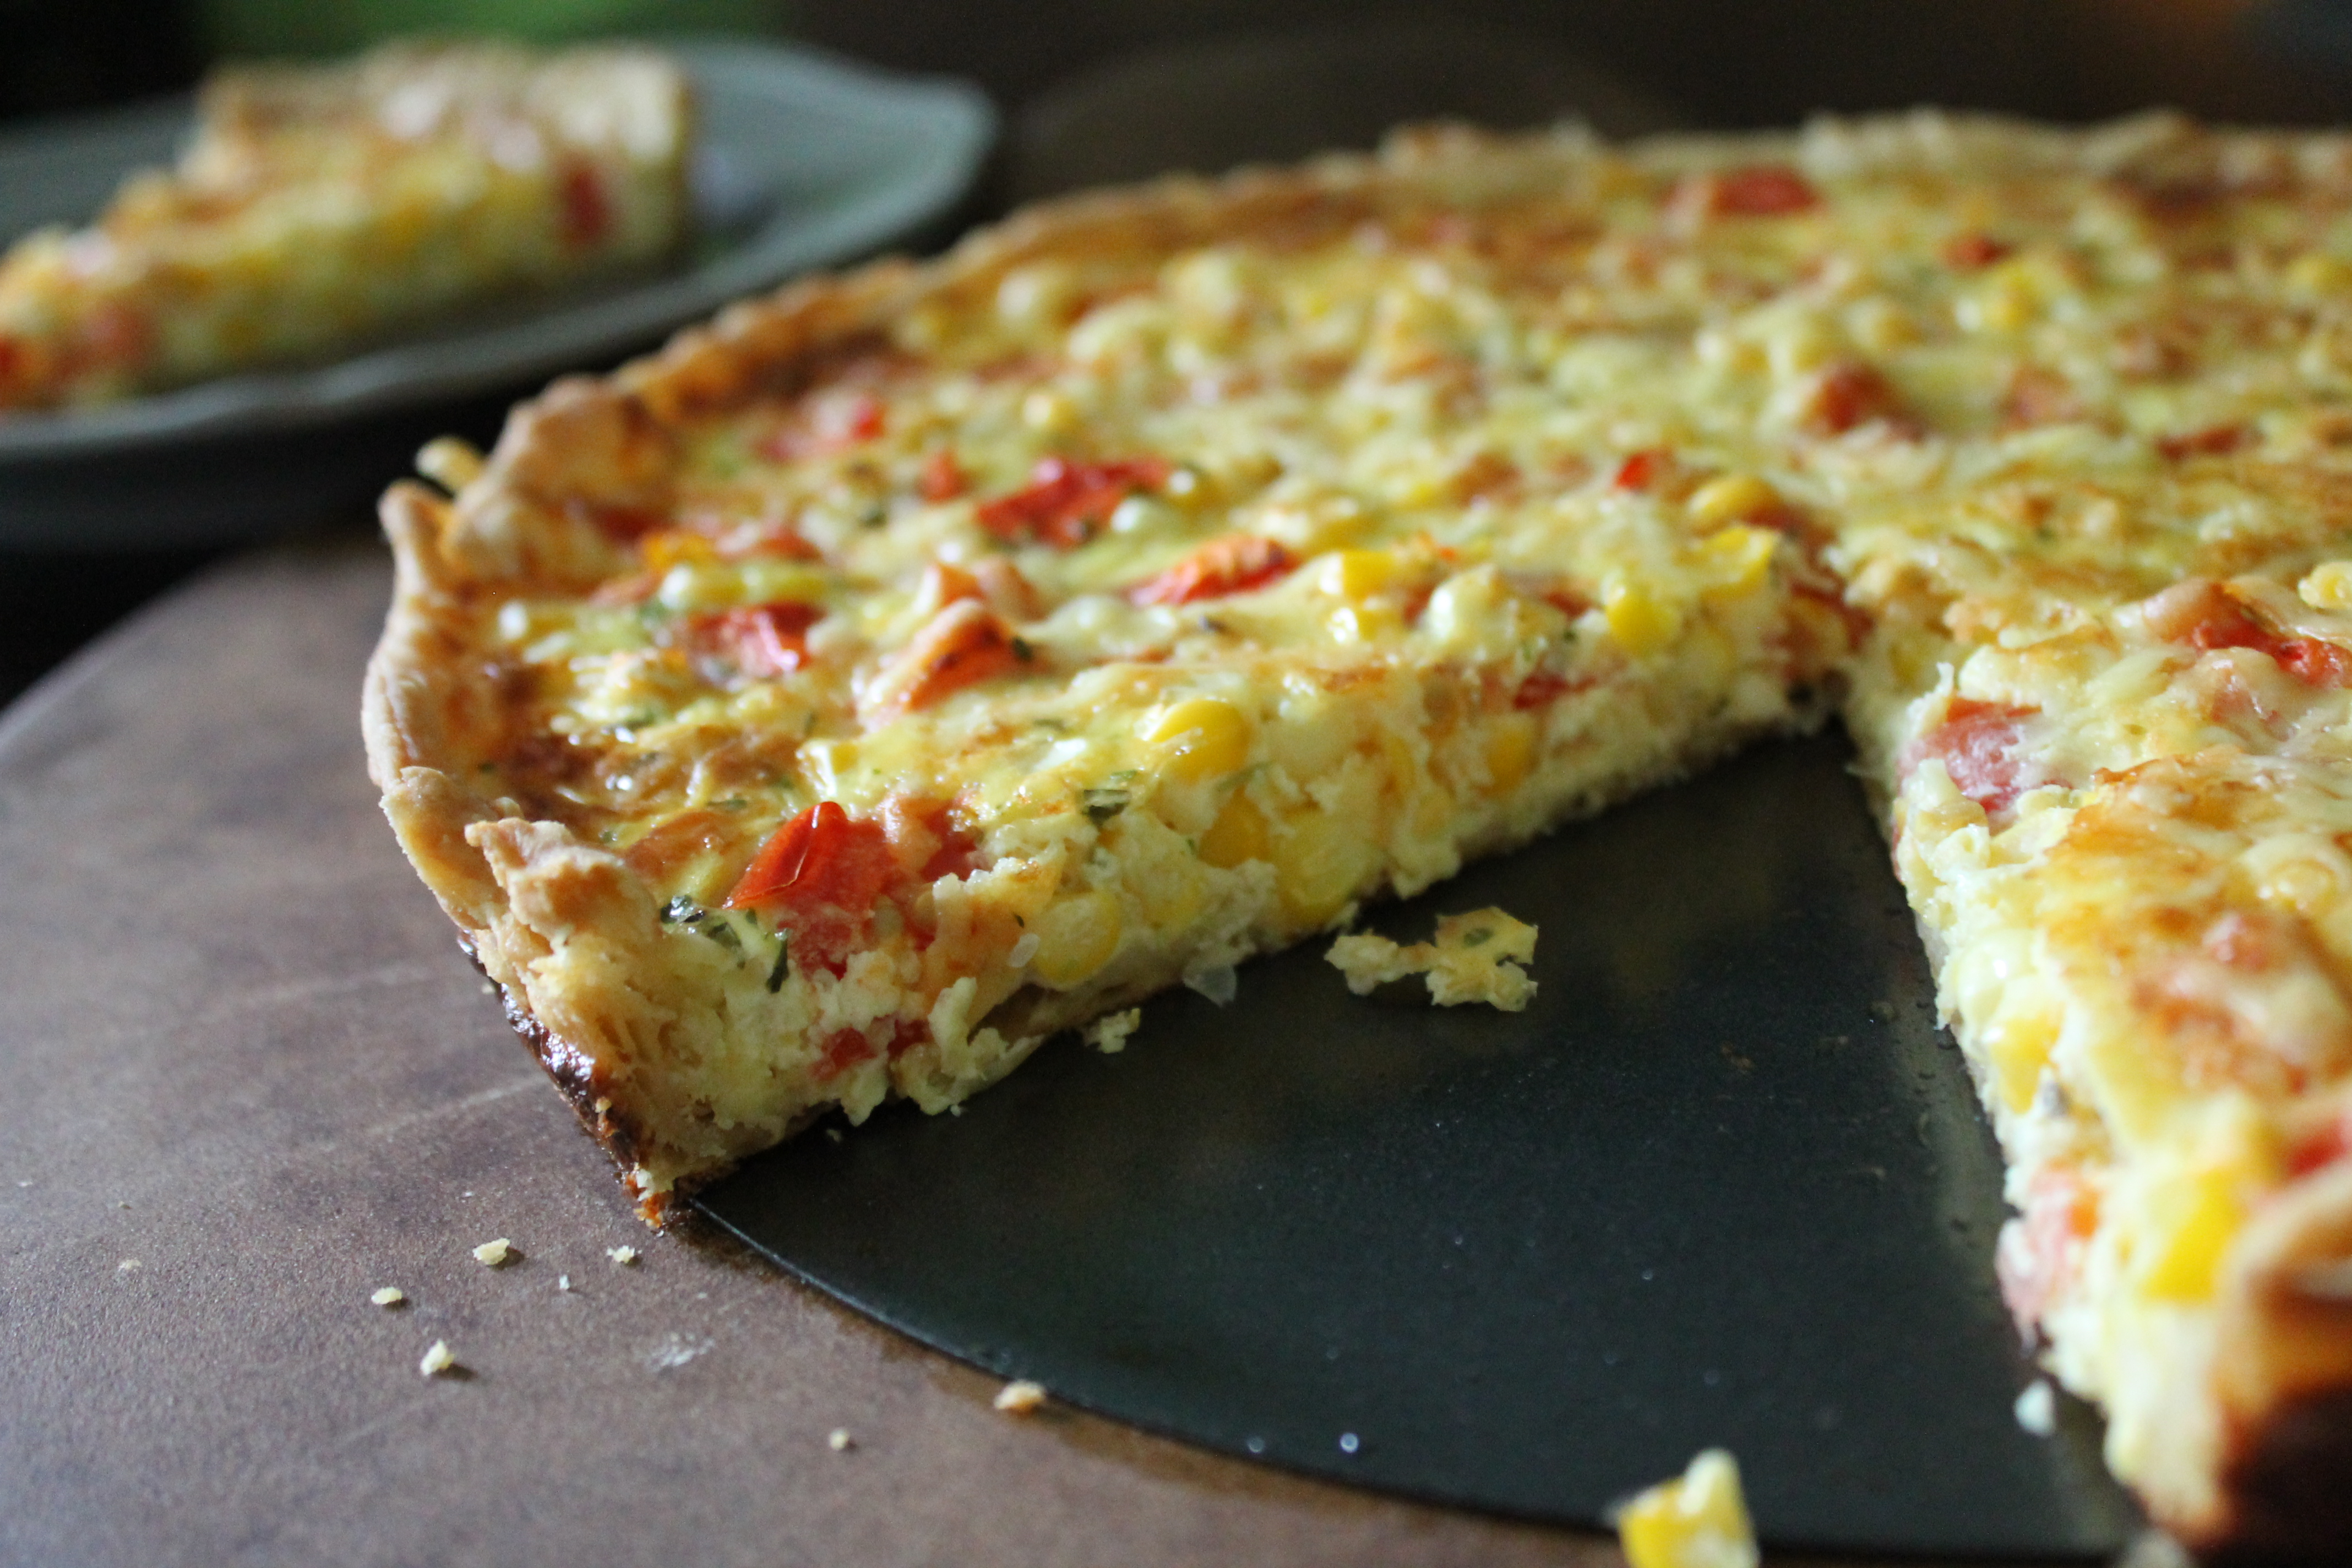 Let it cool for 5–10 minutes before cutting. Serve with a nice salad!
Corn and Tomato Quiche
lightly adapted from Well Dined
serves 4
Crust Ingredients:
1¼ cups flour
½ tsp. salt
½ cup cold unsalted butter
¼ cup ice water
Quiche Ingredients:
4 oz. aged cheddar, shredded, divided
3 eggs
¼ cup sour cream or crème fraÎche
¼ cup whole milk
1 tbsp. flour
½ tsp. salt
¼ tsp. fresh ground black pepper
pinch of fresh grated nutmeg
2 tsp. finely chopped fresh thyme
2 ears fresh corn, kernels cut from the cob (about 2 cups kernels)
1–2 medium ripe tomatoes, seeded if particularly pulpy, diced
Directions:
Make the crust: whisk the flour and salt together in a large bowl. Cut in the butter until fine and fairly uniform. Toss in the water. The dough may still be fairly dry, but do not add extra water; rather, knead in the bowl until it just sticks together.
Form the dough into a disk and wrap in plastic wrap. Chill in the fridge at least 1 hour.
On a lightly floured work surface, roll dough into a circle about ¼″ thick. Carefully transfer the dough to a 10″ tart pan or pie plate.* Fold over or cut off any excess dough around the edges. Prick the shell all over with a fork to help prevent shrinking in the oven. Chill for 20 minutes, or until firm.
Heat the oven to 400°.
Line the tart dough with foil and fill as full as possible with with dry rice or pie weights. Transfer to oven and bake until the crust is completely set and dry looking, 20–25 minutes. Carefully remove the foil liner and bake the crust another 5 minutes, until lightly browned.
Fill the baked crust with half of the shredded cheddar and set aside to cool.
Meanwhile, whisk the eggs in a large bowl until the whites have completely broken down. Add the sour cream, milk, and flour and mix until uniform. Season with salt, pepper, nutmeg, and thyme, and whisk again.
Place corn and tomatoes in the bottom of the tart shell. Pour the egg mixture over top (be careful not to overfill the shell; there may be a few tbsp. egg mixture left over). Top with the remaining cheese.
Bake 15 minutes at 400°, then reduce temperature to 325°. Continue baking 30–40 minutes, until filling is barely set in the center (the eggs should still have some give) and the cheese on top is lightly browned. It may be necessary to tent the crust with foil if it becomes too brown while the quiche bakes.
Transfer quiche to a wire rack to cool about 10 minutes. Serve warm or at room temperature.
*Note: A pie plate will hold a larger volume of egg filling than a tart pan because it is deeper. Consider using a smaller pie plate or increasing the fillings and bake time to achieve a more attractively proportioned quiche.
Enjoy!
- One year ago: Peach Ice Cream and Cucumber Tea Sandwiches
- Two years ago: White Bean Salad
- Three years ago: Tomato-Almond Pesto
5 comments to “Corn and Tomato Quiche”
Dimple@shivaaydelights - July 23, 2014
Hi Melissa
I love this recipe…do come over and join us at the new vegetarian foodie group “Sharing food with Shivaay Delights”
https://m.facebook.com/groups/1433687623575418?ref=m_notif¬if_t=group_activity
Can’t wait to see you there
Regards D 🙂
Melissa - July 23, 2014
Hey Dimple! So…confession. I am super terrible at social media (which I definitely realize is a detriment to any blogger). If I ever manage to get a Smells Like Brownies Fbook page up and running, I will definitely join you over at your foodie group, but for now I am trying to keep my personal Facebook info more contained and private. Thanks so much for the invite, and I will make sure to stop by now and then to see what you and your friends are cooking up!
Dimple@shivaaydelights - July 23, 2014
No that’s absolutely fine…You can join personally and post your recipes to increase visitors to your blog when your ready honey.
Hope to see you soon
Sarah - July 23, 2014
Yay! I loved this recipe! My crust totally shrank, too. I didn’t know it needed to be drier for a parbake, and you know how I like to use a lot of liquid. So that was probably why! I also didn’t think to patch it up. I learn so much from you!
Melissa - July 23, 2014
Haha. Well I must admit to feeling about a thousand times better that I wasn’t the only one who suffered from crust shrinkage issues. But the meal was delicious anyway!