Now that it’s Fall, I am going to be all about the baking.
And what do we think of when we think of Fall? (No…it’s not just pumpkin.)
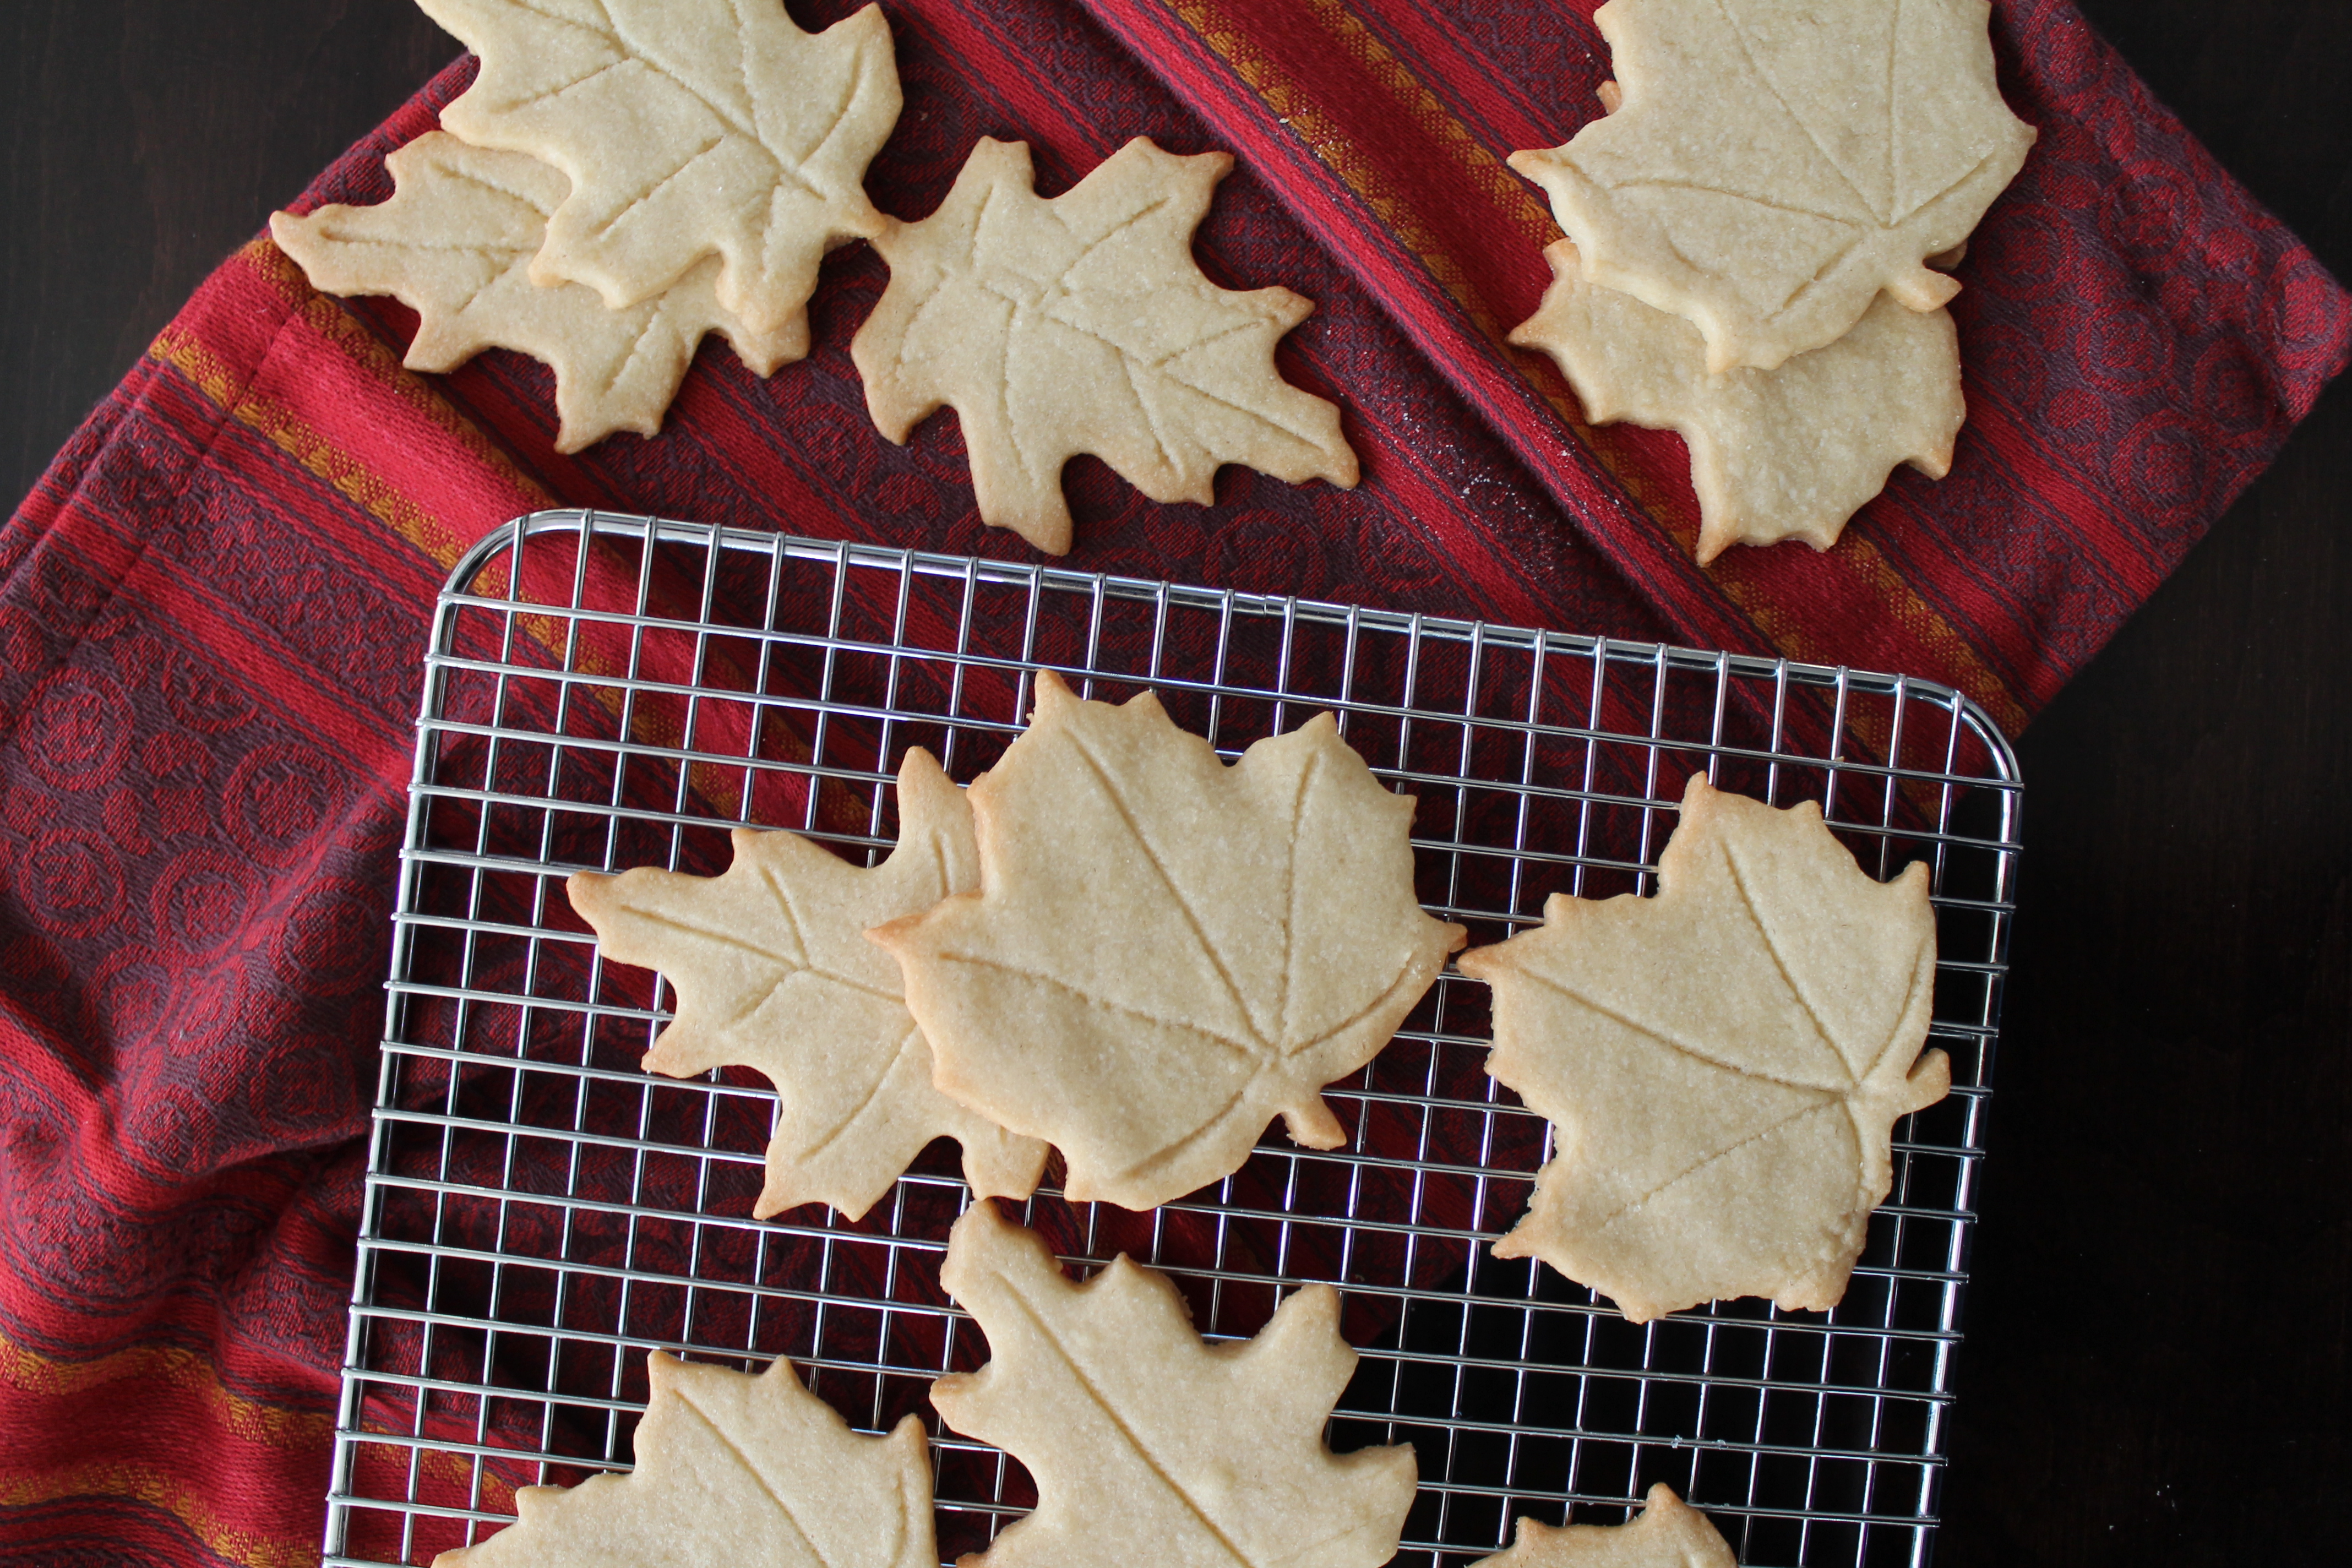
Leaves! Leaves turning orange and red and dripping from the trees and crunching underfoot. I think maple should feature as prominently in our Fall lineup as all the pumpkin and warm spices we normally expect at every turn.
And these cookies, sweet with sappy maple syrup and spiced with nutmeg, are the perfect bite of Fall.
These cookies are as easy to make as any sugar or butter cookie. (Which is to say that the dough is simple, but then you have to spend time rolling and cutting them out.)
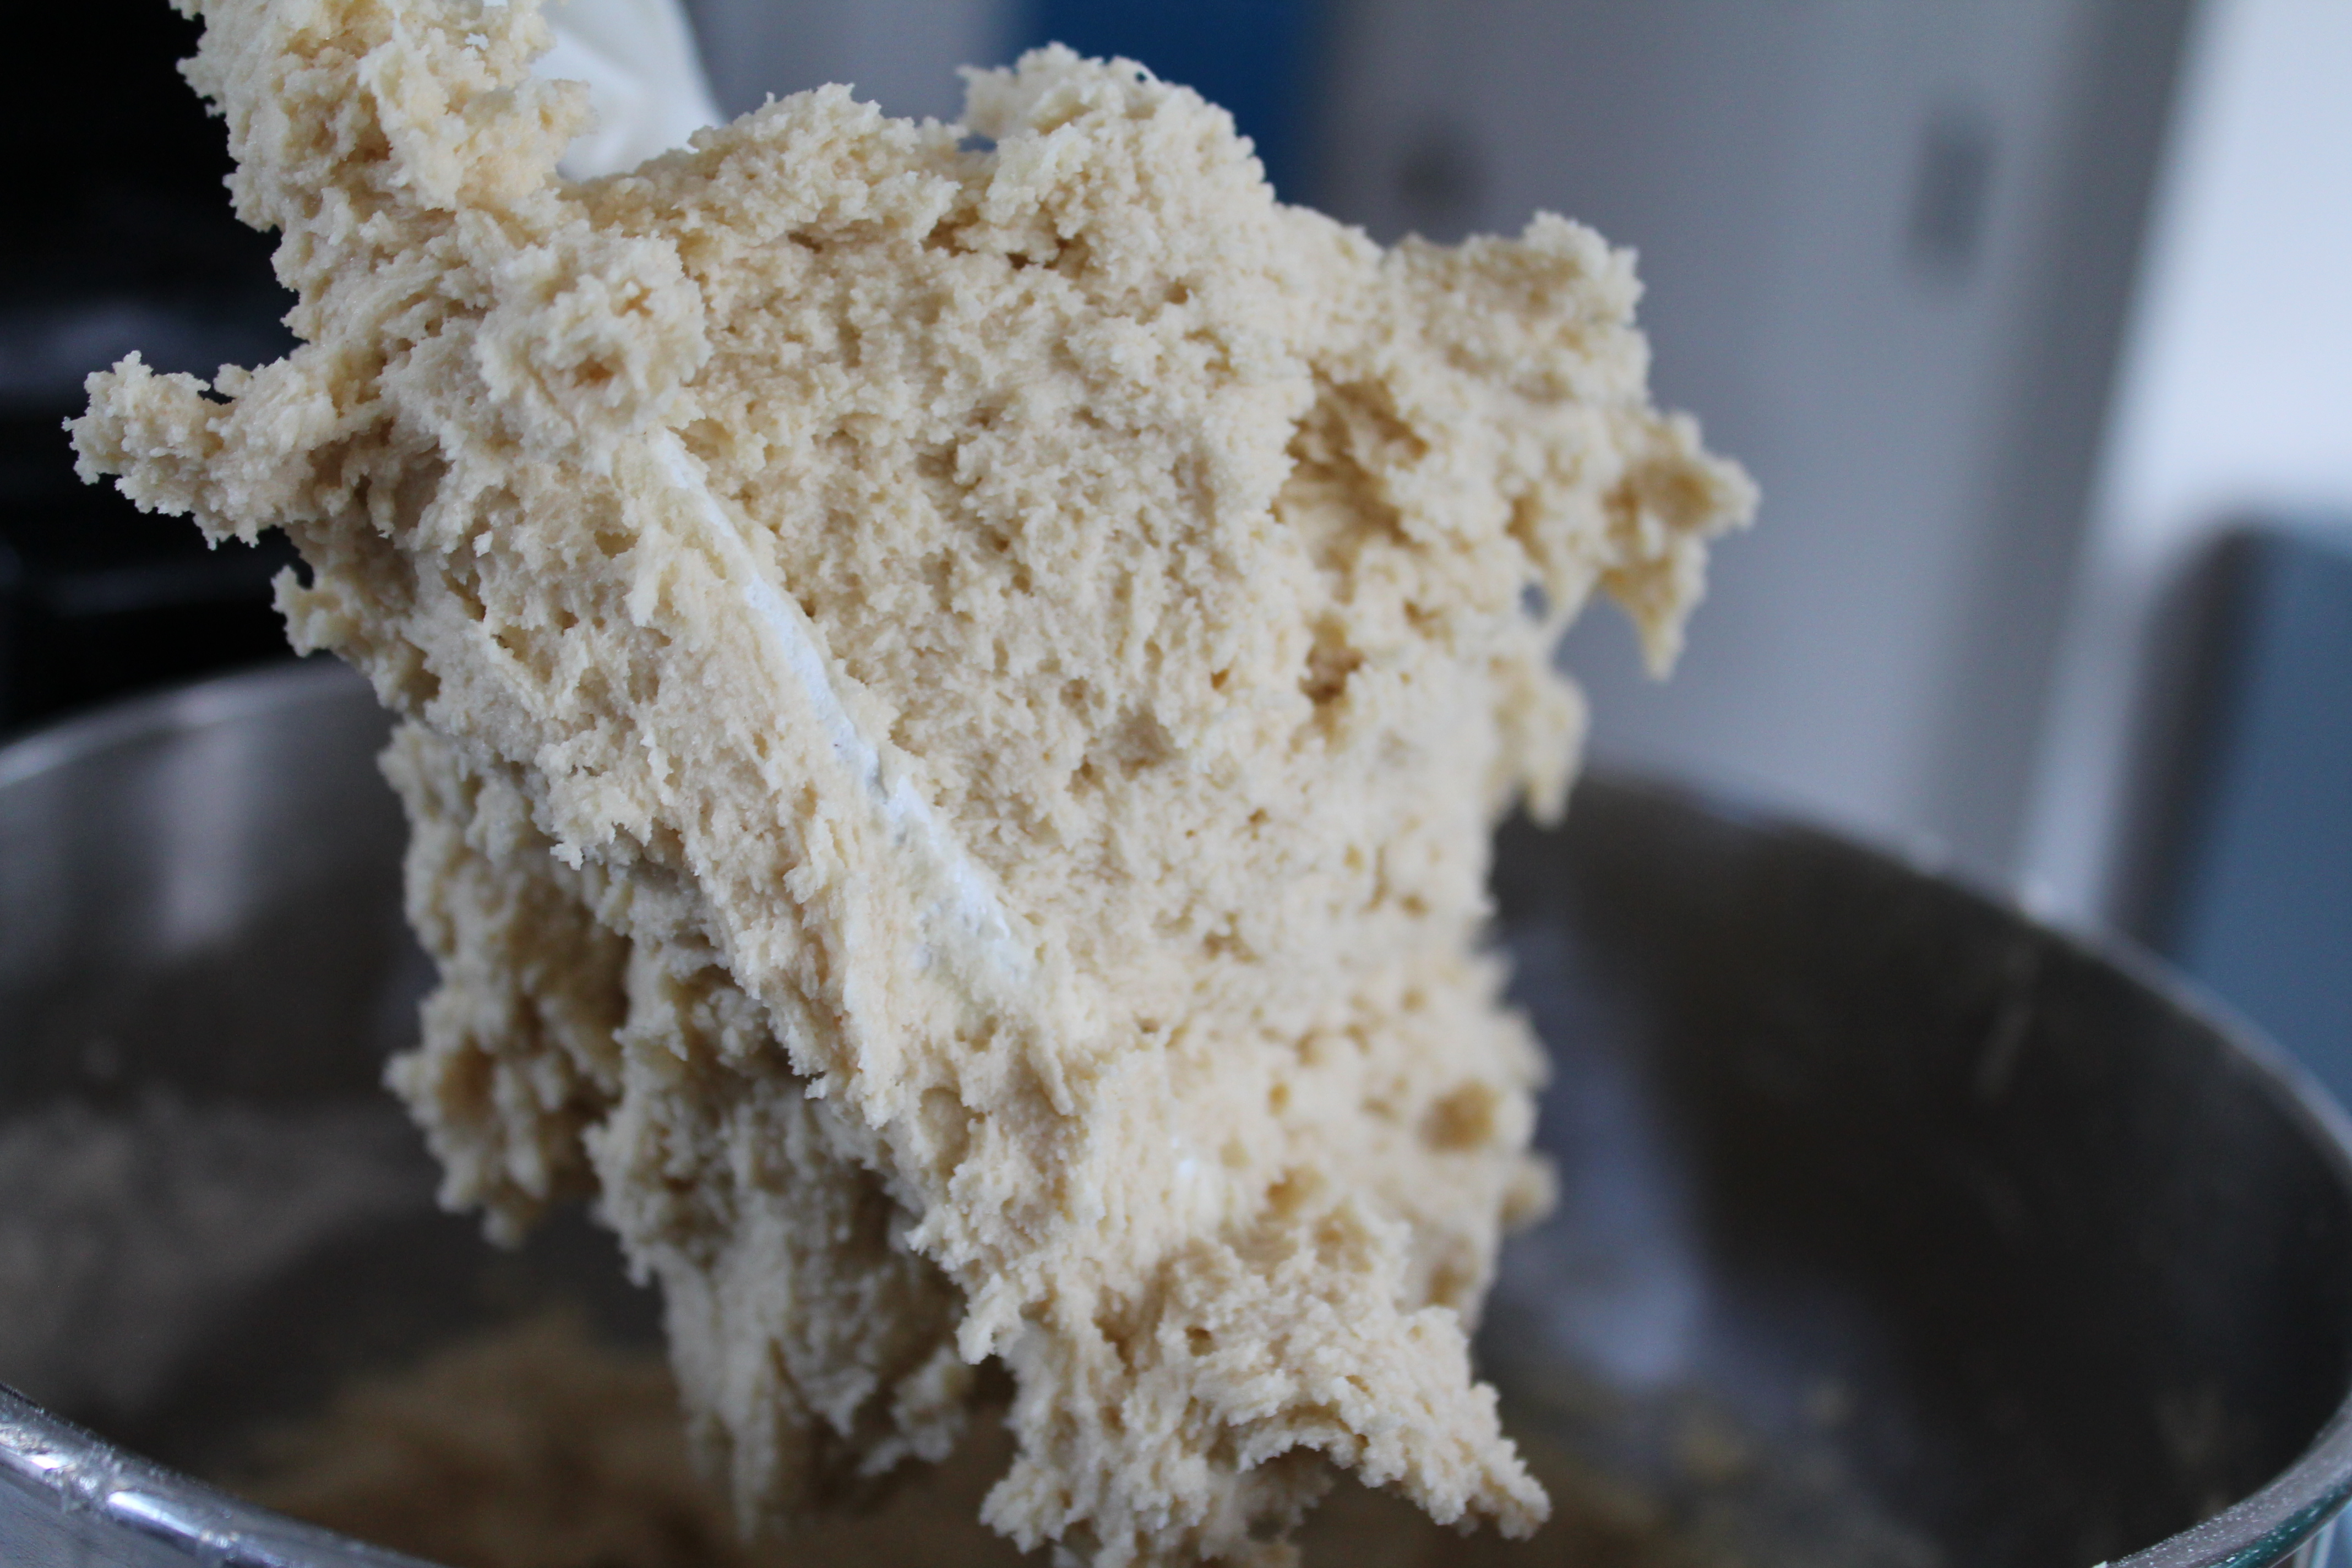
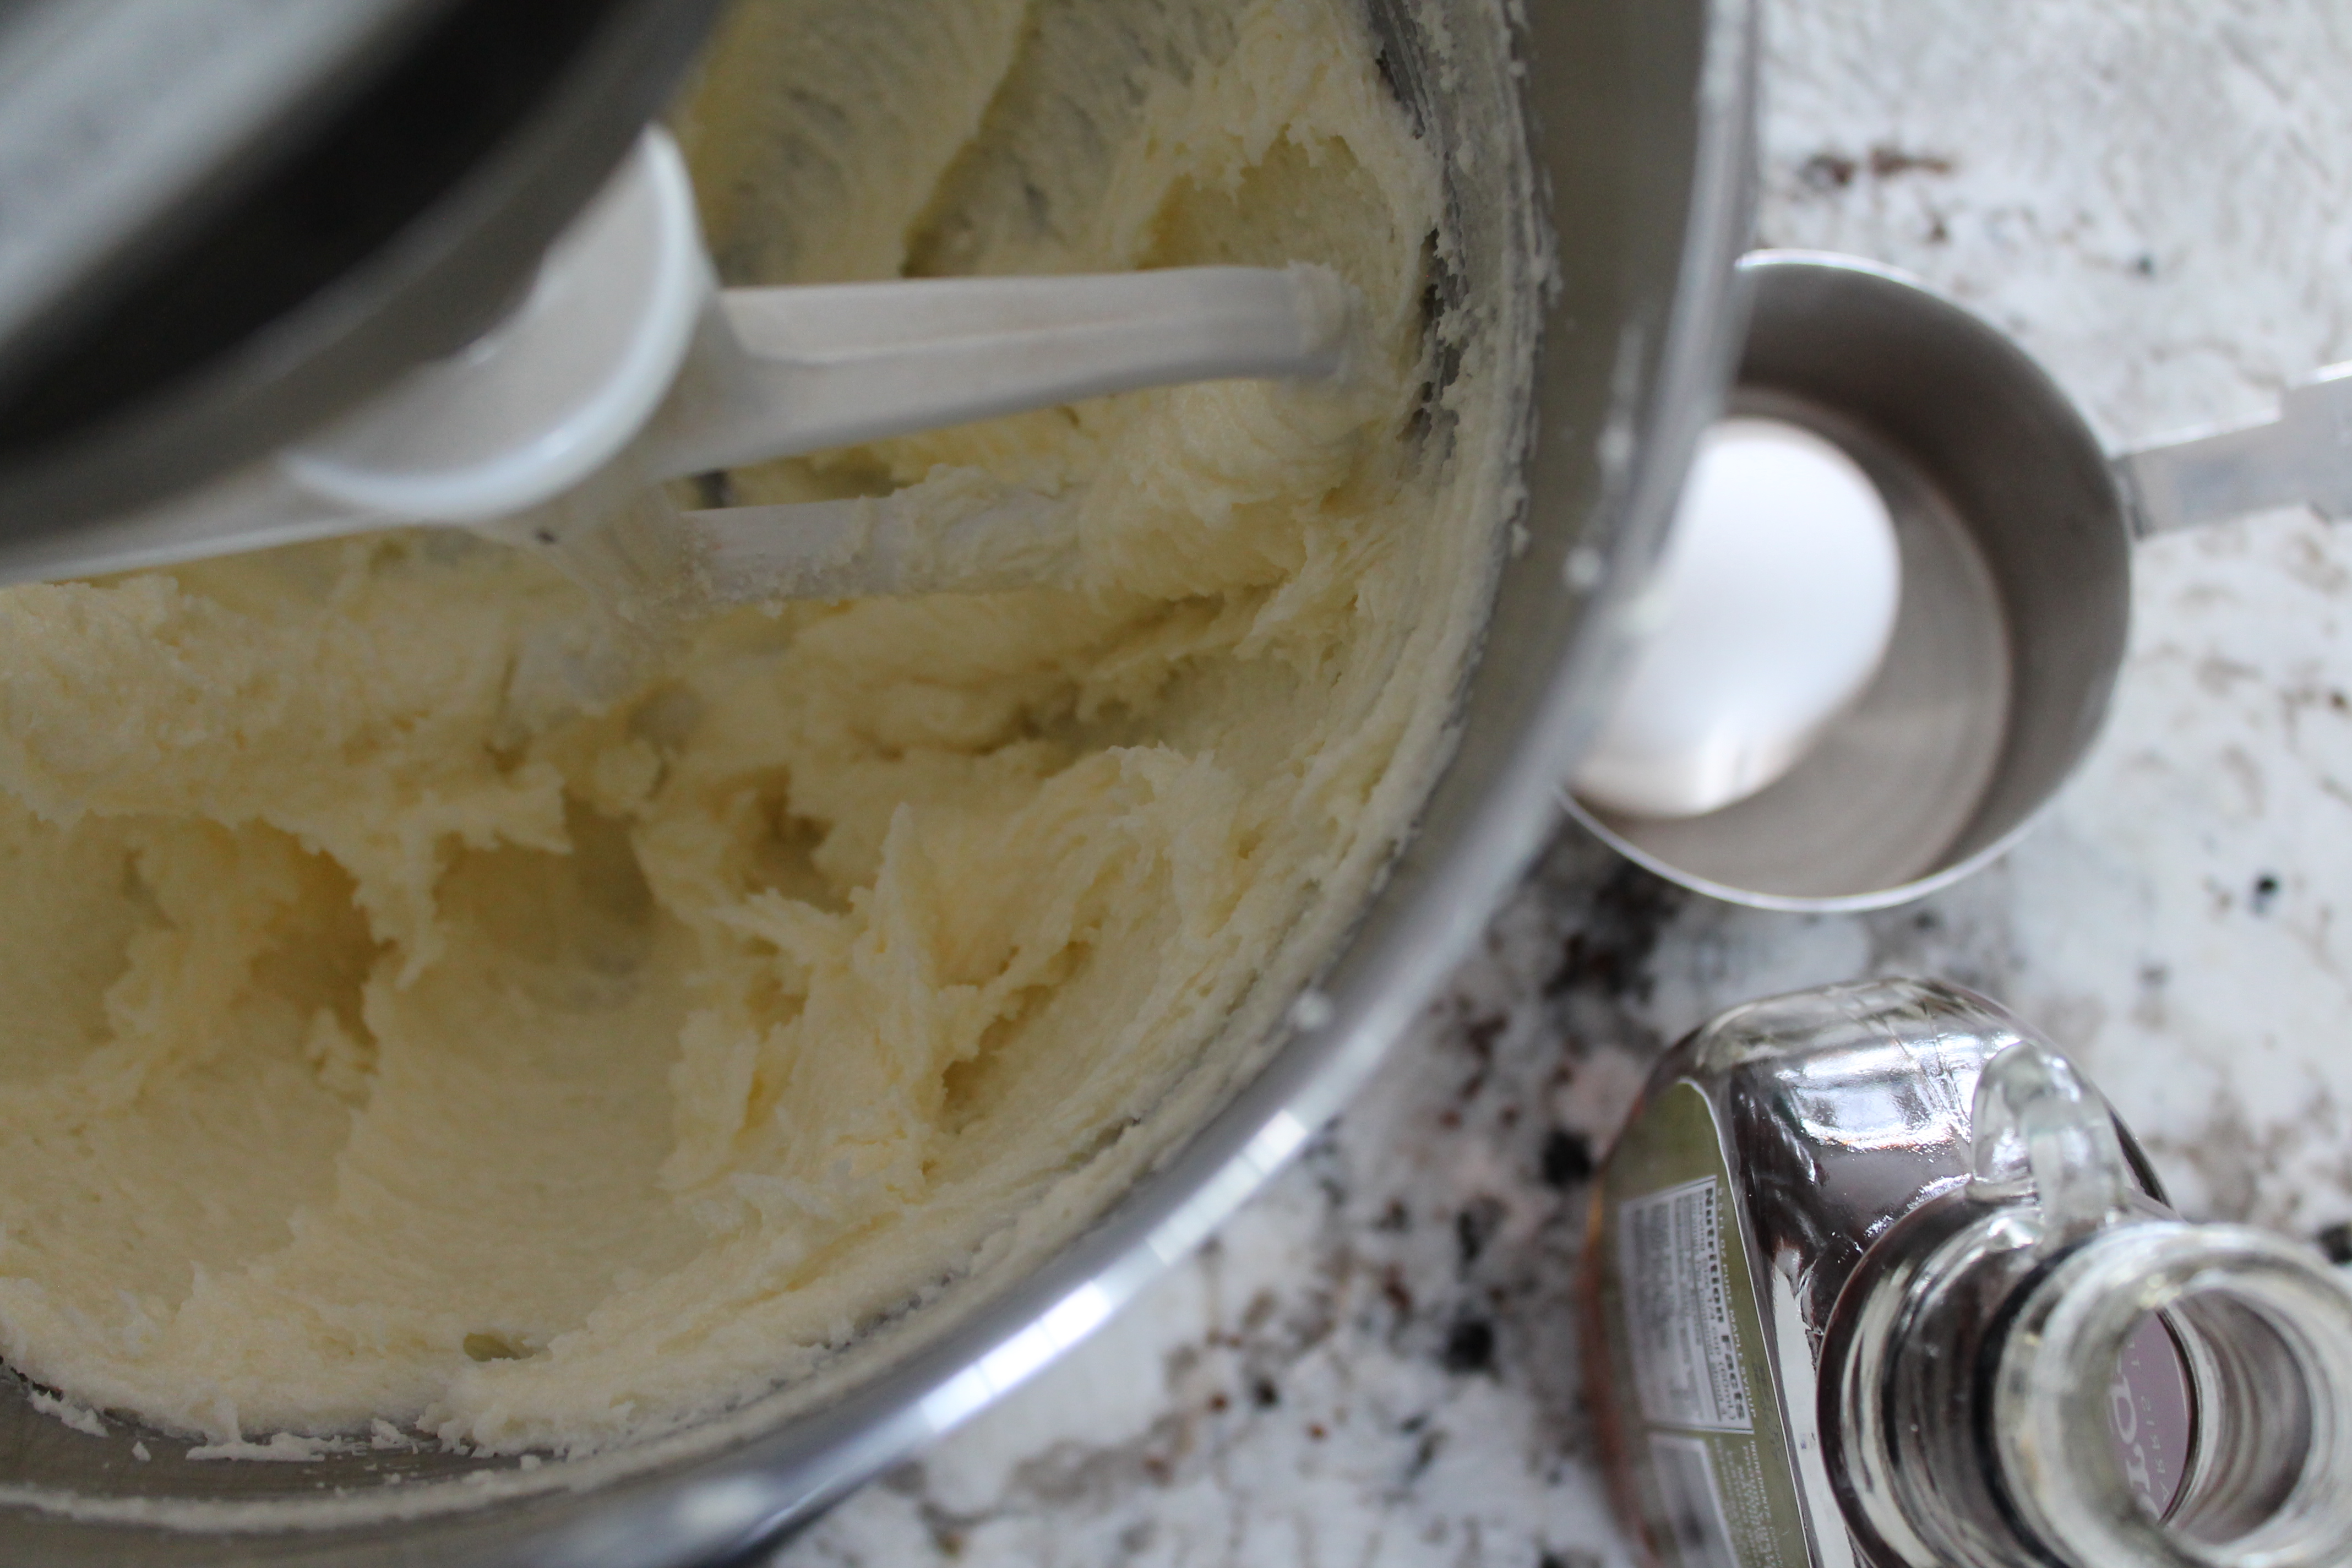 First, we start by creaming butter and sugar until light and fluffy.
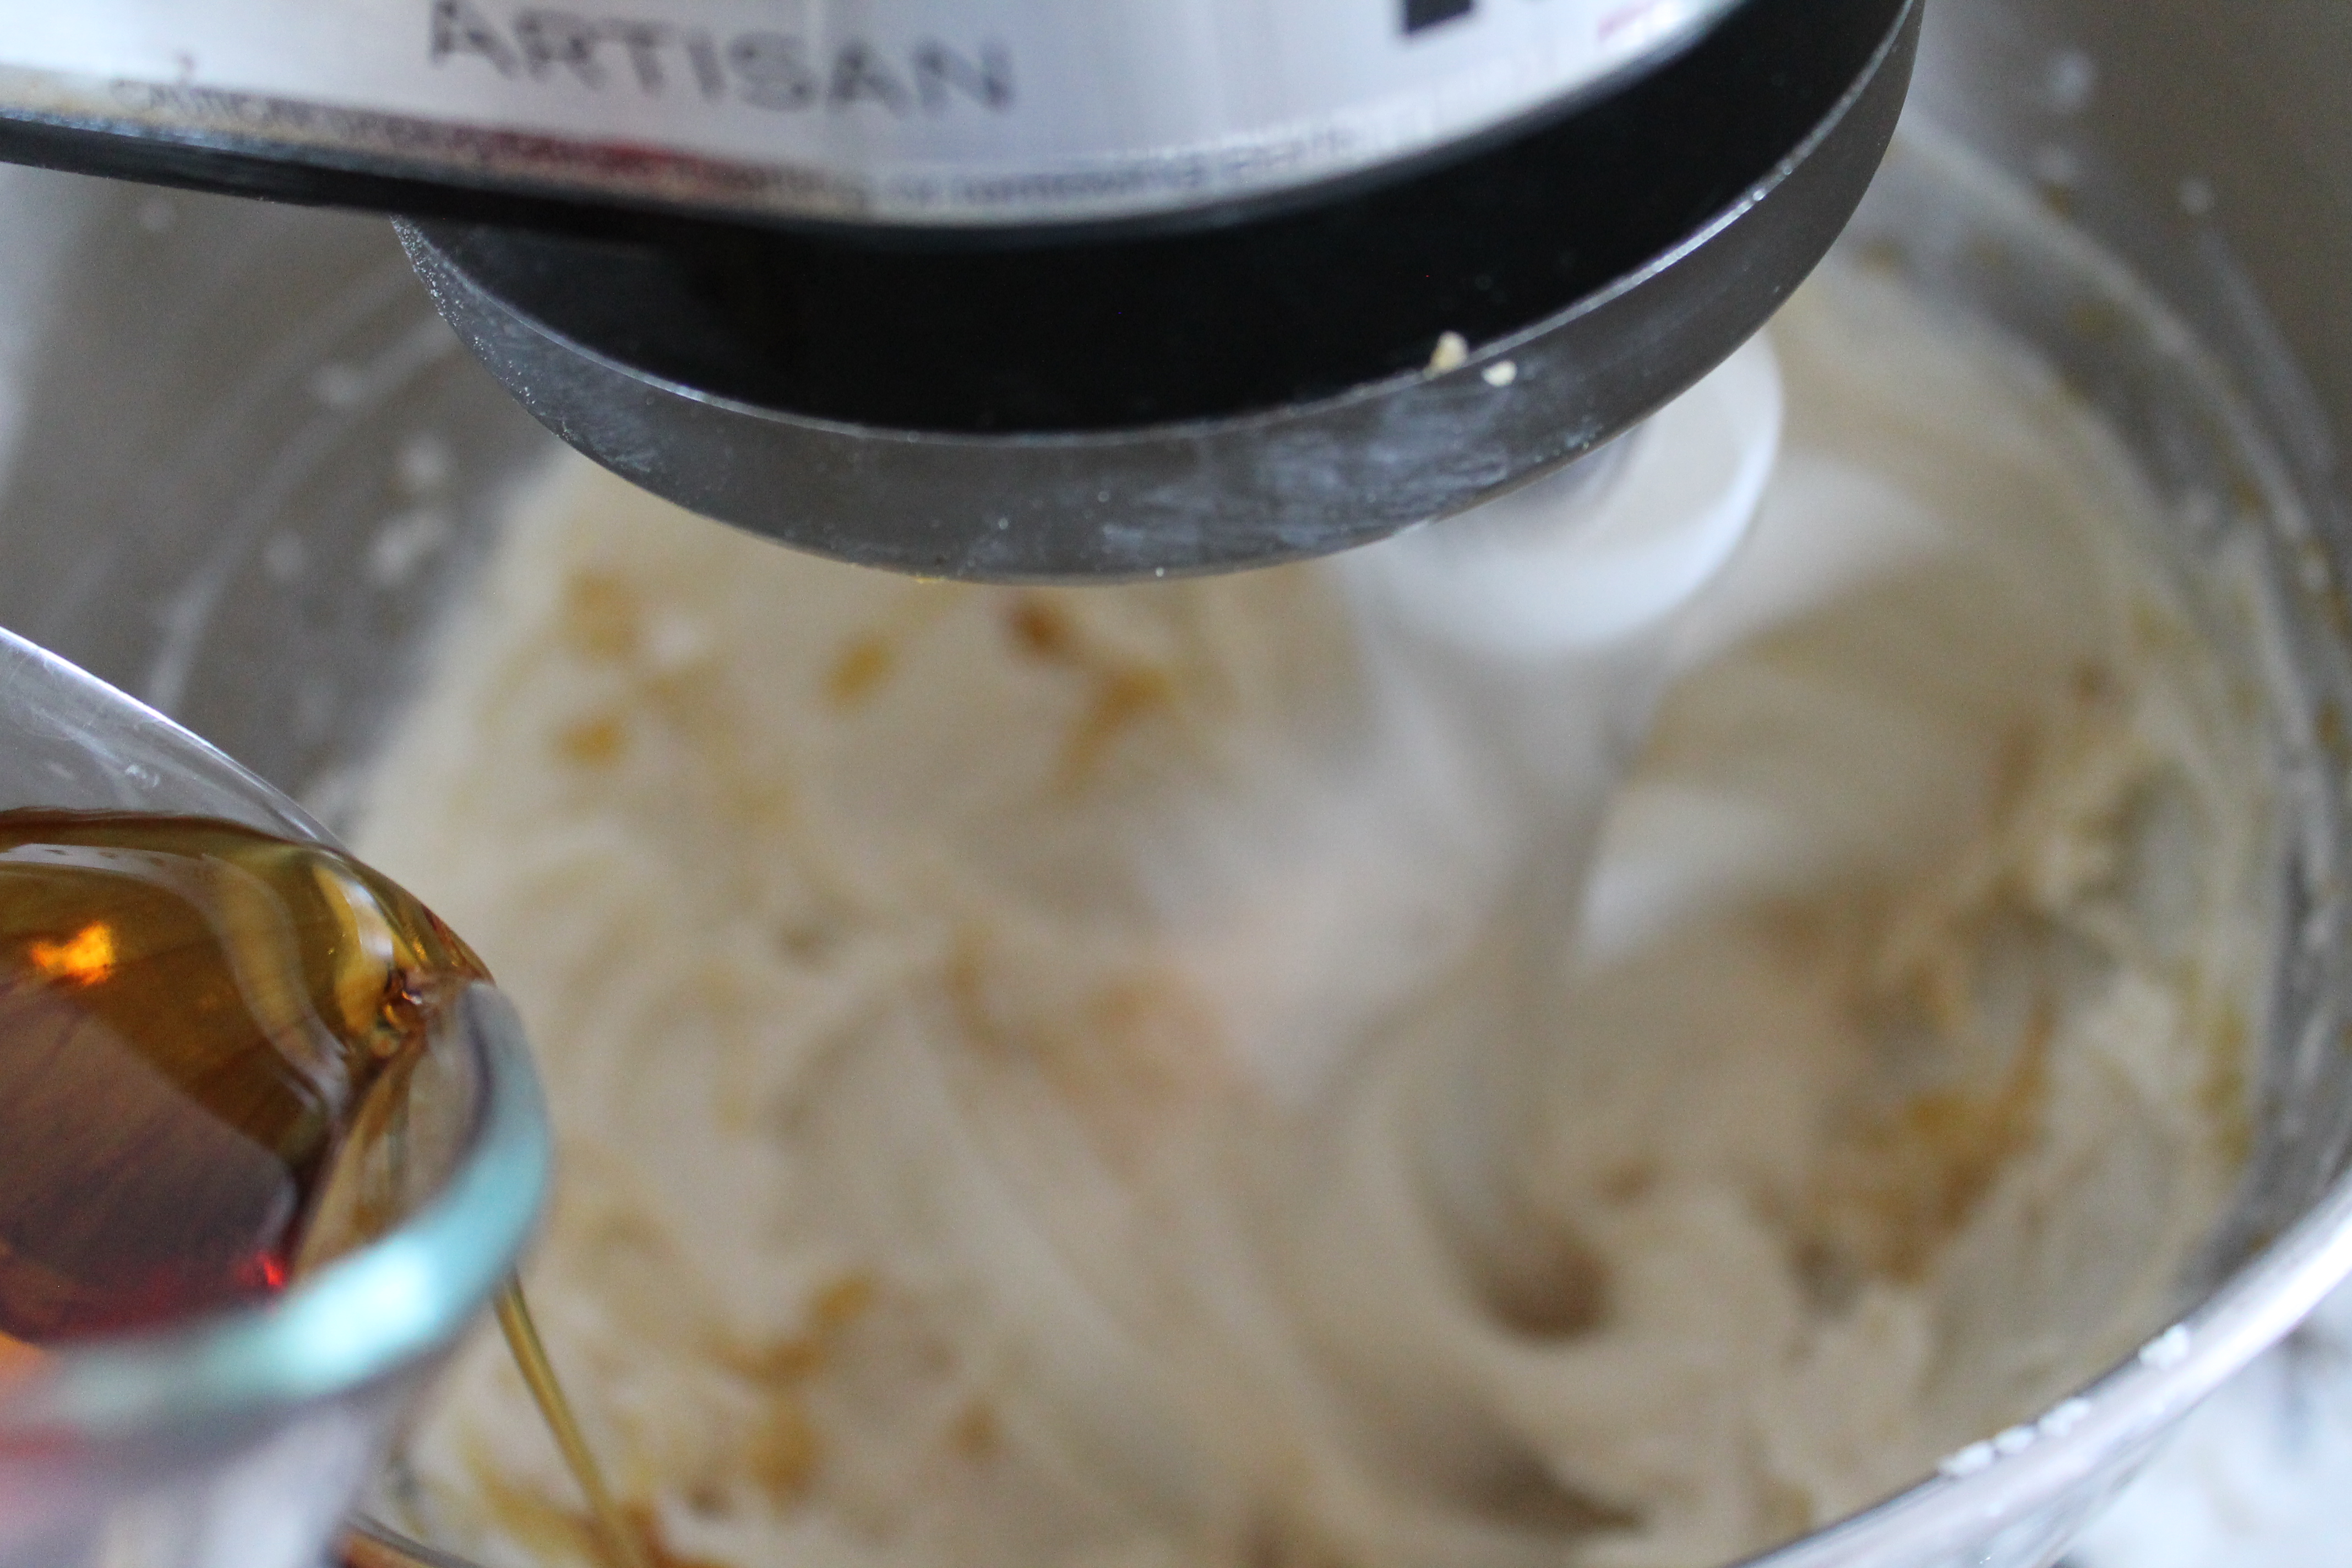 Next, while the mixer is running on low speed, pour in the maple syrup and egg yolk. I usually measure my maple syrup and then toss the yolk into the glass measuring cup with it. We are using only an egg yolk in this recipe, which acts as an emulsifier to hold all of the maple syrup and butter together.
The best maple syrup for this recipe is actually grade B, or the darker, more molasses-y syrup, because it has a stronger flavor. I generally don’t love the stronger maple flavor for other purposes, so I only keep grade A syrup on hand. If you are using grade A maple syrup, you can increase your maple flavor by adding a few drops of mapleine, or maple flavoring.
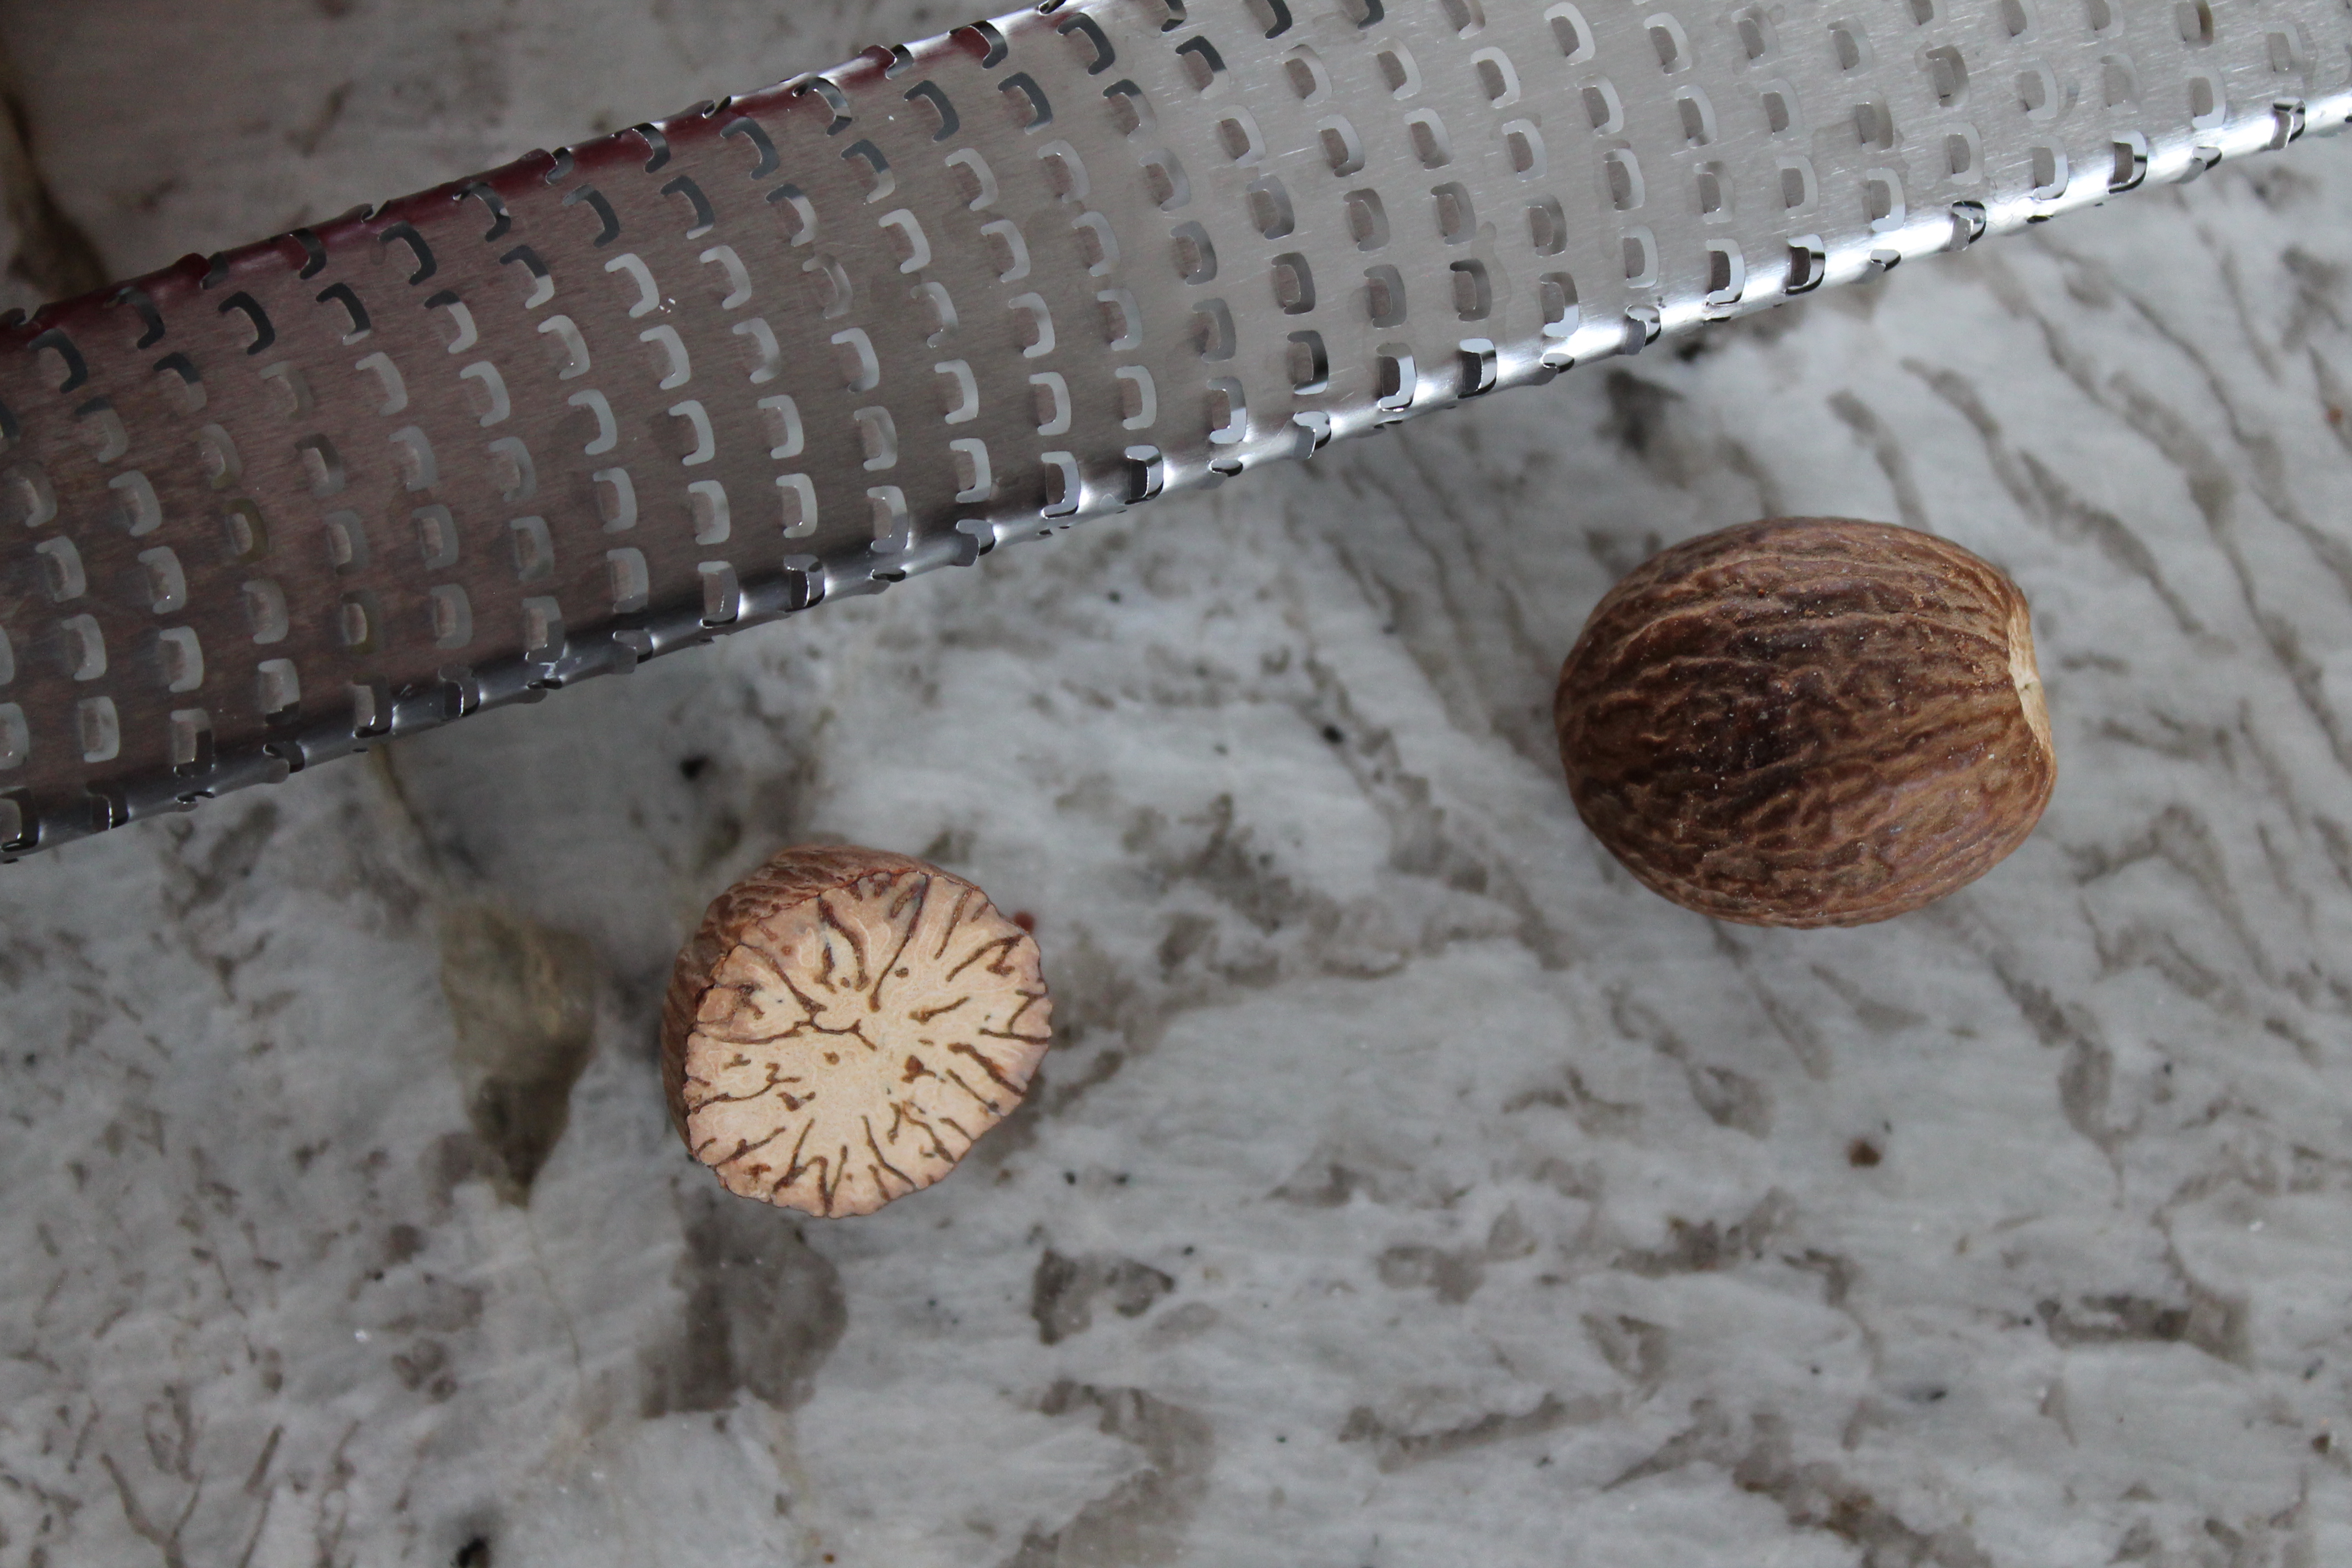 After all the maple is mixed in, it’s time to address the dry ingredients: flour, salt, and fresh nutmeg! You know I always love fresh nutmeg because it has a richer, fresher flavor. It takes about 1 minute to grate enough nutmeg for this recipe, and the nutmeg nuts (berries?) never go bad, unlike pre-ground nutmeg, which loses its flavor over time! Just do it.
 Stir the flour into the butter mixture about half at a time. Don’t overmix it: stop just when the flour is incorporated.
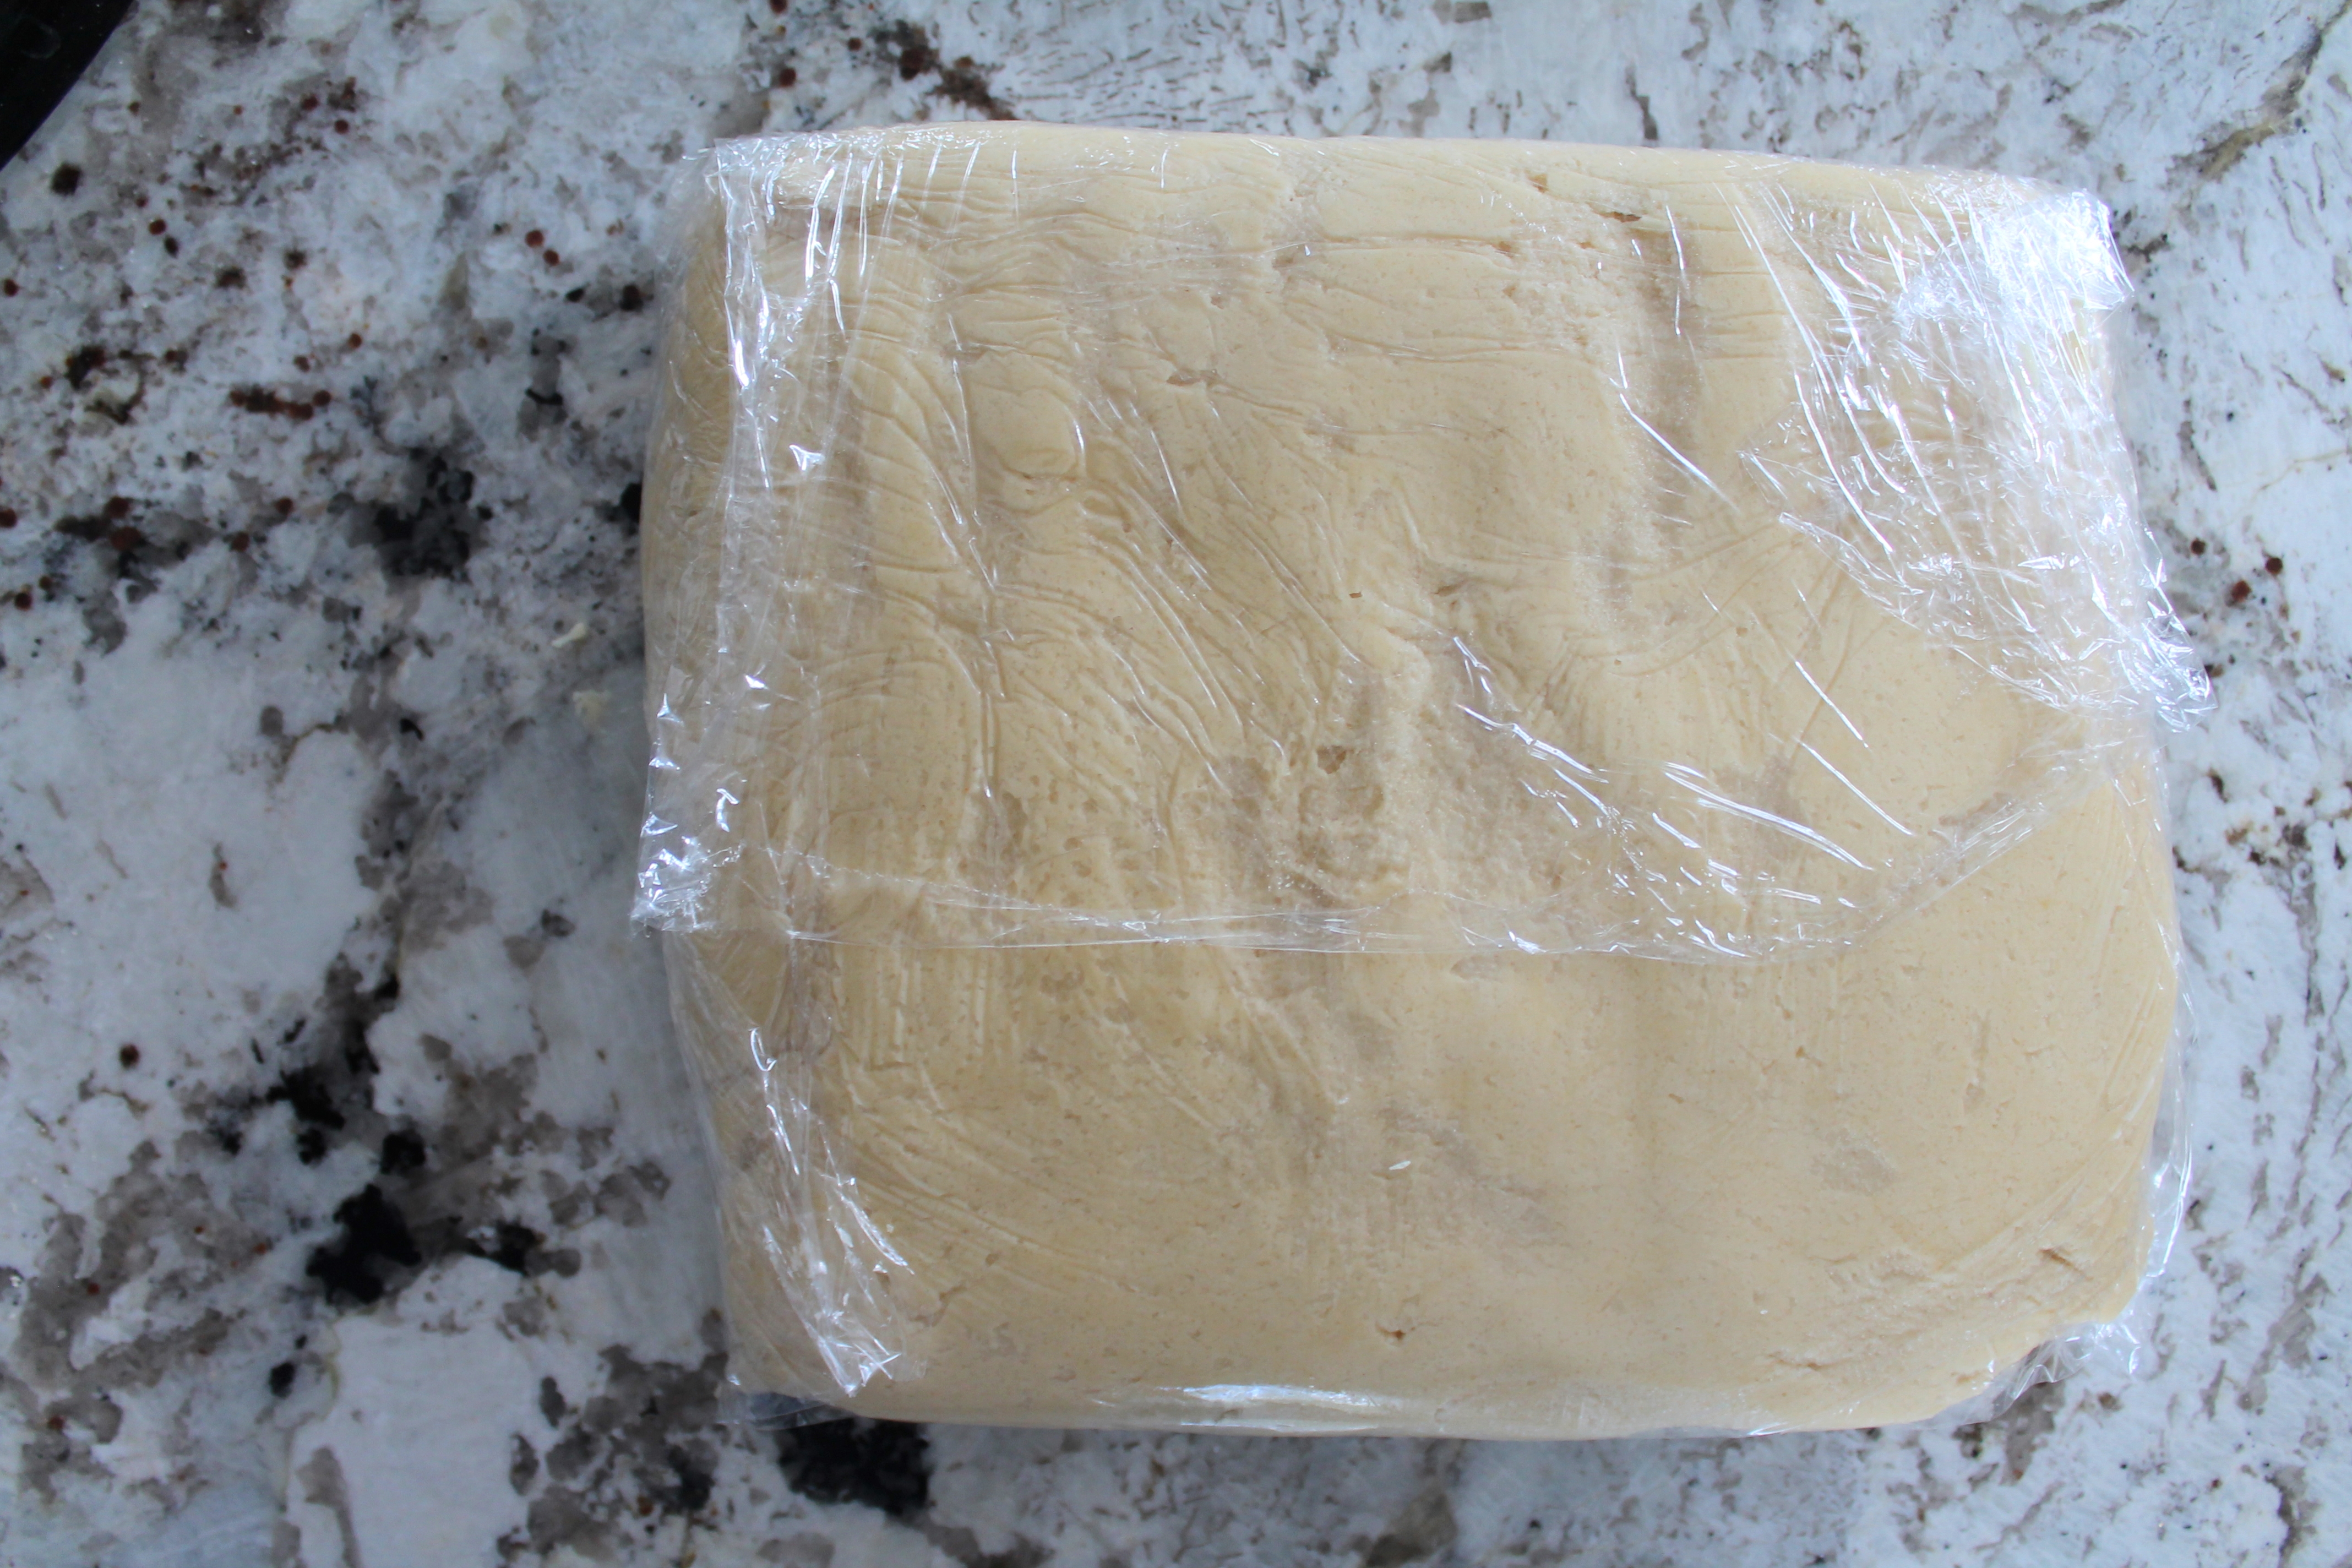 Turn the dough out onto a sheet of plastic wrap and form it into a flat square. Wrap it tightly and chill for 2 hours.
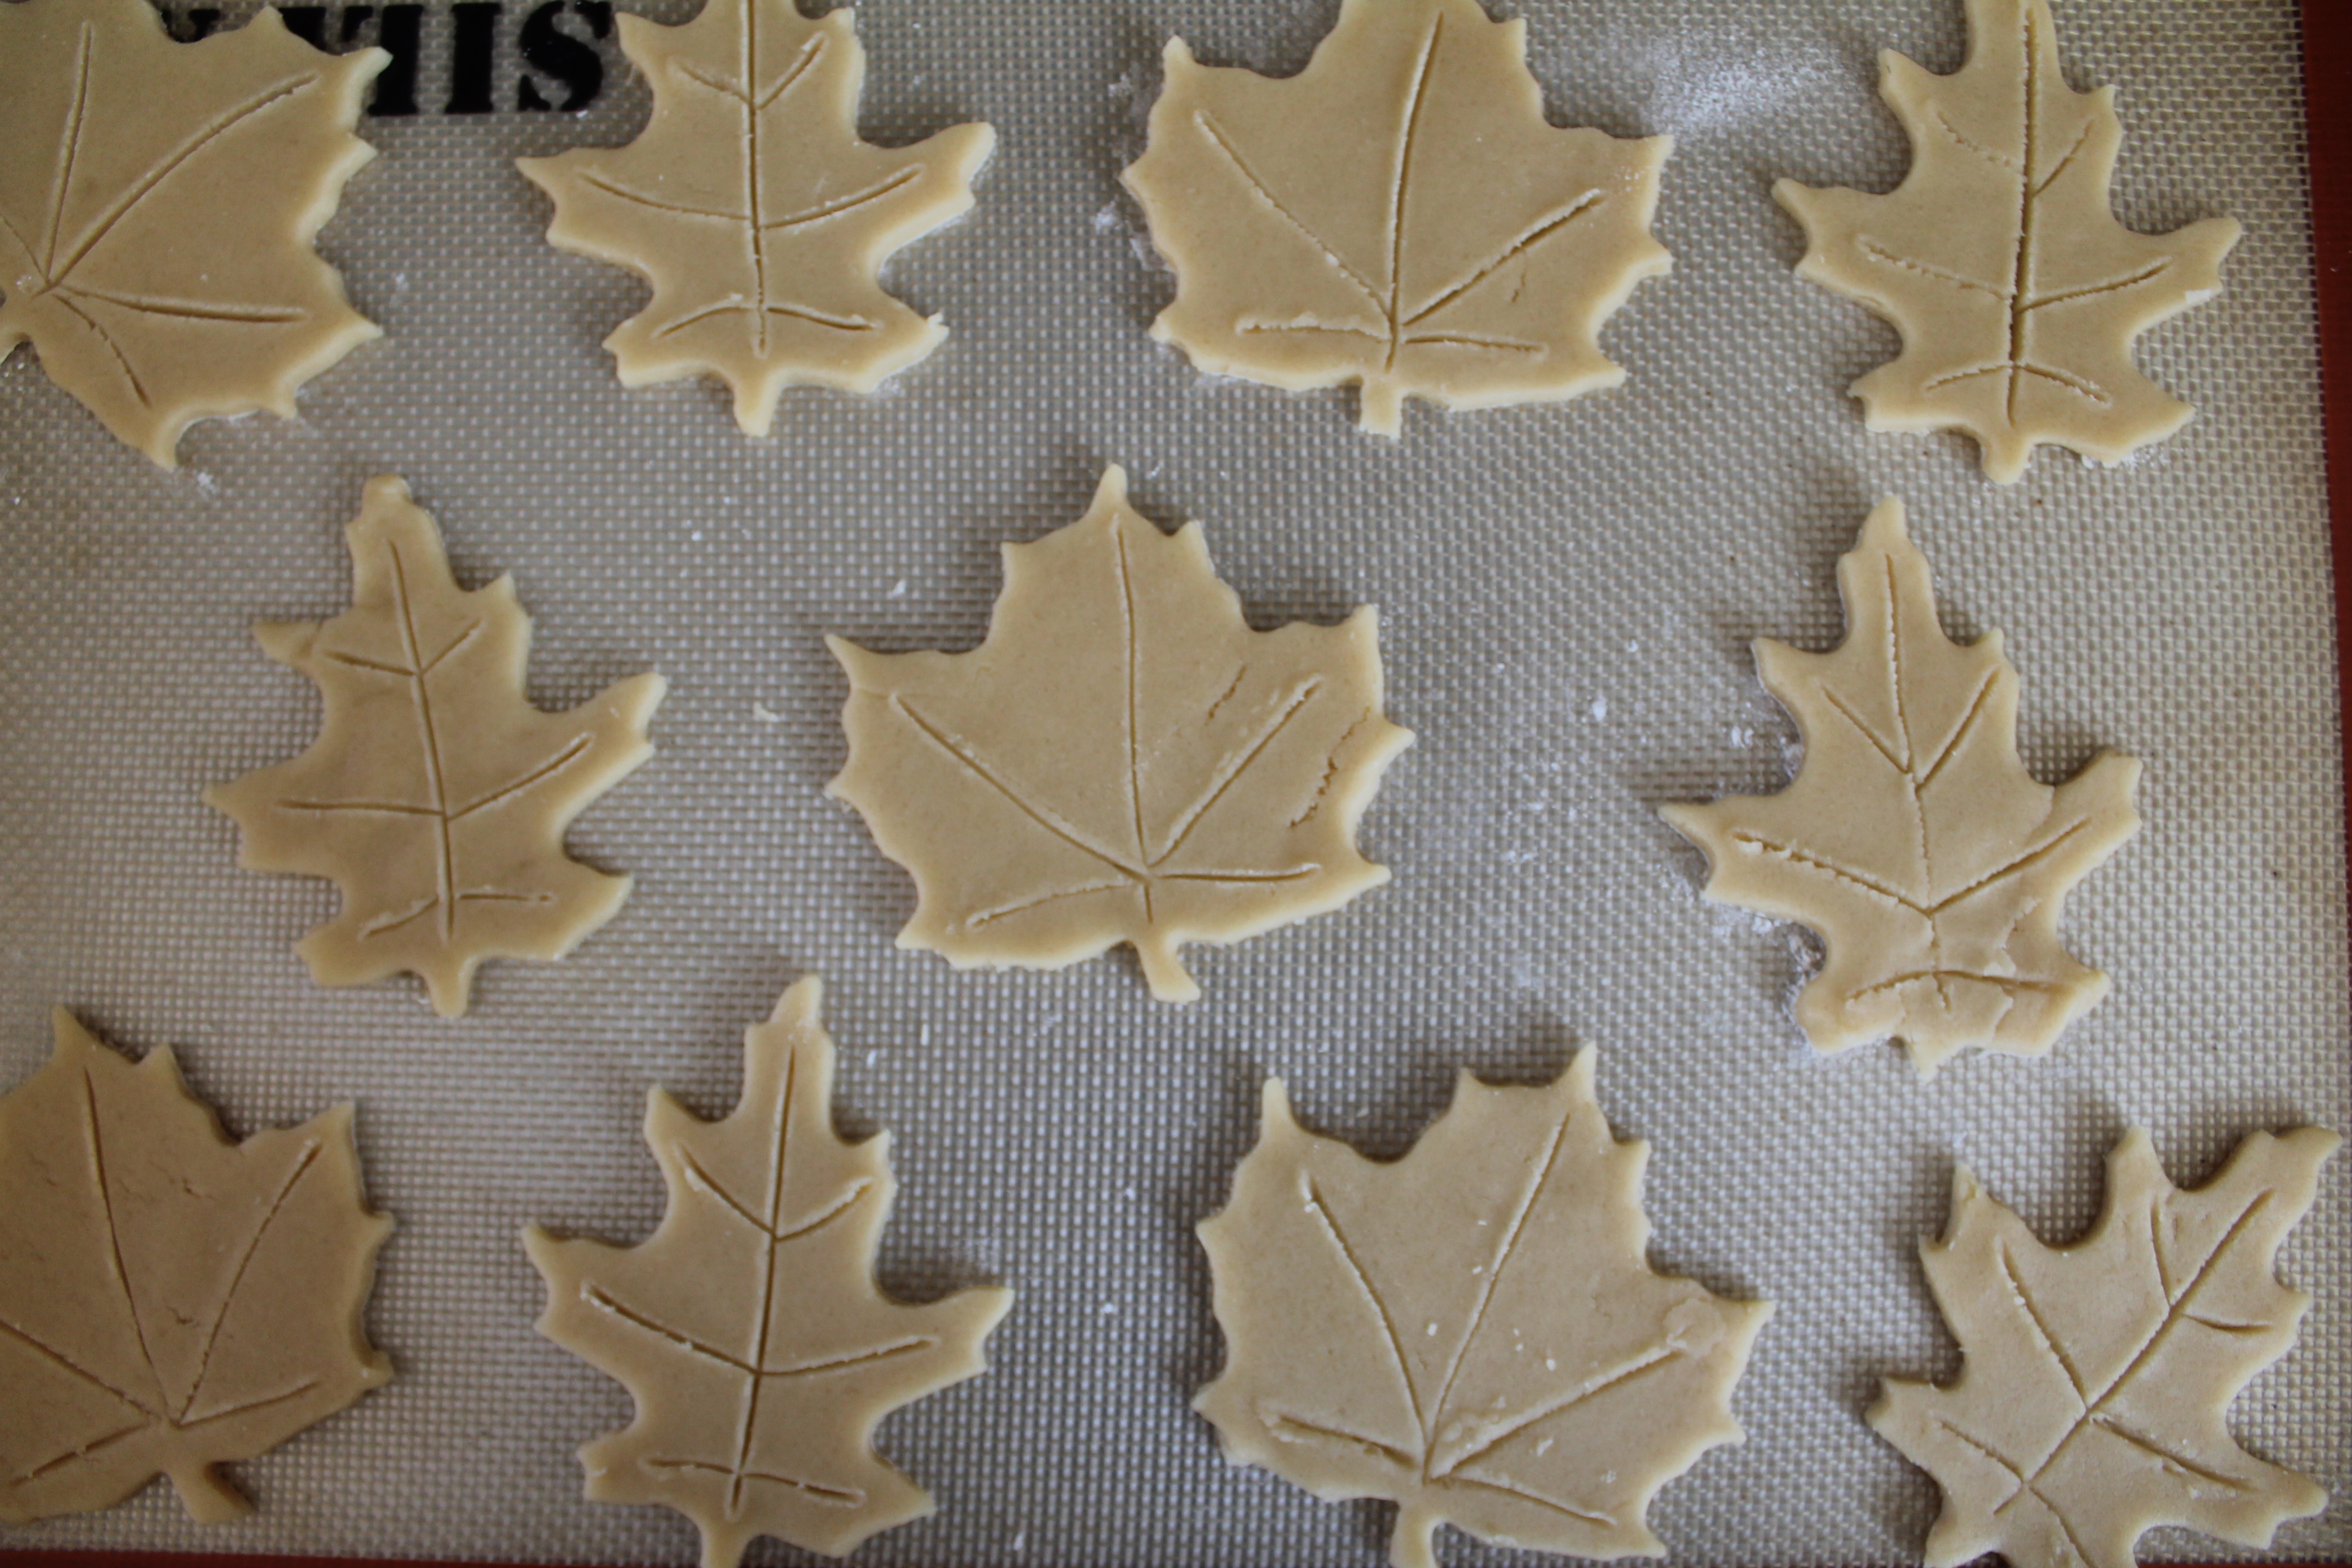 When you are ready to bake, roll the dough out to about ¼″ thick on a well floured surface. Cut it into shapes (I’m partial to maple leaves, for obvious reasons…and if you’re super crazy, you can take a toothpick and attempt to draw veins onto your leaves) and place them 2″ apart on a lined baking sheet.
I like to work with about half the dough at a time, which just feels less overwhelming.
And if you know me, you know that I actually go to great lengths to avoid making cutout cookies most of the time, so you won’t be surprised when I mention that the other great benefit of rolling only half the dough at a time is that you can take a looooooong break in between. Yay!
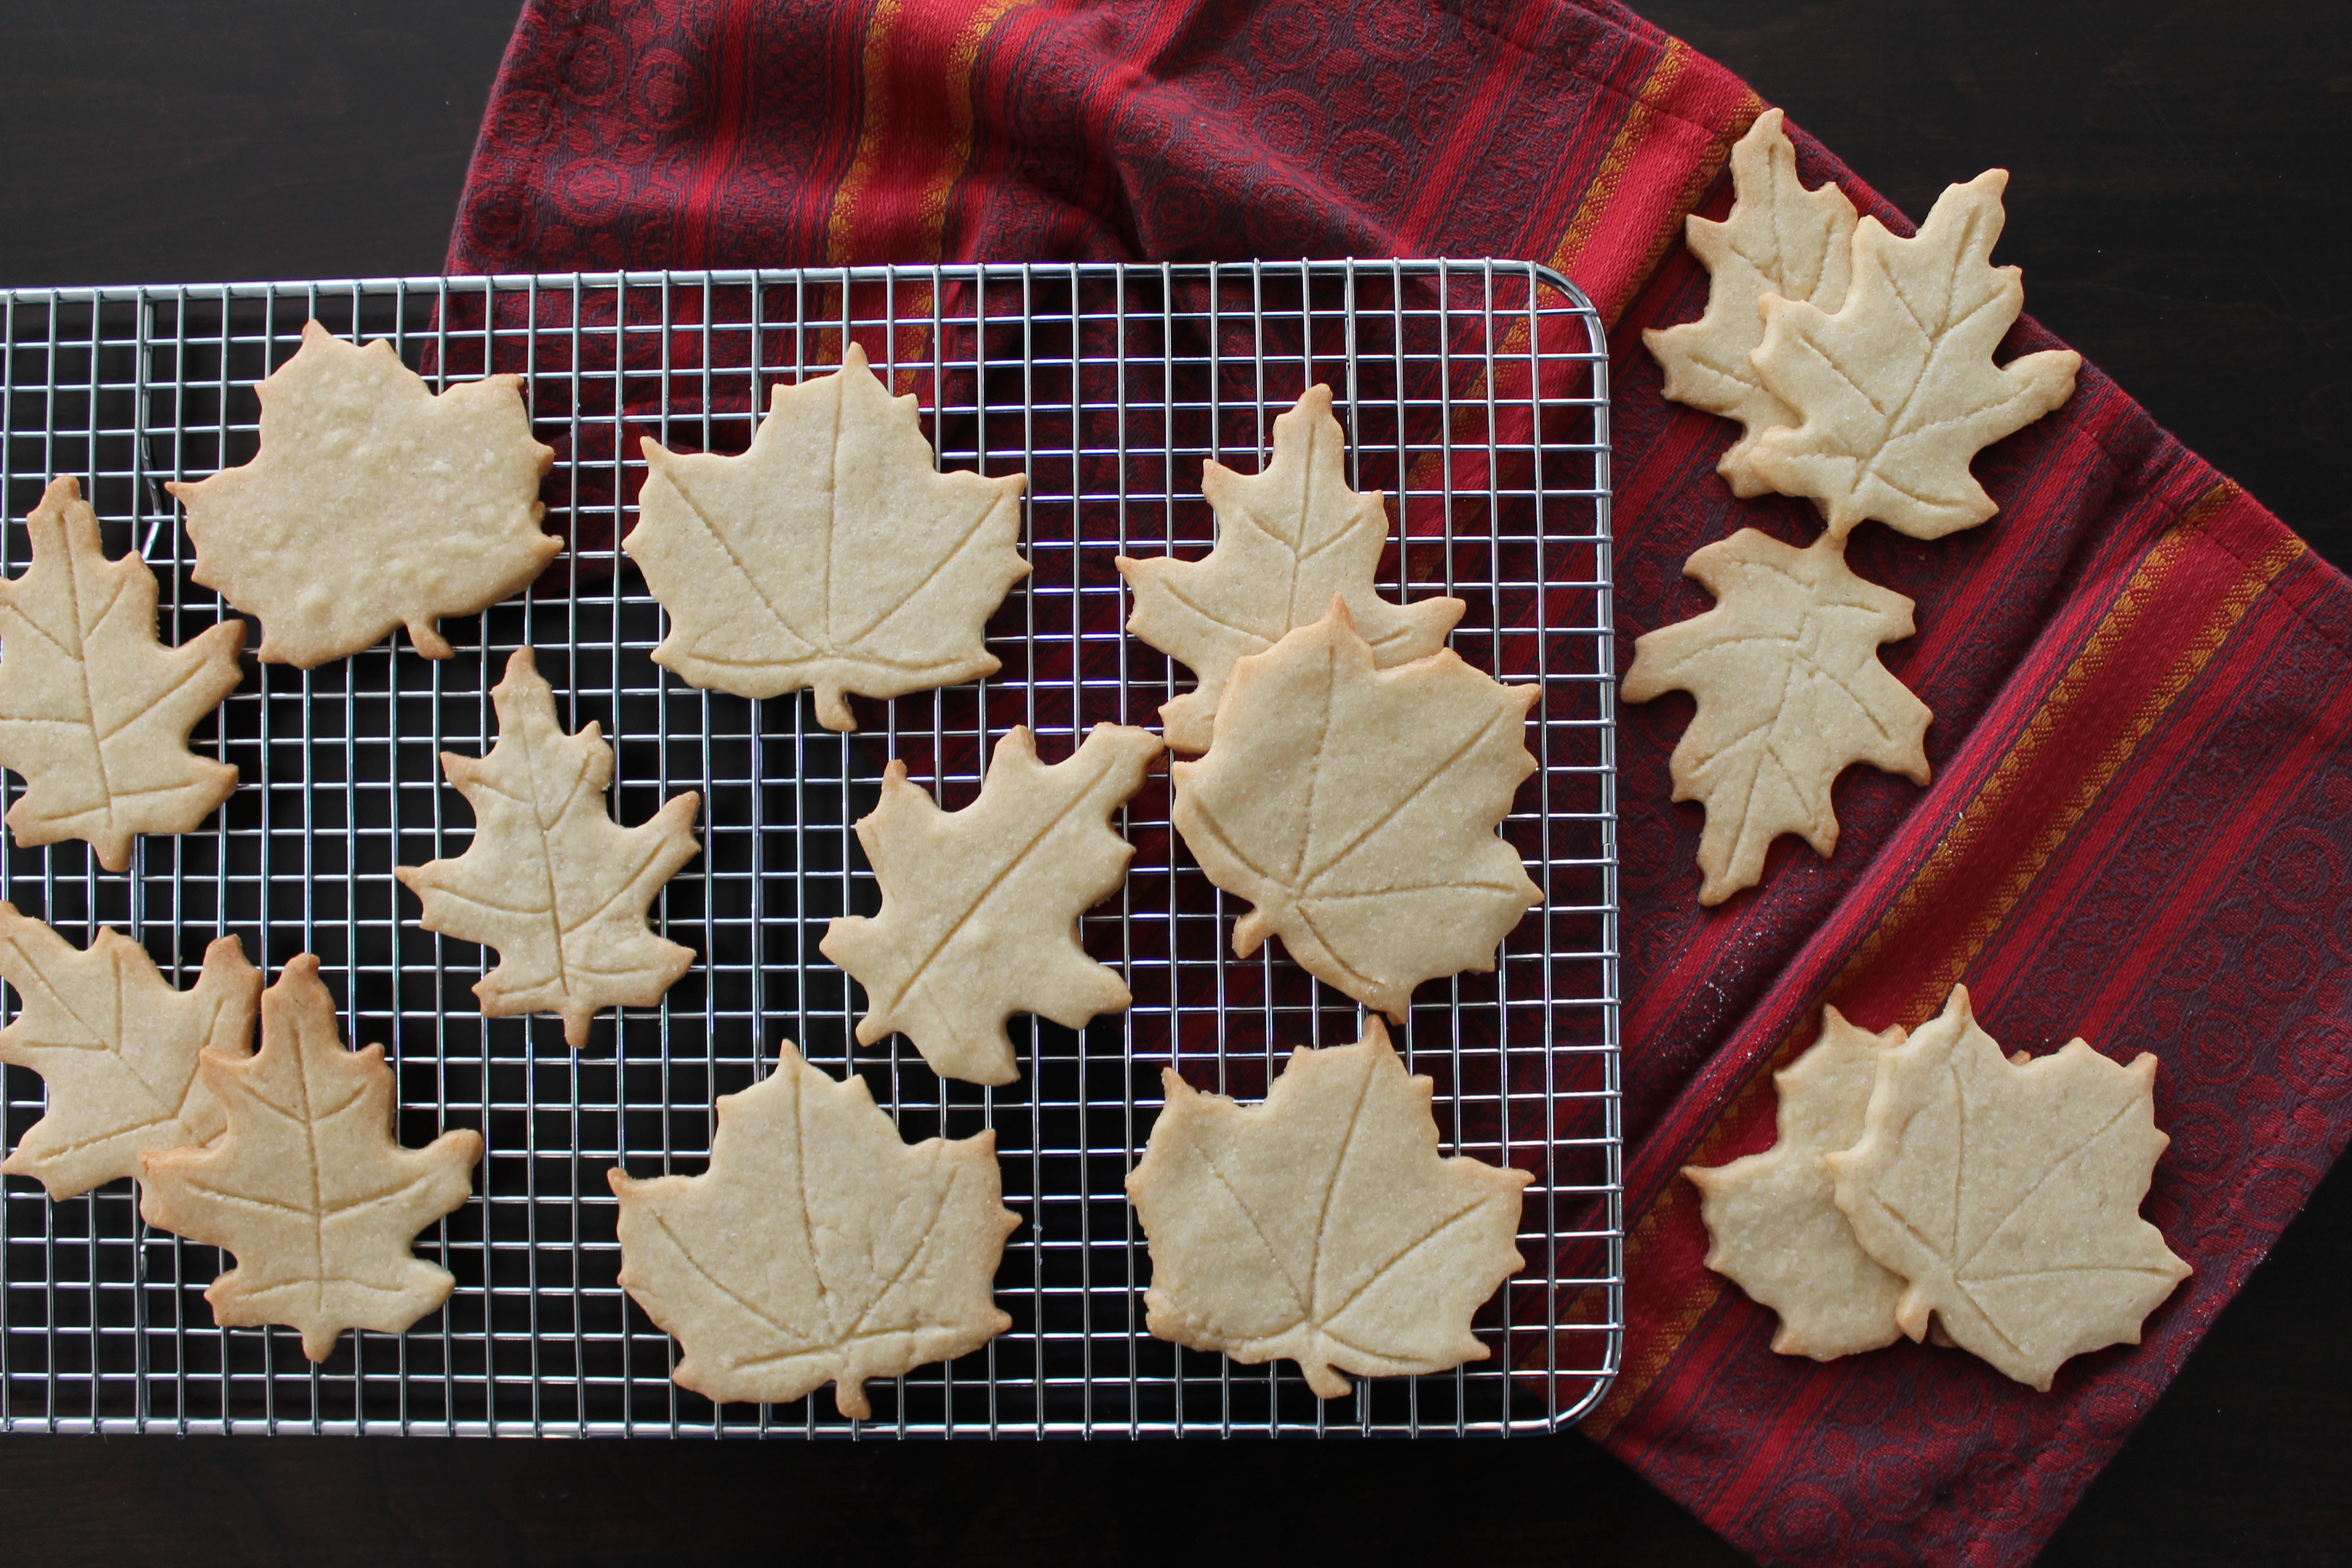 Bake the cookies for 9–13 minutes, until they are browned around the edges. Let that maple caramelize, let the cookies get crisp, you won’t regret it!
Maple Nutmeg Butter Cookies
barely adapted from Smitten Kitchen
makes about 4 dozen
Ingredients:
1 cup unsalted butter, room temperature
1 cup sugar
½ cup Grade B 100% maple syrup (or Grade A syrup plus ⅛ tsp. maple flavoring)
1 egg yolk
3 cups flour
1 tsp. salt
½ tsp. fresh grated nutmeg
Directions:
Beat the butter and sugar together until pale and fluffy. With the mixer running on low speed, beat in the maple syrup and egg yolk. Scrape the sides of the bowl well.
In a separate bowl, whisk together the flour, salt, and nutmeg. Stir the flour mixture into the butter mixture in two batches, stirring just until combined.
Shape the dough into a flat square and wrap tightly with plastic wrap. Chill for 2 hours, or up to 2 days.
When ready to bake, heat the oven to 350°.
Flour a clean work surface. Roll about half of the dough out and cut into shapes with cutters. Take care to keep the work surface floured, as the dough will become sticky when it returns to room temperature.
Carefully transfer the cut out cookies onto a lined cookie sheet, placing the cookies about 2″ apart.
Bake for 9–13 minutes, turning the pan if needed. The cookies are done when the edges are lightly browned.
Cool 5 minutes on the pan before transferring to a wire rack to cool completely.
Enjoy!
- One year ago: Confetti Greek Yogurt Pancakes
- Two years ago: French Onion Mac and Cheese
- Three years ago: Butternut and Arugula Quinoa
- Four years ago: Broccoli Cheddar Soup
- Five years ago: Pumpkin Swirl Brownies